
Getting started with air duct installation can feel intimidating, but with the right sequence and a focus on fundamentals, beginners in Somerville, New Jersey, can confidently plan and oversee a successful project. This beginner-friendly guide explains the steps in plain language, highlights common pitfalls, and points you toward reliable resources so you can make informed choices. If, along the way, you decide certain tasks are better left to specialists, consider trusted local air duct installation services to handle complex design or tight routing while you stay in control of decisions and quality checks.
Somerville’s weather puts ducts to the test: humid summers challenge insulation and condensation control, while cold winters stress airtightness and even distribution. Following the steps below will help ensure your system delivers comfort, energy efficiency, and healthy indoor air across all seasons.
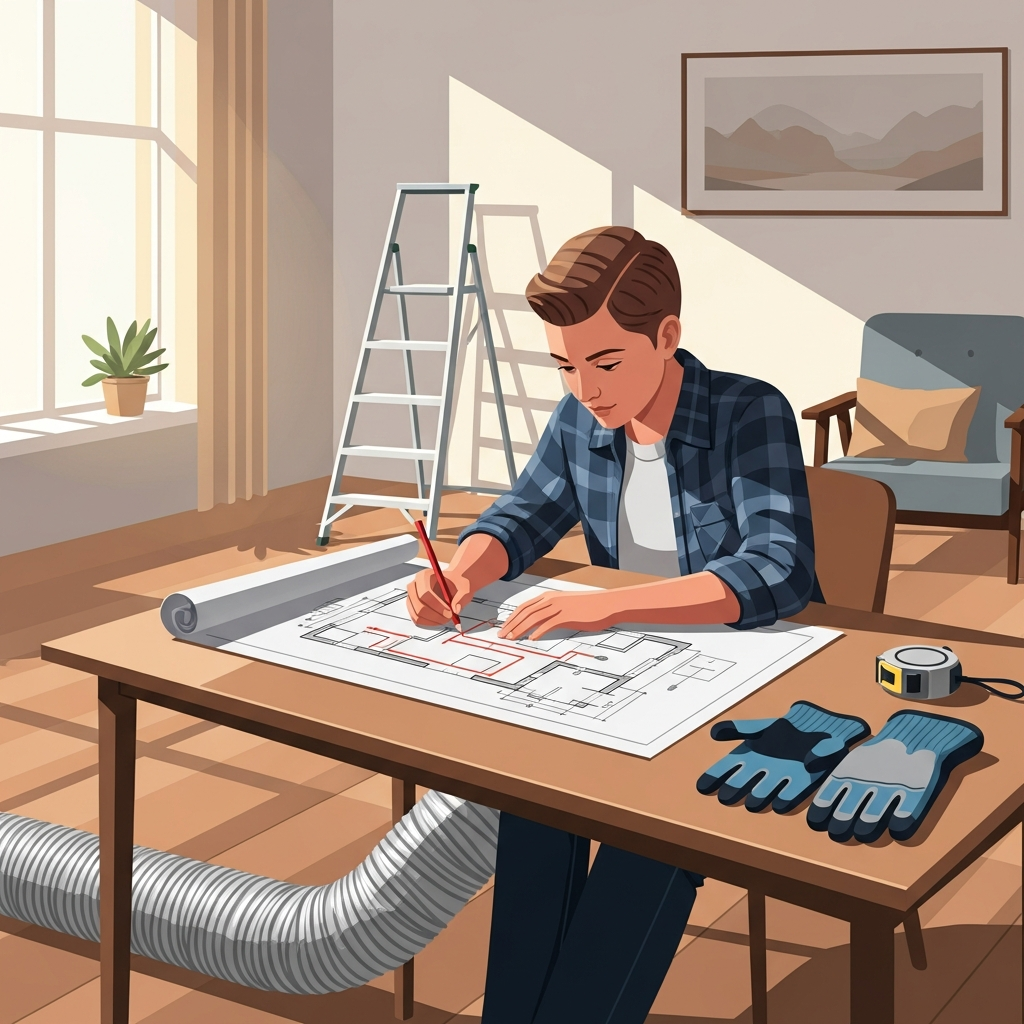
Step 1: Define goals and document existing conditions
Start by writing down what you want to achieve: eliminate hot or cold rooms, reduce noise, improve filtration, or support a new addition. Walk your home and note current duct routes, register locations, and returns. Identify what works well and what doesn’t. Photograph tight spaces, attic pathways, and basement runs so you can plan efficiently and discuss details with contractors if needed. Understanding your baseline will keep the project focused on real problems instead of assumptions.
Check for constraints such as low basement ceilings, limited attic access, or irregular framing in older homes. Consider how furniture layout and door swings affect airflow, and think ahead about maintenance access for filters, dampers, and equipment. This initial survey sets you up for a realistic design that fits your home rather than forcing the home to fit the ducts.
Step 2: Perform or request load calculations
Room-by-room load calculations determine how much conditioned air each space requires. While software and standards guide these calculations, the key point for beginners is that ducts must be sized based on measured needs, not just rules of thumb. Loads account for insulation levels, window size and orientation, air leakage, and occupancy. The output tells you the target CFM for each room and the total airflow your system must provide.
Armed with target airflow numbers, you can begin to sketch a duct layout that meets each room’s needs while maintaining acceptable velocities and static pressure. This sets the stage for sizing choices and helps avoid one of the most common beginner mistakes: underestimating the effect of long runs, elbows, and restrictive grilles on delivered airflow.
Step 3: Choose a layout and duct materials
Two layouts dominate: trunk-and-branch and radial. Trunk-and-branch uses a main supply trunk with branches to rooms, and usually a similar approach for returns. Radial systems run individual ducts from a central plenum to each register. Either can work when designed well. For materials, sheet metal is sturdy and efficient when sealed; duct board can be effective with proper fabrication; and flexible duct is useful for short, carefully supported connections. Beginners should favor simplicity and accessibility to ease installation and future maintenance.
Remember that flexible duct requires special attention: keep runs as straight and short as possible, avoid tight bends, and support the duct to prevent sagging. Sharp kinks and compressed insulation will rob rooms of airflow and cause noise. If a run looks too long or contorted on paper, revise the route or use rigid sections to maintain performance.
Step 4: Plan returns and pressure balance
Returns are often overlooked, but they are essential to system stability. Provide a clear return path from every room, especially bedrooms that may have closed doors for long periods. Options include dedicated returns, transfer grilles, or jumper ducts that allow air to flow back to a central return. Size returns to minimize noise and avoid starving the blower. A system with strong supply but weak return will struggle with comfort and energy use.
In multi-level homes, consider returns on each floor to help equalize temperatures. Place returns away from supplies to prevent short-circuiting. Ensure filters fit tightly so that return air actually passes through the filter media, not around it.
Step 5: Gather tools and prepare the site
Beginners can set themselves up for success by preparing work areas before materials arrive. Clear attic pathways, provide safe lighting in crawlspaces, and protect finished floors where registers or returns will be installed. Plan how existing ducts will be removed if you are replacing a system, and line up appropriate debris containment to keep dust from spreading. Turn off power to the air handler and protect equipment with covers as needed during demolition and fabrication.
Think about staging. Keep sheet metal and duct board off damp concrete, and store insulation where it will stay dry and intact. Arrange tools so that sealing materials, fasteners, and measuring devices are within easy reach during critical steps like fitting transitions and sealing joints.
Step 6: Install main trunks and plenums
Begin with the air handler connections: supply and return plenums should be sized correctly and sealed to equipment cabinets. From there, run main trunks following your layout. Keep lines straight, use gentle turns, and avoid sudden size changes. Where transitions are necessary, use tapered fittings rather than abrupt steps to reduce turbulence. Maintain required clearances from flues and combustibles, and install supports at recommended intervals to prevent sagging or noise down the line.
Before branching to rooms, pause to check alignment, clearances, and the integrity of your seals. Correcting issues now is much easier than after branches and insulation are in place. Take photos of concealed sections to document workmanship for future reference and inspections.
Step 7: Branch connections and registers
Cut takeoffs carefully and connect branches with smooth fittings. For flexible connections, pull the inner core tight, keep bends gentle, and support the run evenly. Avoid compressing insulation with straps or sharp edges. Terminate at registers that are sized for the expected face velocity so airflow stays quiet. Place supply registers to promote mixing, typically along exterior walls or near sources of heat gain or loss, and position returns to reduce noise and provide steady circulation.
Label branches and note damper locations on your plan. This will save time when balancing later and simplifies maintenance if rooms are repurposed or furniture layouts change.
Step 8: Seal, insulate, and protect
Sealing is one of the most important steps for beginners. Apply mastic to all joints, seams, and penetrations. Use UL-listed foil tapes where specified and press them firmly to ensure long-term adhesion. Insulate ducts routed through unconditioned spaces, and seal all insulation seams to maintain a continuous barrier. Pay particular attention to connections near the coil cabinet and filter rack; leakage here can bypass filtration and introduce dust into the system.
In Somerville’s humid summers, condensation control is critical. Verify that vapor barriers are intact and that insulation thickness is appropriate for attic or basement conditions. Even small gaps can create moisture problems, so inspect carefully before moving on to testing and balancing.
Step 9: Test airflow and balance the system
Once installed, test static pressure at the air handler to verify that the blower is operating within specifications. Measure temperature rise (heating) or drop (cooling) to confirm effective heat transfer. Where possible, measure airflow at key rooms; then adjust balancing dampers to bring each room close to its target CFM. Listen for whistling at returns and rattles along ducts, and resolve any issues before finishing surfaces conceal the system.
Balanced systems feel quiet and consistent. If one room remains stubbornly off-target, recheck the route for restrictions or excessive length. It is better to correct a problem now than to live with chronic discomfort later.
Step 10: Document, maintain, and refine
Finish by compiling documents: load calculations, a final layout drawing with damper positions, and photos of concealed runs. Note filter sizes and replacement intervals, and record final test measurements. Keep these materials with your home records to ease future service or remodeling. Good documentation preserves the value of your work and empowers you to diagnose issues quickly if they arise.
Plan for routine maintenance: change filters on schedule, keep registers and returns clear of obstructions, and inspect visible ducts annually for loose connections or damaged insulation. These habits protect performance gains and keep operating costs in check.
Common beginner mistakes and how to avoid them
Beginners often underestimate how quickly friction losses add up through long runs and sharp turns. Design with the shortest, straightest routes possible and use smooth transitions. Another common issue is relying too heavily on flexible duct; when in doubt, switch to rigid sections for main runs and keep flex for short connections. Inadequate return pathways also cause noise and uneven temperatures, so plan returns early and size them generously.
Finally, never skip sealing and insulation. Small gaps can cause big losses, and missing insulation invites condensation issues in summer. Take your time with these steps; they pay back every day your system operates.
Frequently asked questions
Q: Do I need special tools to start an air duct installation?
A: Basic hand tools, measuring devices, sealants, and safety gear cover many tasks. For fabrication and testing, specialized tools may be needed. Many beginners handle planning and oversight while pros complete fabrication-heavy steps.
Q: How important are load calculations?
A: Essential. They define airflow targets per room and prevent guesswork that leads to comfort and efficiency problems. Even if a contractor performs them, review the results so you understand the design.
Q: Can I run ducts through a garage or crawlspace?
A: Yes, but they must be insulated, sealed, and protected per code. Avoid returns drawing air from garages or crawlspaces, and maintain clearances from combustibles and flues.
Q: What causes noisy ducts?
A: High velocity, sharp transitions, undersized grilles, and loose components are common culprits. Correct sizing, smooth fittings, and secure supports reduce noise substantially.
Q: How do I prevent condensation in summer?
A: Use correct insulation with intact vapor barriers, avoid cold spots from compressed insulation, and seal all seams. Ensure supply air temperatures and airflow are within design ranges.
Q: Are zoning systems beginner-friendly?
A: Zoning adds complexity. Many beginners succeed with careful duct design, solid sealing, and balanced airflow. If zoning is desired, consider professional help to avoid pressure and control issues.
Ready to take the next step
By following these ten steps, beginners in Somerville can guide an air duct project from planning through performance testing with confidence. If you want assurance that every detail—from load calculations to balancing—is executed to a high standard, partner with experts who specialize in precision design and quality control. When you are ready to move forward, schedule dependable air duct installation and enjoy consistent comfort through every New Jersey season.
