
Your Complete Hood Cleaning Checklist for Somerville Kitchens
A clear, repeatable checklist keeps your kitchen safe, compliant, and efficient, no matter how hectic your service gets. In Somerville, where restaurants range from high-volume fry houses to family-owned bakeries, having a documented process helps teams hand off responsibilities with confidence and satisfies inspection requirements. Use the following comprehensive checklist to standardize results, reduce fire risk, and maintain airflow. If you need outside support or a deeper periodic clean, partner with local specialists in kitchen exhaust hood cleaning to complement the checklist and verify areas you cannot easily access.
This checklist is organized by phases—preparation, cleaning, verification, and documentation—so you can follow a consistent sequence. Adapt it to your specific hood model, cooking volume, and the directions of your Authority Having Jurisdiction (AHJ). Keep copies near the line and in your office so both managers and closing staff can reference them quickly.
Phase 1: Preparation and Safety
Confirm you have the right PPE: chemical-resistant gloves, eye protection, and non-slip shoes. Schedule cleaning for off-hours to avoid service interruptions and to ensure equipment has cooled. Lock out power to the hood lights and the exhaust fan if you will work inside the fan housing or ducts. Protect the fire suppression nozzles with approved caps and keep the system in normal standby mode unless an AHJ or manufacturer specifies otherwise.
Clear all removable items beneath the hood, including utensils, small appliances, and pans. Lay plastic sheeting over nearby equipment and prep surfaces. Stage a wet vac or mop buckets near low points to capture rinse water. Keep spill absorbent on hand and review the Safety Data Sheets (SDS) for your degreasers. If rooftop access is required, verify ladders, hinges, and fall-protection equipment are in good condition. Document pre-cleaning photos to establish a baseline.
Phase 2: Filter Service
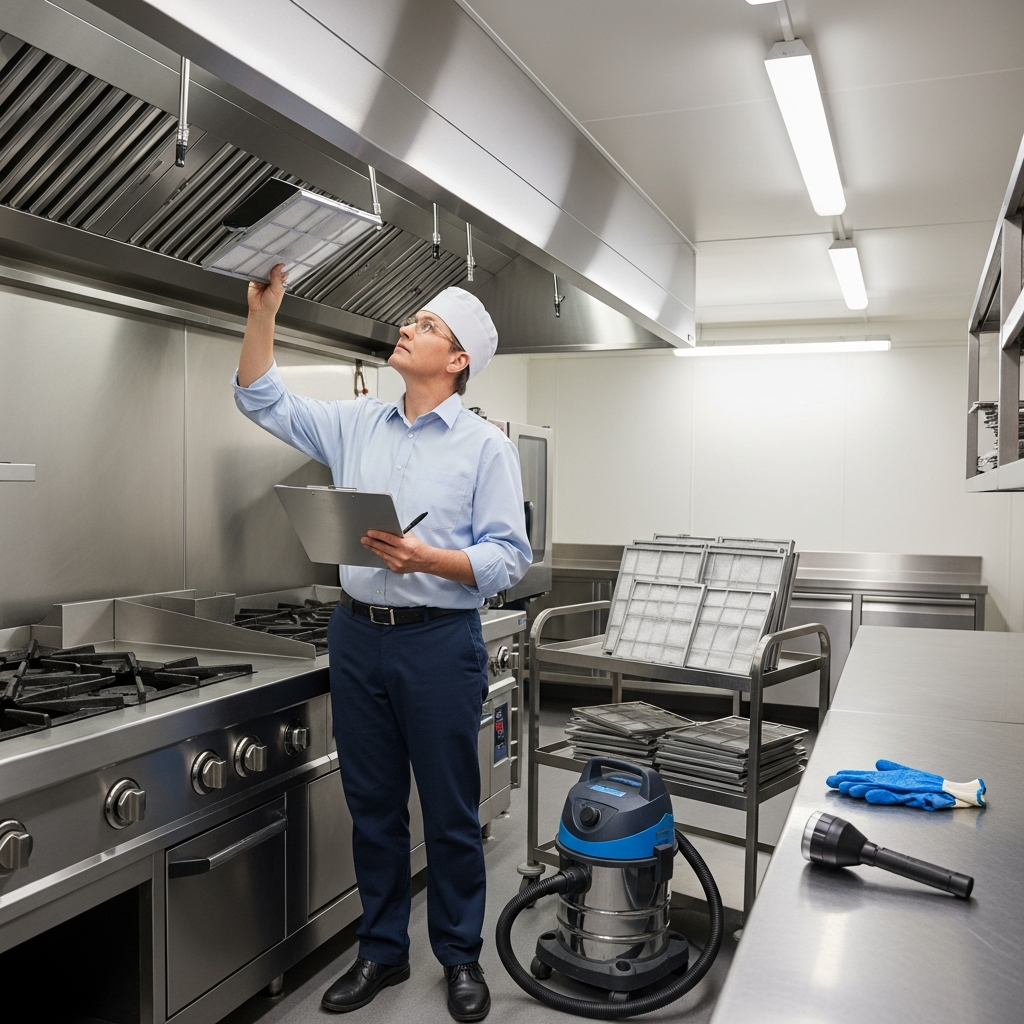
Remove baffle filters carefully to avoid spilling trapped grease. Inspect each filter for dents or broken welds; replace damaged filters to maintain proper airflow and flame arresting. Place filters in a soak tank with warm, properly diluted degreaser. Agitate and allow dwell time until residue loosens. While filters soak, wipe the filter ledges and tracks inside the hood. Rinse filters thoroughly with clean water and allow them to air dry upright to prevent streaking and pooling.
Phase 3: Hood Interior and Plenum Cleaning
Apply a food-service-safe degreaser to interior hood walls and the plenum, working from top to bottom in manageable sections. Observe manufacturer’s dwell-time guidance. Agitate with non-scratch pads and use plastic scrapers only for stubborn carbon. Rinse with a controlled water flow or with clean, damp towels until runoff is clear. Dry the surfaces to prevent spotting and prepare for a close inspection of seams, corners, and light fixtures.
Phase 4: Ductwork Access and Cleaning
Open access panels one at a time, placing protective sheeting beneath each to contain drips. Spray degreaser into accessible duct sections, scrub manually with suitable extensions, and capture residue with a wet vac. Wipe and reseal each panel before moving to the next. If your duct lacks adequate access points or contains long vertical runs, schedule a professional cleaning to ensure full-length coverage and code compliance.
Phase 5: Exhaust Fan and Discharge
Lock out power to the fan. Remove the fan lid and inspect blades, housing, and the roof curb for grease accumulation. Apply a compatible degreaser, scrub, and rinse. Check belt tension and note wear for maintenance follow-up. Verify the presence and condition of grease containment on the roof and replace absorbent media if saturated. Dry components thoroughly and reassemble, ensuring hinges function smoothly so future service is safe and efficient.
Phase 6: Exterior Polish and Area Reset
Polish exterior stainless surfaces with a stainless-safe product or a vinegar-water solution for a streak-free finish. Wipe light lenses and switch covers. Remove plastic sheeting, vacuum any pooled water, and mop floors with a neutralizer to eliminate slippery residues. Restore power to the fan and lights, then return equipment and utensils to their places once all surfaces are dry.
Verification: Performance and Cleanliness Checks
Conduct a light test using a flashlight to scan seams, corners, and the plenum; no oily sheen should remain. Use a simple airflow check by holding a lightweight paper strip under the capture zone—steady pull indicates good capture. Confirm filters are seated correctly and oriented for proper airflow. Step onto the roof or discharge point and verify that blades and housing are clean, that belts track correctly, and that grease containment is set and not overflowing. Photograph key areas for your records.
Documentation and Scheduling
Record the date, personnel, chemicals used, scope of work, and any issues to monitor, like worn belts or degraded gaskets. Keep before-and-after photos. Note the next cleaning target date based on cooking volume and inspection feedback. Many Somerville kitchens operate with a monthly hood and filter routine, quarterly ducts and fan service, and supplementary wipe-downs after heavy events or holidays. Adjust as needed to maintain capture efficiency and fire safety.
Somerville-Specific Considerations
Seasonal spikes in business can load grease quickly. During patio season or community events, increase the frequency of filter cleaning and quick hood wipe-downs. Newer operations should log conditions closely for the first three months to determine the best interval. Coordinate your schedule with fire safety inspections so your records are current and your hood is in peak condition when officials visit.
Training Your Team to the Checklist
Introduce the checklist during onboarding and perform hands-on demos at slow times. Assign roles—one person handles filters, another manages the canopy and plenum, and a third is responsible for rinsing, floors, and final polish. Cross-train so coverage is always available. Post laminated copies of the checklist inside a cabinet near the hood. During closing, supervisors should sign off each section and add notes for the next shift.
Quality Improvements Over Time
Track how long each phase takes and look for bottlenecks. If filter removal is difficult, inspect for bent tracks. If the canopy tends to streak, adjust dilution ratios or switch to a different wipe-down towel. For consistent polish, work with the grain of the stainless steel and change towels before they become saturated. Small refinements add up to faster, cleaner results that stand up to inspections and reduce rework.
When to Call Professionals
If your duct has long vertical sections, several elbows, or no access panels, a professional service is essential to reach the full run. Similarly, if you detect vibration, squealing, or persistent smoke after in-house cleaning, the fan or make-up air system may need expert attention. Periodic professional deep cleans, combined with your daily and weekly checklist, give you the most reliable protection against grease fires and ventilation failures.
For reliable verification, documentation, and deep-service coverage that complements your in-house routine, schedule periodic visits with a Somerville provider experienced in kitchen exhaust hood cleaning. Their photos, reports, and rooftop controls help keep your records inspection-ready and your system running at peak efficiency.
Frequently Asked Questions
Q: How often should we run this checklist? A: At minimum, complete a full hood and filter checklist monthly for moderate cooking, more often for heavy frying or charbroiling. Perform quick wipe-downs nightly as part of closing.
Q: Can we skip duct cleaning if the canopy looks clean? A: No. Ducts often hold hidden grease. Inaccessible or long runs require professional tools to reach elbows and vertical sections safely and thoroughly.
Q: What chemicals are safe for stainless steel? A: Use food-service-safe degreasers labeled for stainless, avoid chlorine-based products that pit metal, and always rinse thoroughly to remove residues.
Q: Do inspectors require photos? A: While not always mandatory, photos help demonstrate diligence and can speed up inspections. Keep them with your log sheets and invoices.
Q: What if the fan still smells after cleaning? A: Replace or clean the make-up air filters and inspect roof containment. Odors can persist if absorbent media is saturated or if nearby surfaces weren’t fully wiped down.
Make Your Next Service Simple
Consistency is the secret to safer kitchens and smoother inspections. Use this checklist to train staff, verify cleanliness, and schedule maintenance before issues disrupt service. When you need comprehensive coverage—especially for ducts and fans that are tough to reach—coordinate with a local partner for expert kitchen exhaust hood cleaning. With a reliable routine and the right support, your Somerville kitchen will stay cleaner, safer, and ready for the rush.
