
Even with careful planning, some air duct installations in Somerville, New Jersey, develop issues that affect comfort, efficiency, or indoor air quality. A structured troubleshooting process helps you identify root causes quickly and correct them without guesswork. This guide explains a practical, step-by-step approach you can use after a new installation or when an older system begins to struggle. If you prefer expert diagnostics, you can also coordinate with local air duct installation services that specialize in testing and performance verification across Somerville’s varied housing stock.
Troubleshooting begins with clear symptoms—hot or cold rooms, noisy airflow, musty odors, condensation on ducts, or rising energy bills. From there, you will move through visual inspections, measurements, and targeted corrections. Somerville’s climate adds complexity because humidity and temperature swings accentuate minor design or workmanship errors, so a disciplined process is essential.
Step 1: Define and prioritize symptoms
Write down the specific problems you are experiencing. Note the time of day, weather conditions, and which rooms are affected. Identify whether symptoms are constant or intermittent. For example, a bedroom may feel warm on sunny afternoons but fine at night; that pattern suggests solar gains influencing duct performance or register placement. Clear notes keep you objective and help you communicate effectively if you call for service.
Rank issues by impact. Safety problems—such as signs of combustion backdrafting near returns—take priority. After safety, focus on comfort and energy waste. By concentrating on the most consequential problems first, you can usually resolve multiple symptoms together because they share a common cause, like inadequate return air or high static pressure.
Step 2: Perform a visual inspection
Start at the air handler and move outward. Look for loose access doors, gaps at the filter rack, missing mastic at seams, disconnected branches, or crushed flexible duct. Inspect insulation for tears or compression, especially in attics and basements. Pay special attention to transitions and elbows where movement and vibration often loosen seals. If you see dust streaks along joints, that is a telltale sign of leakage.
Check register and return placements. Supplies that blow directly on occupants may be uncomfortable even when room temperatures are correct. Returns that are too close to supplies can short-circuit airflow, causing the rest of the room to feel stagnant. Document any deviations from the original design or photos taken during installation.
Step 3: Verify filters and cleanliness
A clogged or poorly seated filter can masquerade as many different problems: low airflow, noisy returns, or rooms that never reach the setpoint. Confirm that the filter is the correct size, has the appropriate MERV rating for your system, and fits tightly in its slot. Bypass leakage around filters introduces dust into the system and erodes coil efficiency, making the blower work harder and raising energy use.
Excess debris in registers or returns may indicate that ducts were left open during construction or that sealing is incomplete. Cleaning may be warranted after you correct the underlying cause. Remember that a clean system starts with airtight ducts and properly sealed filter racks.
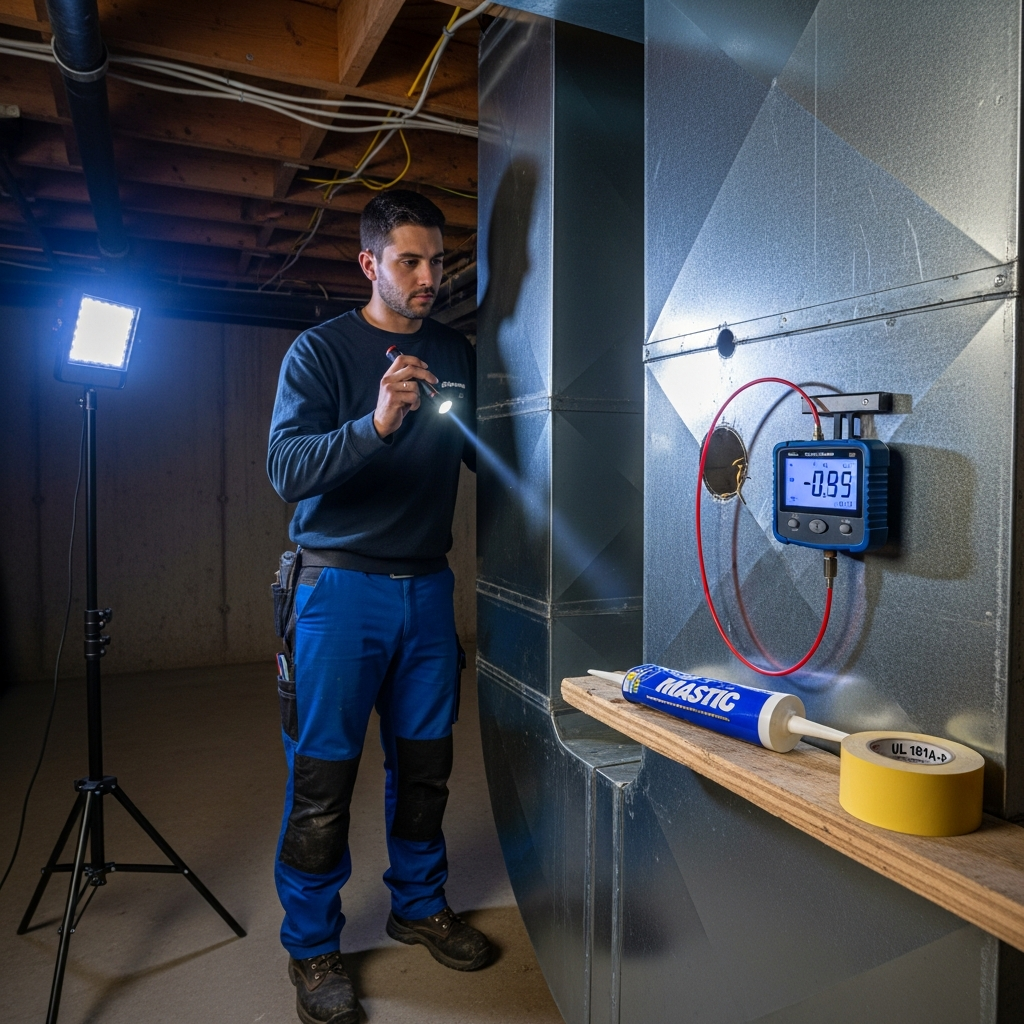
Step 4: Measure static pressure and temperature
Static pressure is the resistance your blower must overcome. When pressure is too high, airflow declines; too low can also signal issues like large leaks or missing panels. Measure total external static pressure at the air handler and compare it to equipment specifications. If pressure is out of range, look for restrictions: undersized returns, crushed flex, dirty filters, or closed dampers. Corrections here often resolve uneven temperatures and noise simultaneously.
Measure temperature rise in heating mode or drop in cooling mode across the air handler. Values outside manufacturer ranges can indicate airflow problems, refrigerant issues, or heat exchanger concerns. While equipment faults are possible, many deviations trace back to duct restrictions or leakage that reduce effective heat transfer.
Step 5: Check airflow delivery to rooms
Use airflow measurements where feasible to verify that each room receives roughly its design CFM. If a particular room is far off target, inspect its branch for excessive length, sharp bends, or kinks. Confirm that balancing dampers are open and that registers are not obstructed by furniture or drapery. In some cases, grille upgrades with lower resistance can reduce noise and increase flow without rerouting ducts.
Evaluate return paths carefully. Bedrooms and finished basements often lack adequate returns, especially after renovations. If closed doors create pressure imbalances, consider adding transfer paths or dedicated returns. Improving return air usually helps multiple rooms at once and reduces blower strain.
Step 6: Investigate moisture and condensation
In Somerville’s humid summers, condensation on supply ducts is a common complaint. Inspect for damaged insulation or gaps in vapor barriers that allow warm, moist air to contact cold duct surfaces. Repair insulation and seal all seams meticulously. Verify that cooling airflow and temperatures are within design ranges; low airflow can make coil and duct surfaces colder than intended, encouraging condensation and potential mold concerns.
Musty odors may point to stagnant air, high humidity, or contamination. Confirm that returns are pulling air from living spaces effectively and that supply air reaches all corners of problem rooms. Address envelope moisture sources as well—leaky basements or poor attic ventilation can raise indoor humidity and stress your duct system.
Step 7: Address noise and vibration
Noise often results from high velocities, abrupt transitions, or loose components. Start by verifying grille sizing at noisy locations; a larger or less restrictive grille can quiet a return quickly. Inspect supports along flex runs for sagging or compression that creates whistling. Secure loose metal sections and consider adding isolation where equipment vibration transfers into the duct system.
Pay attention to doors slamming or moving when the system runs. This indicates pressure imbalances that may be solved by adding return paths, resizing grilles, or adjusting dampers. A quiet system is usually a well-balanced system.
Step 8: Implement targeted fixes
Based on your findings, apply the smallest effective fix first. Re-seat or upgrade filters, open or label dampers, straighten flex runs, and restore torn insulation. Seal visible gaps with mastic and reinforce with UL-listed tapes as appropriate. After each fix, re-measure static pressure and temperatures to confirm improvement. Stepwise corrections keep you from introducing new problems while solving the old ones.
If a branch remains underperforming after basic fixes, consider a route change or conversion to rigid sections with smoother fittings. For returns, enlarging a grille or adding a dedicated path can make a dramatic difference. Keep detailed notes so you can track what works and what still needs attention.
Step 9: Validate system performance
After repairs, confirm that rooms reach setpoints without long run times or noticeable drafts. Verify that static pressure is within manufacturer limits and that temperature rise or drop meets specifications. Listen for remaining noise and check that condensation is under control during cooling season. Once you achieve stable performance, document final damper positions and take updated photos of any modified sections.
Consider scheduling a follow-up check after a few weeks of operation across different weather conditions. Some issues only reveal themselves during temperature extremes or high humidity. Early follow-up helps you capture subtle problems before they become chronic complaints.
Preventing repeat problems
Most recurring issues track back to design gaps—undersized returns, long or constricted branches, or neglected sealing. If you see the same symptoms return, revisit the original layout and assumptions. Sometimes a small redesign, such as relocating a register or adding a return on the second floor, resolves persistent discomfort far better than trying to force the system to work through damper adjustments alone.
Good documentation prevents backsliding. Keep records of final measurements, damper settings, and before-and-after photos. Share them with any future contractors so that improvements are preserved rather than undone during unrelated work.
Frequently asked questions
Q: Why does one room stay warm in summer despite strong airflow?
A: The register may discharge in a way that does not mix air effectively, or the branch may be long with high friction losses. Adjust register type or location, smooth the route, and verify return placement.
Q: How do I know if static pressure is too high?
A: Compare measured total external static pressure to the air handler’s rated maximum. If it is above the limit, look for clogged filters, closed dampers, undersized returns, or crushed flex.
Q: What causes whistling at a return?
A: High face velocity, restrictive grilles, or gaps around the filter slot are typical culprits. Upsize the grille, use a less restrictive model, and ensure the filter seals tightly.
Q: Why do I see condensation on ducts only in certain areas?
A: Localized insulation damage or vapor barrier gaps allow moist air to contact cold metal. Repair insulation, seal seams, and confirm that cooling airflow and temperatures are correct.
Q: Can balancing solve every comfort problem?
A: Balancing helps, but it cannot overcome major design flaws. If dampers must be nearly closed on many branches to fix one room, consider layout changes or return improvements.
Q: When should I involve a professional?
A: If safety is in question, pressures or temperatures are far from specifications, or symptoms persist despite basic fixes, professional testing and redesign may be the fastest path to resolution.
Resolve issues with confidence
A methodical troubleshooting process turns vague complaints into measurable causes and effective solutions. By documenting symptoms, inspecting carefully, measuring key performance indicators, and applying targeted fixes, you can restore quiet, even comfort in your Somerville home. When you want expert verification or redesign support, schedule comprehensive air duct installation services to test, refine, and validate your system for every New Jersey season.
