
A reliable air duct system is the backbone of quiet comfort and healthy airflow in any Somerville, New Jersey home. Whether you are coordinating with a contractor or organizing a DIY-friendly scope, a clear checklist keeps quality high and surprises low. Use this detailed, stage-by-stage list to plan, install, and verify a duct system that runs efficiently through humid summers and chilly winters. If you prefer a partner to handle design or execution, some homeowners start by shortlisting local providers of air duct installation to align expectations, code requirements, and performance goals before work begins.
Stage 1: Planning and Documentation
- Confirm room-by-room loads and airflow targets.
- Pick equipment location with service clearances and condensate routing.
- Sketch trunk and branch routes that minimize turns and length.
- Decide on return strategy: central, multiple, or dedicated bedroom returns.
- Select diffusers and grilles sized for quiet operation and required throw.
- Assign insulation levels for ducts in unconditioned spaces.
- Record sizes, lengths, and target CFMs for each run.
- Prepare permit application documents if required by your jurisdiction.
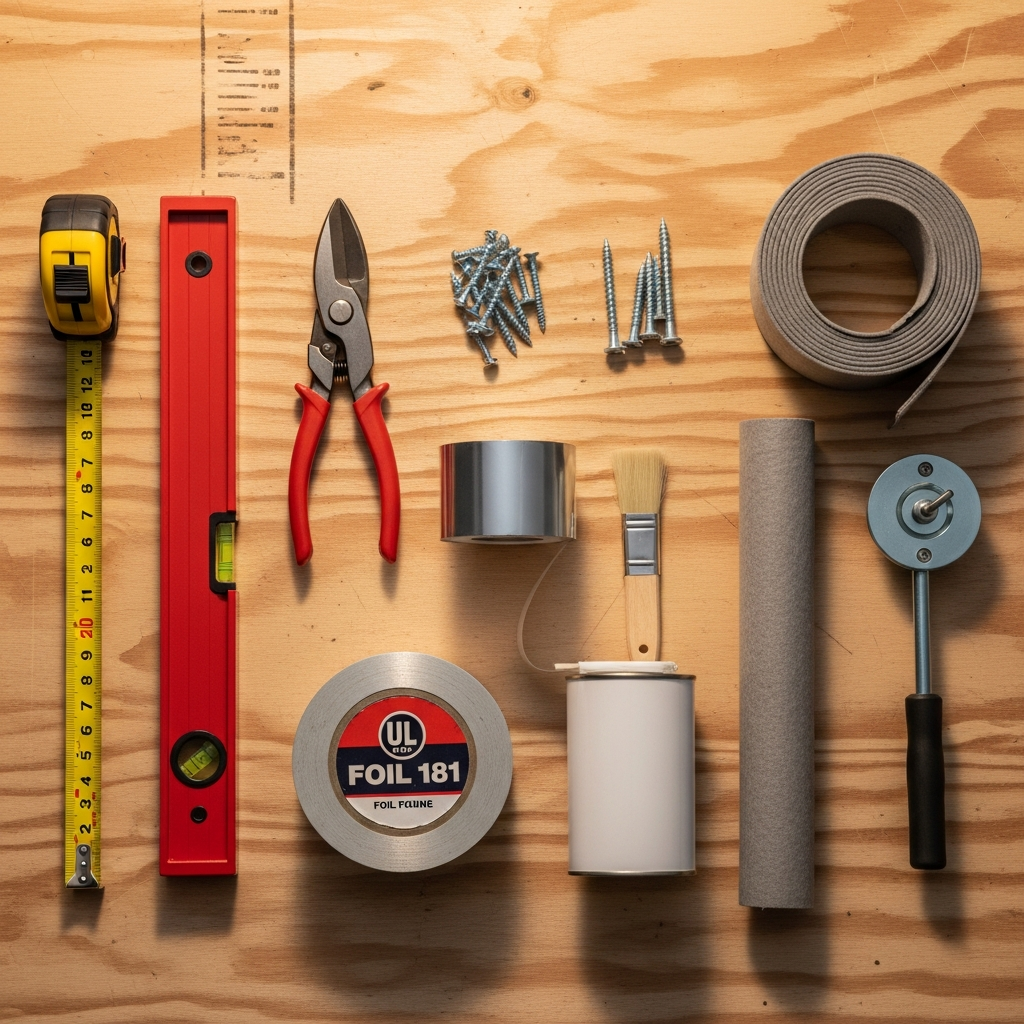
Stage 2: Materials and Tools
- Order metal duct sections, wyes, elbows, and starting collars.
- Purchase flex duct in limited quantities for short, direct branches.
- Stock boots, registers, return grilles, and balancing dampers.
- Have mastic, UL 181-rated foil tape, and mesh scrim ready.
- Stage insulation wraps or sleeves; confirm vapor barrier continuity.
- Gather hangers, strapping, fasteners, and isolation connectors.
- Ensure availability of snips, crimpers, drill/driver, and measuring tools.
- Prepare safety gear: gloves, glasses, respirator, and kneepads.
Stage 3: Pre-Install Site Prep
- Protect finished floors and surfaces, and set up dust control.
- Mark framing, verify clearances, and identify penetrations.
- Confirm electrical lockout and safe access to work zones.
- Photograph existing conditions and planned routes for records.
Stage 4: Trunk Installation
- Position trunks straight and level from the plenum.
- Use long-radius elbows and smooth transitions.
- Support trunks per code without deforming duct walls.
- Seal trunk joints with mastic; reinforce where gaps are larger.
Stage 5: Branches and Takeoffs
- Install takeoffs with tight collars; crimp and secure as specified.
- Route branches short and straight; minimize turns.
- If using flex, pull the liner tight and support frequently.
- Label branches with room names and target CFMs.
Stage 6: Boots, Registers, and Returns
- Set boots to finish plane and secure to framing.
- Install returns generously to limit noise and pressure build-up.
- Choose diffusers with appropriate throw to avoid drafts.
- Place balancing dampers where they remain accessible.
Stage 7: Sealing and Insulation
- Apply mastic to every seam and joint on supplies and returns.
- Use UL 181-rated foil tape as specified; do not substitute cloth tape.
- Insulate ducts in unconditioned spaces with continuous vapor barriers.
- Seal boot-to-drywall joints to prevent leakage at registers.
Stage 8: Mid-Project Quality Review
Before closing walls or insulating attics, verify sizes, supports, and sealing. Ensure diffusers will sit flush with finished surfaces and that balancing dampers are reachable. Confirm returns meet the layout plan and that no branch is kinked or crushed behind framing. Homeowners who want additional assurance often schedule a midpoint consult for duct installation services in Somerville to validate routing choices, spot subtle restrictions, and provide quick airflow measurements.
Stage 9: Equipment Tie-In
- Install flexible connectors at the air handler or furnace to control vibration.
- Secure transitions and seal thoroughly.
- Insert the filter and confirm the cabinet seals tightly.
Stage 10: Commissioning and Balancing
- Measure static pressure and verify it is within equipment limits.
- Measure supply and return CFMs and adjust dampers to match targets.
- Check temperature splits in heating and cooling modes.
- Listen for rattles or whistles and correct as needed.
- Label damper positions and registers after final adjustments.
Stage 11: Documentation and Handoff
- Record final airflow readings and damper settings.
- Photograph concealed work for future service clarity.
- Provide maintenance tips and filter replacement intervals.
Frequently Asked Questions
Q: Can I rely on one central return? A: Many homes can, but larger or more compartmentalized layouts benefit from multiple returns or dedicated bedroom returns to maintain pressure balance and reduce noise.
Q: Is flexible duct acceptable in Somerville homes? A: Yes, when used sparingly, pulled tight, and well supported. Keep bends smooth, avoid kinks, and limit overall length to preserve airflow and quietness.
Q: How do I avoid condensation on ducts? A: Insulate in unconditioned spaces, seal all seams, and maintain a continuous vapor barrier. Address humidity with proper ventilation and dehumidification as needed.
Q: What causes whistling at a register? A: Often a restrictive grille, high velocity, or a sharp elbow too close to the boot. Upsize the grille, switch to a longer radius elbow, or relocate the boot if possible.
Q: Should I add balancing dampers on every branch? A: Put dampers where you need control and where you can access them after finishes are complete. Many branches benefit from a damper to fine-tune comfort.
Q: What documentation should I keep? A: Final airflow numbers, static pressure, damper positions, equipment model data, and photos of concealed ducts. This record helps with service, renovations, and resale.
Make Your Checklist Work for You
Attention to detail during each stage leads to a tight, quiet, and efficient system that serves your Somerville home for years. If you want a turnkey path—from planning to final testing—reach out for professional air duct installation and put this checklist into action with experienced hands.
