
Planning an air duct system for a home in Somerville, New Jersey calls for more than picking fittings and fastening metal. It blends comfort science, airtight construction, and practical jobsite logistics that keep projects on schedule. This homeowner-friendly guide explains design, materials, installation, and commissioning in clear terms so you can oversee the work, partner confidently with a contractor, or pursue a capable DIY approach. If you prefer expert support from day one, many homeowners start by bookmarking a trusted local resource for air duct installation so critical choices about sizing, routing, and sealing are correct the first time.
What Makes a Duct System Comfortable?
Comfort depends on delivering the right amount of conditioned air quietly and evenly to each space. That requires proper duct sizing, low resistance fittings, generous returns, and careful placement of registers. Short, straight runs do most of the work while long, twisted, or undersized branches undermine performance. Insulation protects temperature, and meticulous sealing prevents air leaks that hide behind walls yet inflate energy use. A well-planned system manages both physics and building details to minimize noise and keep rooms consistent through New Jersey’s humid summers and chilly winters.
Somerville-Specific Priorities
Local climate and typical building assemblies influence best practices. In basements and attics, insulation and vapor barriers keep ducts free of condensation and energy loss. Older homes may have limited chases that reward compact trunk lines and carefully placed takeoffs. When routing near living areas, long-radius elbows and diffuser selection help control sound. Permitting and inspection ensure safe clearances, correct support spacing, and effective air sealing. Documenting your design and photographs of concealed work smooths inspections and protects long-term serviceability.
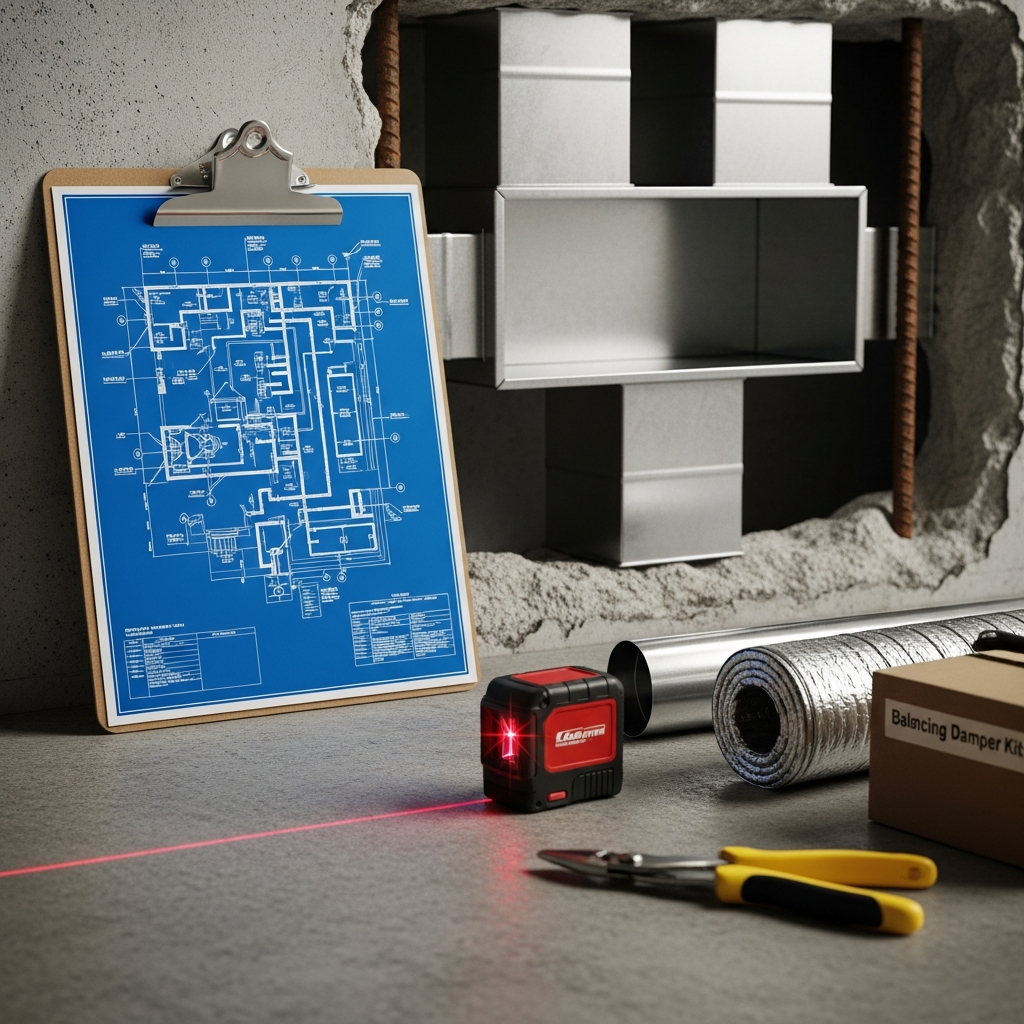
Essential Tools and Materials
- Metal duct sections, elbows, wyes, and starting collars
- Flexible duct (used judiciously) and protective sleeves
- Boots, registers, diffusers, and return grilles with appropriate free area
- UL 181-rated foil tape, mastic, and reinforcing mesh
- Insulation wraps or sleeves with intact vapor barriers
- Hangers, strapping, isolation pads, and vibration connectors
- Snips, crimpers, drill/driver, and sheet metal screws where allowed
- Measuring and marking tools; laser level for straight runs
- Manometer, anemometer, or flow hood for commissioning
- Personal protective equipment for safe installation
Design in Steps
- Calculate loads room by room to define required CFM.
- Set equipment location for service access and efficient trunk routing.
- Size main trunks and branches using accepted friction rates.
- Place supplies to counter heat gain or loss near exterior walls and windows.
- Distribute returns to keep rooms neutral when doors close.
- Call for balancing dampers on branches to fine-tune after startup.
- Assign insulation levels for each run depending on the space it passes through.
- Document each run’s length, size, and target airflow for installation and testing.
Installation Best Practices
Build trunks first, then attach takeoffs with secure, sealed collars. Keep transitions smooth, avoid abrupt diameter changes, and use long-radius elbows. Support ducts with proper spacing to prevent sagging and noise. Route flexible duct only where it truly saves labor or space, pull the inner liner tight, and keep bends gentle. Seal seams, joints, and boots with mastic and approved foil tape. In unconditioned spaces, insulate completely and maintain continuous vapor barriers. Label branches with destinations and damper settings to streamline commissioning and future service.
Returns, Filtration, and Noise Control
Undersized returns create noise and starve equipment; oversize them when in doubt and provide multiple returns for larger layouts. Maintain clean, straight return paths and locate grilles away from bedrooms if noise is a concern. At the equipment, select a filter cabinet that seals tightly and permits upgraded filtration without spiking static pressure. Consider diffusers and grilles that deliver the throw you need at low sound levels, and avoid pointing supplies directly at seating areas unless a gentle, mixed-flow pattern is chosen.
Reality Check in the Middle of the Job
Before drywall closes, verify key items: branch sizes match the plan, mastic covers every seam, insulation is continuous, and supports are placed correctly. This is also the moment to decide whether you want third-party testing or an extra set of experienced hands. If timelines tighten or design questions arise, homeowners often bring in specialists for duct installation services in Somerville to validate airflow assumptions, correct minor routing issues, and provide commissioning data you can keep for the life of the system.
Commissioning and Balancing
Turn on the system and measure static pressure, supply and return CFMs, and temperature split. Compare results to your design targets. Adjust balancing dampers to nudge airflow into alignment, and test in both heating and cooling modes. Listen for rattles or whistles that signal leaks or loose components. Confirm that registers throw air into the room without drafts, and label damper positions once rooms feel even and quiet. Keep a record of final readings for future service calls or energy audits.
Maintenance and Long-Term Care
Replace filters on schedule, vacuum registers periodically, and keep returns free of obstructions like furniture or drapes. If you remodel or build an addition, update load calculations and check whether branches need resizing. Insulation repairs in attics or crawlspaces prevent condensation and protect performance. Routine visual checks at seasonal startup can catch a slipping hanger, loose tape end, or small mastic crack before it becomes a bigger issue.
Frequently Asked Questions
Q: How do I know my ducts are the right size? A: Your contractor or designer should provide room-by-room airflow targets and duct sizes that match them, along with a static pressure goal for the equipment. Commissioning measurements after installation confirm the match.
Q: Is flex duct acceptable? A: Yes, if pulled tight, supported at short intervals, and used sparingly. Keep bends gentle, avoid kinks, and do not exceed the manufacturer’s compression limits to maintain airflow and quiet operation.
Q: What causes noisy registers? A: High velocity through small grilles, sharp elbows close to the boot, or restrictive diffusers. Upsize the grille, use a longer radius elbow, or choose a diffuser with greater free area.
Q: Do I need returns in bedrooms? A: Larger or more isolated bedrooms often benefit from dedicated returns. Otherwise, ensure generous door undercuts or transfer grilles to maintain pressure balance when doors close.
Q: How important is duct sealing? A: Critical. Even small leaks add up to large losses. Use mastic on every seam and joint, and apply UL 181-rated foil tape as specified. Proper sealing also reduces dust and humidity issues.
Q: Should I insulate ducts in a basement? A: If the basement is unconditioned or only partially conditioned, insulate supply ducts to maintain temperature and prevent condensation in summer.
Q: Can the system be zoned later? A: Often yes, if trunks and branches are accessible and sized for zoning dampers and controls. Planning for zoning during the design phase simplifies future installation.
Take the Next Step with Confidence
With a solid plan, careful workmanship, and documented testing, a new duct system will keep your Somerville home comfortable for years. If you are ready for expert design review, hands-on help, or full-service installation, reach out for professional air duct installation and turn your comfort plan into a quiet, efficient reality.
