
Introduction: A Clear Process for Reliable Results
Great ductwork does not happen by accident. It is the result of a disciplined process—evaluate, design, install, test, and fine-tune—executed by professionals who understand airflow as a system. In Somerville, New Jersey, where seasonal extremes test HVAC performance, following well-defined steps ensures your home feels comfortable on the hottest days and the coldest nights. This guide breaks down the air duct installation process from first walkthrough to final signoff so you know what to expect and how to participate. If you are planning new or replacement air duct installation, use these steps as a checklist for quality.
Step 1: Home Assessment and Goal Setting
The process begins with a room-by-room walkthrough to document comfort complaints, architectural constraints, and future plans. The technician notes ceiling heights, window orientation, insulation levels, and existing register locations. You share your priorities: quieter bedrooms, a less-stuffy home office, steadier basement temperatures.
- Measure each room and identify heat gain/loss factors.
- Identify obstructions like beams or tight chases that influence routing.
- Discuss equipment type and location to align duct layout with service access.
Step 2: Load Calculations and Airflow Mapping
Next, the designer calculates heating and cooling loads and converts them to airflow targets in CFM per room. With these targets, they select trunk and branch sizes that the blower can support within optimal static pressure. They also plan return pathways to avoid pressure imbalances when doors close.
- Create a duct layout sketch with supply and return locations.
- Choose register styles and sizes to promote quiet diffusion.
- Plan balancing dampers at branches for post-install tuning.
Step 3: Material Selection and Fabrication
Based on the layout, the team selects a mix of galvanized sheet metal, duct board, and flex where appropriate. Fabrication focuses on smooth transitions, long-radius turns, and airtight seams. Components are labeled to match the layout for efficient on-site assembly.
Step 4: Site Preparation
Before installation, crews protect floors, clear routes to attics and basements, and stage materials. If soffits or chases are required, coordination with carpentry ensures these are ready so ducts can be placed and sealed without delays. Electrical and plumbing conflicts are addressed early to avoid rework.
Step 5: Trunk and Return Installation
Work starts with main trunks and returns. Installers anchor hangers to keep ducts straight and supported, then align transitions to minimize turbulence. Returns are positioned to reduce noise and ensure robust circulation in every season.
Step 6: Branch Runs and Register Boots
Branches connect to trunks using takeoffs with balancing dampers. Where flexible duct is used, the team keeps runs short, supports them to avoid sags, and maintains smooth inner liners. Boots are sealed to floors or ceilings to block infiltration from unconditioned cavities.
Step 7: Sealing and Insulation
Every joint, seam, and penetration is sealed with mastic or approved tape. Ducts in unconditioned areas receive insulation to protect air temperature and prevent condensation. These steps preserve delivered capacity and guard against moisture issues that can damage building materials.
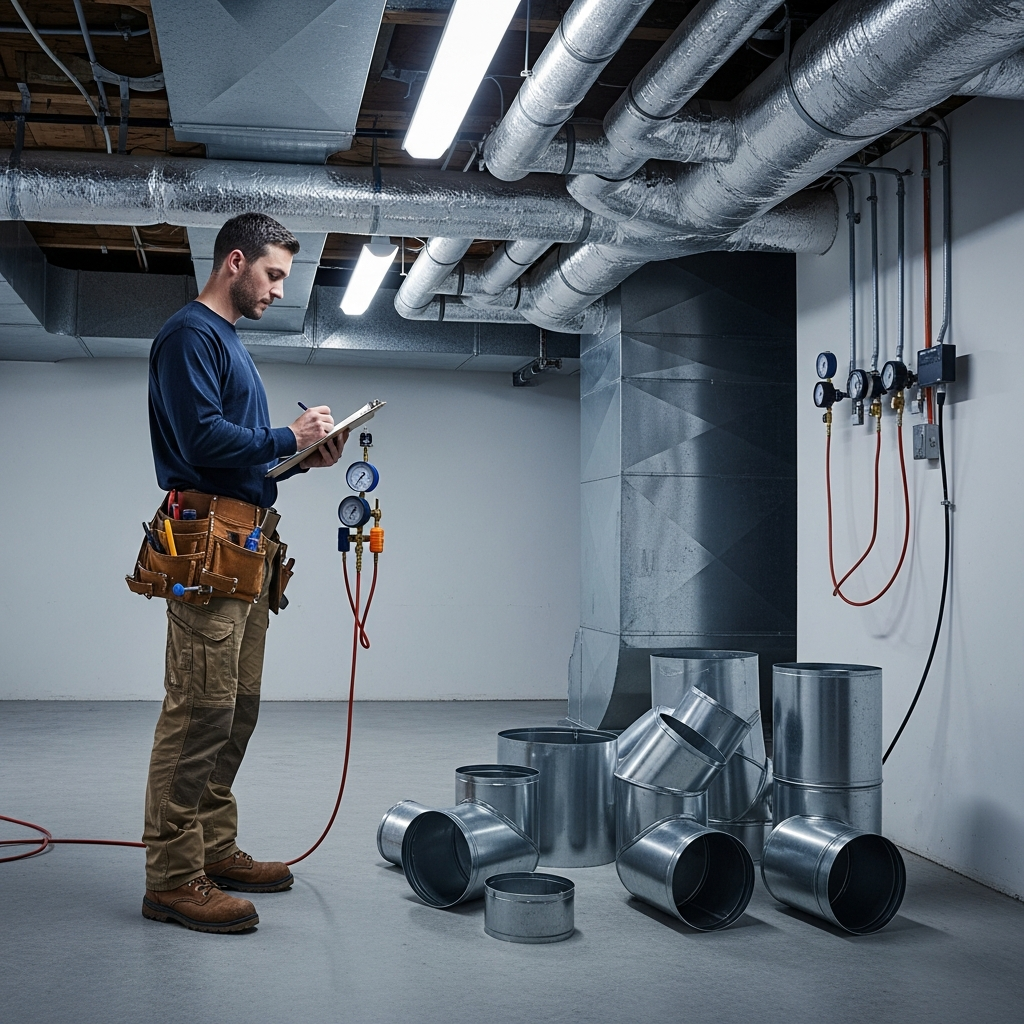
Step 8: System Testing and Balancing
Once assembled, technicians measure static pressure and CFM at key points. They adjust balancing dampers to match room targets and verify quiet operation at typical fan speeds. The goal is even temperatures across floors and stable humidity during peak seasons.
Step 9: Commissioning and Homeowner Orientation
Commissioning confirms performance. The crew completes a final visual inspection, verifies labeling, and documents measurements. During a walkthrough, they explain filter access, damper locations, recommended maintenance, and signs that might indicate the need for a future tune-up. Clear documentation helps you maintain performance long after the team leaves.
Somerville Considerations that Influence Steps
Local climate and construction practices inform choices at nearly every step. Basements benefit from return strategies that counter musty odors. Attics require careful insulation and sealing to avoid condensation on cold ducts in summer. Older homes may demand creative routing using closets or soffits, while new additions often call for zoning to manage distinct loads. Excellent installers anticipate these nuances during design to prevent mid-project surprises.
Quality Markers to Look For
- Straight, well-supported runs with minimal kinks or compression in flex sections.
- Long-radius elbows and smooth transitions rather than sharp, restrictive turns.
- Mastic-sealed joints and boots tightly sealed to surrounding surfaces.
- Clearly labeled trunks and branches for future service and balancing.
- Measured, documented static pressure and airflow at commissioning.
Common Pitfalls and How the Process Avoids Them
- Undersized returns that cause noise and starve the blower. The planning steps prevent this by mapping return capacity early.
- Overlong flex runs that sag and restrict airflow. Material selection and support spacing address this.
- Unsealed boots drawing dusty air from cavities. The sealing stage eliminates these hidden leaks.
- Poor register placement that creates drafts. Layout planning considers occupant comfort and solar loads.
- Lack of balancing, leaving rooms hot or cold. Testing and damper adjustments correct imbalances before handoff.
Working Seamlessly with Other Trades
Successful projects coordinate with electricians, plumbers, and carpenters. Early communication avoids conflicts in chases and joist bays. If a beam blocks a planned route, the team updates the layout and documents the change. This collaboration keeps the project on schedule and preserves the integrity of both structure and airflow.
Maintenance and Follow-Up
After installation, maintain performance with timely filter changes, clear registers, and periodic inspections of straps and insulation. If you remodel or change room layouts, schedule a balancing check to realign airflow targets. A short follow-up visit after the first season is often helpful to confirm that comfort remains consistent under real-world conditions.
Frequently Asked Questions
Q: How long does the process typically take?
A: Timelines depend on home size, access, and complexity. A basic retrofit may be completed in a few days, while systems involving new chases or zoning can take longer. Good planning and staging keep work efficient.
Q: Will the crew need to cut into walls or ceilings?
A: Sometimes. In finished spaces, soffits or small access openings may be necessary to route ducts. Skilled installers minimize openings and coordinate repairs to maintain a clean finish.
Q: How is noise controlled?
A: By managing static pressure, sizing returns generously, using smooth transitions, and selecting registers that diffuse air quietly. Sound attenuation is addressed in design, not just after installation.
Q: What kind of testing should I expect?
A: Static pressure readings, airflow checks at registers, temperature spot checks, and a final walkthrough to confirm balancing and document results.
Q: Can existing equipment work with new ducts?
A: Yes, provided the duct design aligns with the blower’s capabilities. The designer will match duct sizing and layout to equipment specifications for efficient, quiet operation.
From Plan to Performance in Somerville
A structured process protects outcomes. When each step—assessment, design, installation, sealing, testing, and commissioning—is executed with care, your home enjoys smooth, quiet airflow across seasons. If you would like a team to manage the details and verify results, explore local air duct installation services that emphasize measured performance and clear documentation. The right process turns design intent into everyday comfort.
Get Started on Your Project
Ready to plan your upgrade or new system? Begin with a professional evaluation that listens to your comfort goals, measures real conditions, and translates them into a layout built for longevity. When the process is followed diligently, your home feels better, your equipment runs easier, and your indoor air stays fresher. Take the first step by learning more about expert air duct installation and how a disciplined approach delivers dependable comfort in Somerville.
