
Introduction: A Homeowner’s Roadmap to Better Airflow
Whether you are renovating a charming Somerville bungalow or finishing a new addition, the path to year-round comfort runs through your ductwork. Residential ducts are the circulatory system of your HVAC—quietly moving conditioned air to the rooms where your family lives, works, and sleeps. A well-planned installation prevents hot and cold spots, reduces noise, and protects indoor air quality. This practical guide walks you through the decisions and milestones that matter, from initial assessment to final commissioning, so you can make confident choices and understand what great air duct installation looks like in a Somerville, New Jersey home.
While every house is unique, the fundamentals are the same: calculate loads, size ducts appropriately, place supplies and returns for even distribution, and seal and insulate for efficiency. When these basics align, your equipment runs smoothly and your rooms stay comfortable without constant fiddling with the thermostat.
Step 1: Document Comfort Goals and Constraints
Start by listing rooms that are often uncomfortable, noisy, or dusty. Note renovations or future plans that might change airflow needs—like turning an attic into a home office or finishing a basement. Identify space constraints, such as narrow joist bays or low-clearance soffits. Share these details with your installer so the design addresses real-world conditions, not just theoretical calculations.
- Make a room-by-room wishlist: temperature stability, humidity control, and noise targets.
- Flag rooms with doors that stay closed; they may need dedicated returns.
- Point out areas with strong sun exposure or large windows.
- Discuss furniture placement that could block registers.
Step 2: Load Calculations and Airflow Targets
Accurate sizing prevents drafty rooms and short cycling. Your contractor will measure the home, consider insulation levels and window performance, and determine heating and cooling loads. Then they translate those loads into airflow targets (CFM) for each room and floor. Proper sizing of trunks, branches, and returns ensures the blower operates within its optimal static pressure range, promoting quiet, efficient performance.
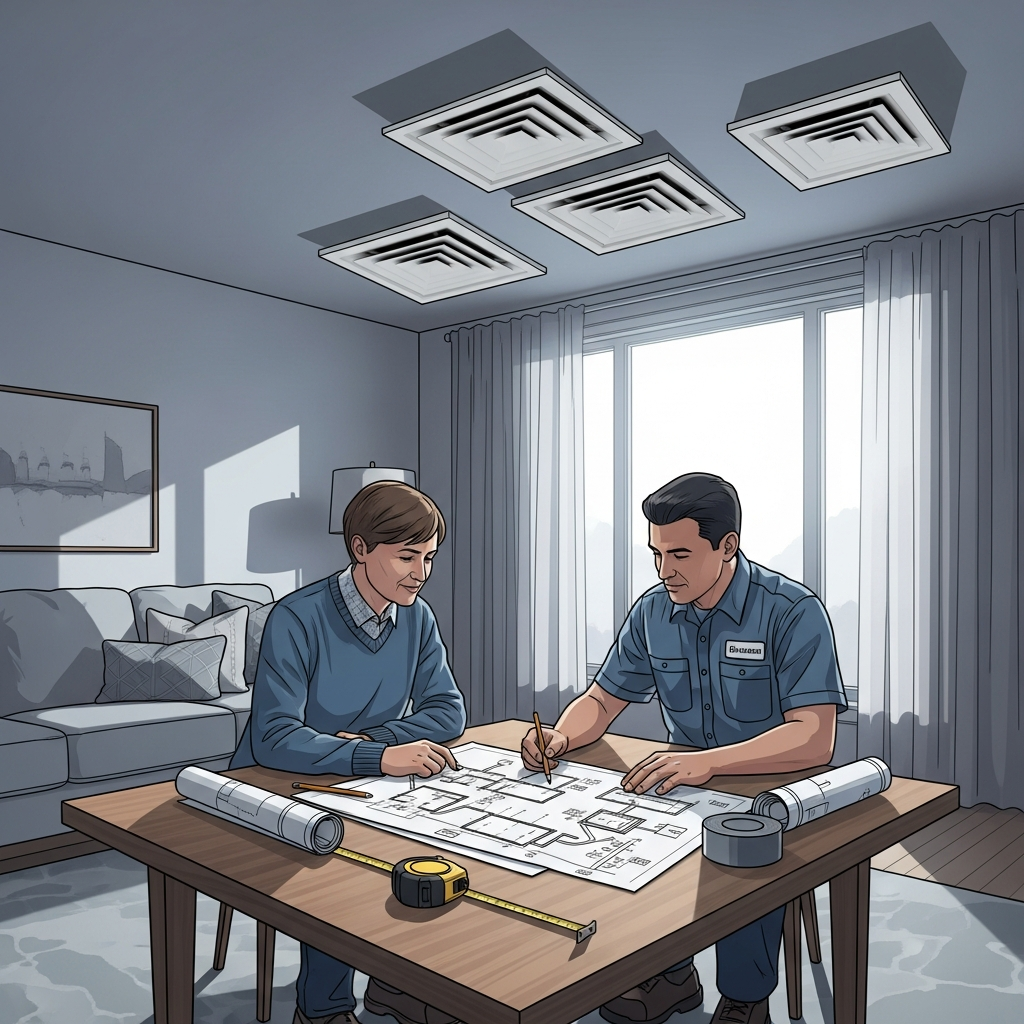
Step 3: Layout and Register Placement
Good layouts minimize friction and turbulence. Long-radius elbows, gentle transitions, and straight runs preserve static pressure. Supplies should promote mixing—placing a register near a window wall can help offset heat gain in summer. Return placement reduces cross-room drafts and noise. In bedrooms or home offices, consider grilles that diffuse air quietly without directing a stream across occupants.
- Place supplies to wash exterior walls and address solar loads.
- Include returns or transfer grilles where doors are frequently closed.
- Use balancing dampers on branches for post-install tuning.
- Label each run for future service and homeowner clarity.
Step 4: Choose Materials and Insulation
Many residential systems combine metal trunks with short, supported flex branches to diffusers. Metal offers durability and smooth interiors; flex provides installation flexibility. Regardless of material, sealing with mastic and using appropriate insulation prevents leakage and temperature loss. Insulation also curbs condensation in humid summers, protecting surrounding building materials.
Step 5: Prepare the Home for Installation
Clear access to basements, attics, and mechanical rooms helps the crew work efficiently and safely. If soffits or chases are needed, coordinate with carpenters to build them before duct installation or allow adequate time for sequencing. Protect finished spaces with floor coverings and dust control measures. Good preparation shortens project timelines and helps maintain a tidy work site.
Step 6: Installation Day—What to Expect
On installation day, crews typically begin with main trunks and returns, then branch lines and registers, and finally sealing, insulation, and labeling. Expect a balance of fabrication and careful fitting. The team will use hangers and supports to prevent sags, align transitions to reduce turbulence, and check that boots are sealed to surrounding surfaces. Throughout, communication about any discovered obstacles—hidden beams, electrical runs, or tight framing—helps you understand small plan adjustments.
Step 7: Sealing, Testing, and Balancing
After ducts are in place, technicians seal all joints with mastic or approved tape and insulate as needed. Then they measure static pressure and airflow, adjust dampers, and verify room-by-room targets. The system should operate quietly with even temperatures across floors. During the homeowner walkthrough, ask how to change filters, where to access dampers, and what maintenance schedule to follow.
Somerville-Specific Considerations
Local climate and housing styles influence design. Basements can be cool and damp; insulating and sealing return paths helps prevent musty odors. Second floors often need extra cooling capacity and thoughtful register placement to counter heat rise. For historic homes, slim duct solutions or shared chases may preserve aesthetics. Work with a contractor who respects architectural character and knows how to blend performance with preservation.
Energy Efficiency and Indoor Air Quality
Well-sealed ducts reduce wasted energy and help your system meet thermostat setpoints without long run times. For indoor air quality, pair duct design with filter selection that your blower can handle comfortably—higher MERV ratings catch smaller particles but also add resistance. Consider dedicated return pathways and, when appropriate, controlled ventilation to dilute indoor pollutants. These choices add up to fresher air and steadier comfort.
Upgrades Worth Considering
- Zoning to control different floors or additions independently.
- High-performance registers for quiet, well-diffused airflow.
- Sound attenuation at key points in return trunks near bedrooms.
- Service panels and cleanouts for long-term maintenance.
How to Evaluate Contractors
Interview prospective installers with a focus on design rigor and verification. Ask how they calculate loads, choose duct sizes, and set balancing dampers. Inquire about commissioning steps and documentation. Strong providers will share layout sketches, discuss expected static pressure, and explain how they will protect building finishes during installation. As you compare air duct installation services, look for a team that emphasizes testing, not just assembling parts.
Maintenance After Installation
Filters, registers, and returns need routine attention to maintain designed performance. Keep vents clear of rugs and furniture, replace filters as recommended, and schedule periodic inspections to ensure straps, insulation, and seals remain intact. If you remodel or change room uses, revisit balancing to match the updated layout.
Frequently Asked Questions
Q: How disruptive is residential duct installation?
A: With good planning, crews minimize disruption by staging materials, protecting floors, and coordinating access. Expect some noise and limited access to certain rooms during working hours, but a tidy, professional team will keep your home livable throughout.
Q: Can I mix existing ducts with new ones?
A: Yes, if existing sections are correctly sized, in good condition, and can be sealed and insulated to today’s standards. An inspection will reveal where reuse makes sense versus where replacement will improve comfort and efficiency.
Q: Will new ducts help humidity control?
A: Properly sized and sealed ducts support equipment in managing humidity by ensuring designed airflow reaches each room. In humid Somerville summers, insulation and air sealing reduce condensation risks on cold duct surfaces.
Q: Do I need returns in every bedroom?
A: Not always, but every closed-door room needs a pressure-relief path. That can be a dedicated return, a jump duct, or an undercut door combined with a transfer grille, depending on layout and acoustic goals.
Q: How often should I replace filters?
A: Follow manufacturer guidance and consider household factors like pets, renovations, and allergy concerns. A visual check each month helps you establish the right interval for your home.
Q: What if my second floor is always warmer?
A: Enhanced return paths, strategic register placement, and, in some cases, zoning can correct second-floor imbalances. An evaluation focusing on heat gain and airflow usually reveals the right combination of changes.
Your Path to Consistent Comfort
When you understand the steps—assessment, design, installation, sealing, and commissioning—you can set clear expectations and achieve steady comfort through every Somerville season. Thoughtful choices during installation pay ongoing dividends in quieter operation and better indoor air quality. If you are ready to plan or upgrade your system, explore professional air duct installation and start designing room-by-room comfort that fits your home.
