
Introduction: Your Comprehensive Dryer Vent Cleaning Checklist
Keeping your dryer vent clear is a safety essential and a smart way to improve laundry efficiency. A methodical checklist ensures you do not miss hidden lint pockets, sticky residues at exterior hoods, or kinked transition sections behind the appliance. In Somerville, New Jersey—where seasonal humidity and winter cold can both affect vent performance—having a repeatable process matters even more. The following comprehensive checklist organizes preparation, cleaning, verification, and follow-up steps so you can approach the task with confidence. It also highlights when to seek professional dryer vent cleaning to address complex runs, roof terminations, or stubborn obstructions.
This checklist is designed for homeowners and property managers alike. Use it for annual maintenance, after renovations that generate dust, or when you notice warning signs like longer drying times and hotter laundry rooms. Each item below contributes to restoring strong airflow and lowering the risk of lint ignition, while ensuring your dryer operates within manufacturer expectations for vent resistance and run length.
Pre-Clean Safety and Setup
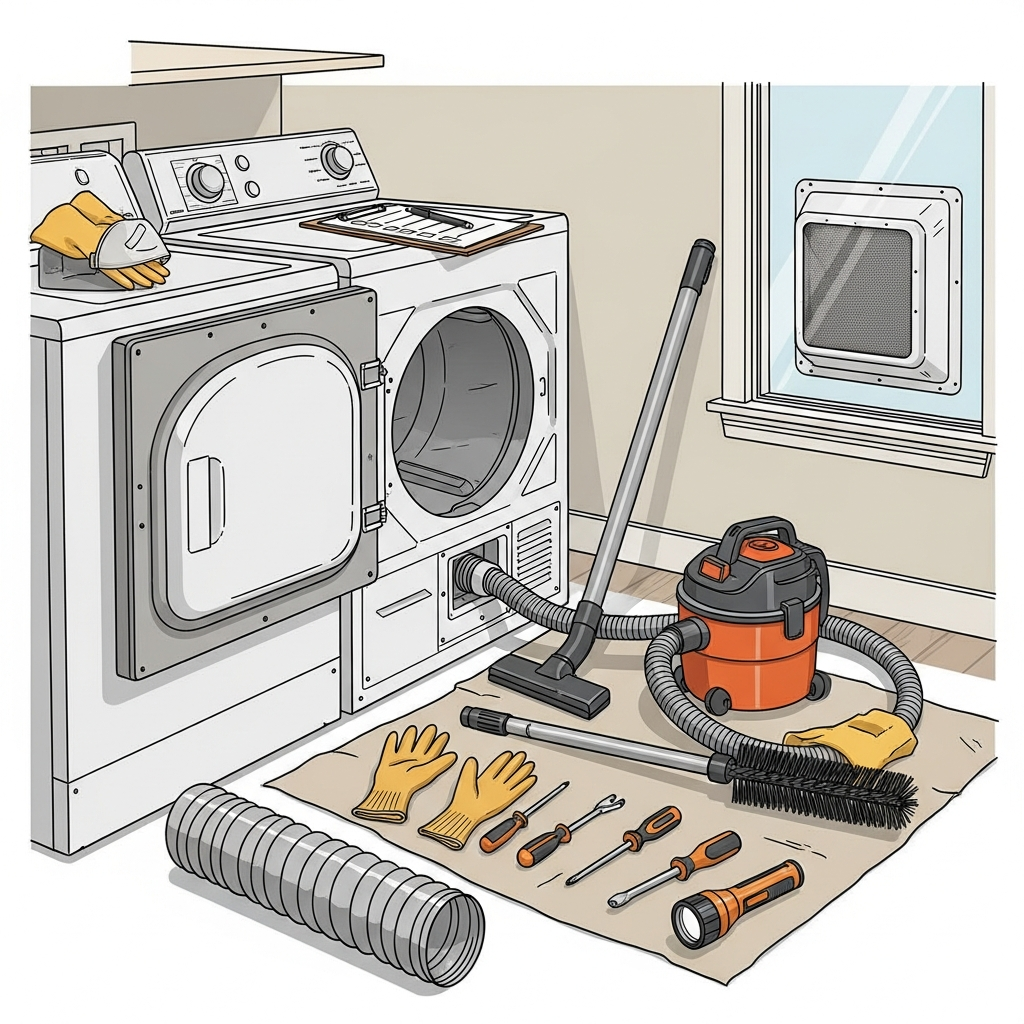
Start by shutting off power at the plug or breaker. If you have a gas dryer, close the gas valve and avoid straining the connector. Clear a safe workspace around the dryer and protect floors with a drop cloth. Wear eye protection and a dust mask to keep fine particles out of your eyes and lungs. Keep a fire extinguisher nearby as a general precaution. Gather tools: a flexible or rotary brush kit, shop vacuum with attachments, screwdriver or nut driver for clamps, replacement worm-gear clamps, a flashlight, and a microfiber cloth. If your laundry nook is tight, plan how you will slide the dryer forward in small increments to avoid crushing the transition duct.
Stage a trash bag or container for collected lint. If your exterior vent exits over a deck, walkway, or landscape bed, set a tarp to catch debris. Confirm safe access to the exterior termination point. If the vent terminates through a roof cap with difficult or unsafe access, plan to limit DIY work to interior brushing and schedule specialized help for the roof termination.
Checklist: Interior Actions
1) Remove the lint screen and vacuum the housing thoroughly. 2) Unplug the dryer and carefully pull it forward to reveal the transition duct. 3) Loosen clamps at the dryer collar and wall or ceiling stub-out; detach the transition duct. 4) Inspect the removed duct for crushed sections or embedded lint; replace with semi-rigid aluminum if damaged or foil-type. 5) Vacuum the dryer’s exhaust collar area, the floor, and nearby surfaces to capture stray fibers. 6) Insert a flexible brush into the wall or ceiling connection leading outdoors; rotate gently and withdraw periodically to vacuum the bristles. 7) If using a drill-driven brush, keep speed low to avoid whipping and joint separation. 8) Mark any points of repeated resistance so you can assess from the opposite end later.
9) Wipe the dryer back panel surfaces and the area around the exhaust collar with a microfiber cloth to remove clingy lint dust. 10) Check the cord and, for gas units, confirm the valve is off and the connector is not stressed. 11) Prepare replacement clamps so reassembly is seamless after duct cleaning. Careful, deliberate work at this stage sets the tone for an effective and safe overall cleaning.
Checklist: Exterior Actions
1) Open the termination hood and visually check for lint cakes, sticky residue on hinges, or nesting materials. 2) Vacuum accessible lint and gently brush interior surfaces of the hood. 3) If a screen is installed across the outlet, remove it—screens trap lint and are not recommended for dryer exhausts. 4) With a helper inside, alternate brush passes from interior to exterior while vacuuming debris at the hood. 5) Inspect the damper movement with the dryer running during final verification; it should open fully and close when off. 6) Assess the hood’s condition; cracked or warped parts merit replacement with a low-resistance model.
7) For roof terminations, visually confirm the cap is designed for dryers and not a restrictive universal vent. If you cannot safely access the roof, stop and schedule service rather than risk a fall. Roof caps exposed to cold winds can gum with frost; a professional can apply appropriate cleaning methods and evaluate whether a better cap design is warranted for Somerville’s winter conditions.
Checklist: Reassembly and Airflow Verification
1) Cut a semi-rigid transition duct to the shortest workable length without sharp bends. 2) Slide it over the dryer exhaust collar and the wall stub, then secure with quality worm-gear clamps—do not use screws that penetrate the duct interior. 3) Carefully slide the dryer back while watching the duct for kinks. 4) Restore power and, for gas units, reopen the shutoff valve. 5) Run the dryer on air fluff for several minutes and check outside for a strong, steady airflow with the damper fully open. 6) Indoors, listen for rattles or whistling that could signal a loose joint or a crushed section.
7) If airflow is weak despite your efforts, reassess measured resistance points, look for hidden elbows, and consider whether the run approaches maximum equivalent length. At that stage, additional equipment or partial disassembly might be needed—this is a good indicator to call in a professional who can reach farther and evaluate the entire route.
Seasonal Adjustments for Somerville, New Jersey
The mid-Atlantic climate influences when and how you maintain your vent. In humid summers, sticky lint adheres more readily to duct walls; in winter, freezing temperatures can affect damper hinges and even collect frost around roof caps. Plan a quick exterior check at the start of each season. Ensure vegetation has not grown over wall hoods, and remove snow from the area during cold snaps. If you find the damper stiff, clean residue and confirm free motion. A small amount of household cleaner on a cloth can remove tacky build-up; avoid lubricants that attract dust.
After renovations that produce dust—such as drywall sanding or attic work—perform an extra cleaning. Dust binds with lint to make heavy clumps that settle in elbows and long horizontal runs. Property managers in Somerville often incorporate this step into turnover or inspection schedules, documenting the date and condition of the vent for peace of mind and compliance with maintenance protocols.
Warning Signs You Should Never Ignore
Prolonged drying time, clothes that emerge hotter than normal, a musty or hot odor during cycles, or visible lint near the dryer door all point to restricted exhaust. Outside, watch for a damper that barely opens, lint streaks or clumps around the hood, and a weaker airflow stream compared to your baseline. Noise changes—whistling, thumping, or rattles—also deserve a look. Responding quickly to these alerts prevents overheating, reduces energy waste, and protects the dryer’s heating elements and bearings.
Some changes are subtle: if the delicate cycle suddenly overdries items or auto-dry settings act unpredictably, decreased airflow may be skewing sensor readings. Treat vent inspection as a first diagnostic step before calling for appliance repair.
Upgrades to Improve Airflow and Simplify Future Cleanings
Replace fragile foil transition ducts with semi-rigid aluminum that resists crushing. Choose a low-restriction wall hood with a smooth interior and a free-swinging damper. Where the duct crosses unconditioned spaces, insulate to reduce condensation and rust risks. If your layout allows, reroute long, elbow-heavy runs during remodeling. A recessed dryer box can keep the transition path straight while letting the dryer sit closer to the wall. These upgrades make immediate improvements to airflow and reduce the frequency of intrusive cleanings.
For unusually long runs, a properly rated booster fan may be present. Include it in your cleaning plan per the manufacturer’s instructions. Ensure it is accessible, designed for dryer use, and not caked with lint. An improperly selected or neglected fan can become a bottleneck instead of a solution.
Frequently Asked Questions
Q: How often should I complete this full checklist? A: Most Somerville households benefit from a six- to twelve-month cadence, adjusted for load volume, pets, and fabrics that shed heavily. After big home projects, add an extra cycle.
Q: Can I clean only from the inside and skip the outside? A: You can improve airflow from one side, but alternating inside and outside passes produces the most reliable results and ensures debris exits the duct.
Q: Are screens acceptable on dryer exhaust hoods? A: No. Screens collect lint rapidly and create dangerous blockages. Use a dryer-specific hood with a free-moving damper.
Q: What if the vent terminates on the roof? A: If roof access is unsafe, stop DIY at the interior and schedule roof service with a qualified technician. Roof caps demand careful handling and safety measures.
Q: My airflow is still weak after following the checklist. What now? A: Look for hidden elbows or collapsed sections, confirm the damper opens fully, and consider whether your run is near the manufacturer’s maximum length. At that stage, specialized tools or partial disassembly may be needed.
Put This Checklist to Work in Your Somerville Home
By following this complete, repeatable checklist, you will build a reliable maintenance rhythm that keeps laundry day efficient and lowers safety risks in your Somerville, New Jersey home. When your vent route is long, includes roof terminations, or resists standard brushing, bring in local expertise to ensure every section is clear and optimized. When you want thorough results and confidence that your system is performing at its peak, schedule professional dryer vent cleaning and enjoy faster drying, stronger airflow, and lasting peace of mind.
