
Installing a safe, efficient dryer vent is a project that rewards careful planning and attention to detail. In Somerville, New Jersey, varied housing styles—from historic homes with plaster walls to modern townhomes—create unique routing challenges. This step-by-step guide explains the planning, materials, and methods that support a reliable, code-compliant result. If, after reviewing the process, you decide that bringing in a specialist is the right move, you can always consult a local pro for dryer vent installation to ensure the system performs safely from day one.
The goal is straightforward: move warm, moist air and lint to the outdoors with minimal resistance while protecting the building envelope. Achieving that goal depends on a clear route, the right materials, and precise workmanship. Even if you are an experienced DIYer, treating the vent as a small but critical mechanical system leads to better decisions and fewer callbacks to fix preventable issues.
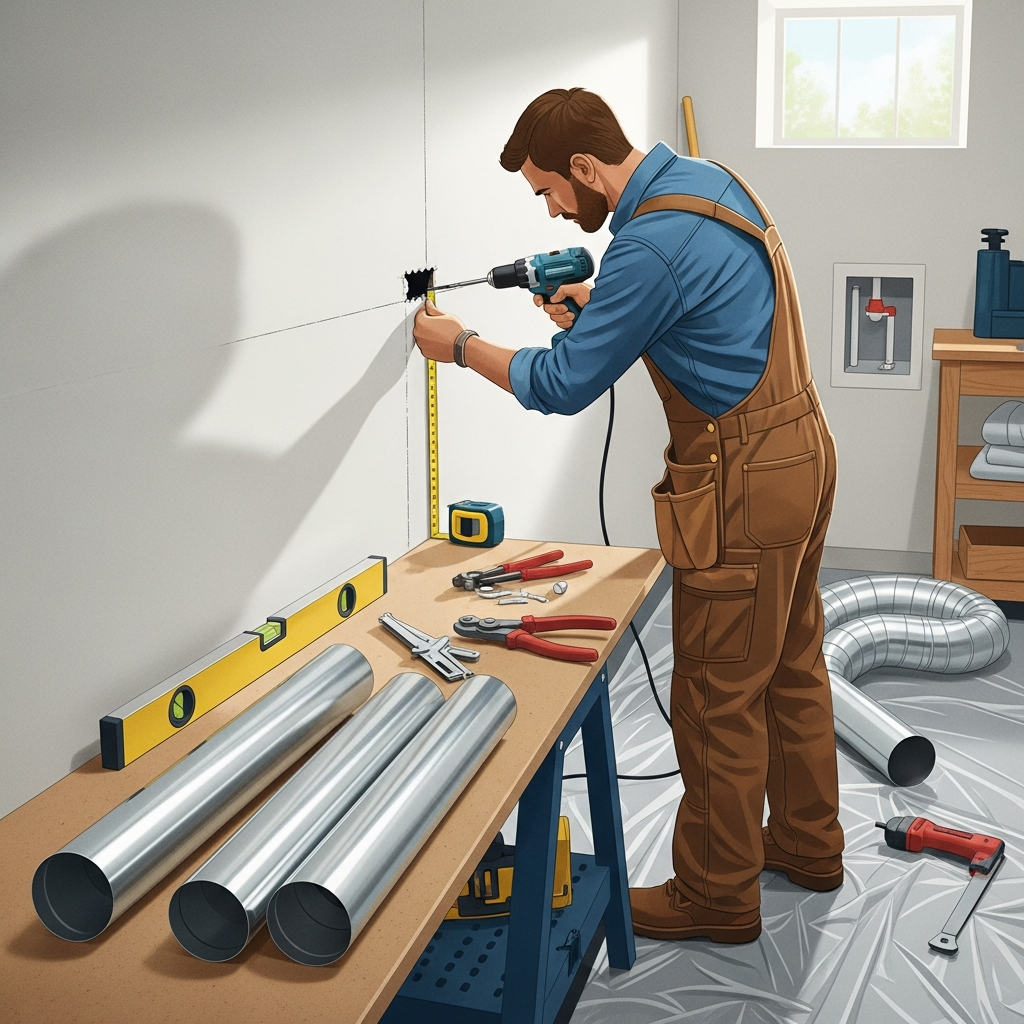
Planning the route
Start by locating the shortest safe path to the exterior. Fewer turns and shorter run length support stronger airflow and faster dry times. Consider both wall and roof termination options. In basements and first-floor laundry rooms, a wall termination is often practical. For second-floor or interior laundry closets, a roof termination may provide the most direct path. Check manufacturer specifications for your dryer to confirm maximum equivalent lengths and allowable elbows.
- Measure the straight-line distance and count necessary elbows.
- Look for obstructions such as joists, plumbing, wiring, or HVAC ducts.
- Choose a termination location that is accessible for maintenance and clear of vegetation or grade-level obstructions.
- Plan for proper support spacing to prevent sagging or vibration.
- Decide how you will protect interior finishes and manage dust during penetrations.
Selecting materials
Smooth-wall rigid metal ducting is the recommended choice for the main run because it minimizes lint accumulation and airflow resistance. Semi-rigid may be used for a short transition between the dryer and the wall, but avoid thin foil ducts for the primary path. Use heat-rated foil tape for sealing joints. Do not use screws that penetrate the duct interior, as they can catch lint and reduce safety. Choose a high-quality wall or roof cap with a backdraft damper designed for dryer exhaust.
For exterior penetrations, select components suited to your home’s exterior—siding, brick, stone, or roofing. In unconditioned spaces, consider strategies to control condensation and protect nearby materials. Properly sized collars or sleeves can help maintain clearances through walls and protect edges from wear.
Tools and preparation
Gather the tools you will need before you begin. Common items include a drill or driver, hole saw or masonry coring tools (depending on the substrate), sheet metal snips, measuring tape, level, caulking suitable for exterior use, and safety equipment. Protect interior areas with drop cloths or plastic sheeting to control dust. Move the dryer to create working room and prevent damage to hoses or connectors during the process.
- Verify electrical or gas connections are safely shut off before moving the appliance.
- Remove the lint trap and clean the immediate area to avoid introducing debris into the new duct.
- Confirm the exact height and position of the outlet from the dryer so the transition is smooth and kink-free.
Creating the exterior penetration
Mark the penetration point carefully from the interior, then drill a small pilot hole to confirm the exterior location aligns with your plan. For siding or wood sheathing, a hole saw can create a clean opening. For brick or masonry, specialized coring tools may be necessary and dust control becomes more important. Expand the opening to the required diameter, insert any sleeves as needed, and test-fit the termination cap before final placement.
Weather sealing is critical. Apply appropriate exterior-grade sealant or flashing to keep water out. The termination should sit flush and secure, with the damper able to swing freely. Avoid screens that can trap lint; choose a cap specifically designed for dryer applications.
Assembling the duct run
Dry-fit rigid sections from the appliance side toward the termination, or vice versa, depending on access. Minimize elbows, and when they are necessary, use smooth-radius fittings. Keep horizontal runs slightly pitched toward the exterior to prevent condensation from migrating back into the home. Secure supports at manufacturer-recommended intervals, paying attention to any span that could sag.
Seal each joint with heat-rated foil tape. Avoid foil-backed insulation tapes not intended for high temperatures. Make sure no fasteners penetrate into the airstream. Pay extra attention to the final connection behind the appliance—transitions should be short, secure, and arranged to prevent crushing when the dryer is moved back into place.
Connecting the dryer and testing
With the run assembled and the termination installed, position the dryer to align with the transition connector. Secure the connection without forcing tight bends. Restore power or fuel supply according to the manufacturer’s guidance. Run the dryer on an air or timed cycle to evaluate airflow. Step outside to confirm that the damper opens fully and that exhaust is clear and steady. Listen for rattling that might indicate a loose fitting or a vibrating section that needs an additional support.
- Check for warm air leaks at joints; reseal as necessary.
- Inspect behind the dryer to confirm the connector is not pinched or crushed.
- Verify that the damper closes when the dryer stops, keeping pests and cold air out.
Special situations in Somerville homes
Older homes and multifamily buildings can complicate route planning. If the shortest path conflicts with structural members, consider slight reroutes that maintain airflow performance. In finished basements, plan access points that allow future inspection and cleaning. For roof terminations, ensure proper flashing beneath shingles or compatible sealing methods for other roofing types. Where exterior walls are masonry, take extra care to protect edges and maintain a neat, weather-tight finish.
If you discover existing foil accordion ducting, crushed sections, or terminations venting into crawlspaces or attics, replace or reroute them immediately. Such conditions undermine safety and reduce dryer efficiency. It is better to take an extra hour to correct a risky route than to live with a system that invites lint buildup and moisture problems.
Commissioning and homeowner education
A thorough installation includes simple commissioning checks. Airflow should feel strong at the termination. The damper should open fully and close completely when the cycle ends. Inside, the dryer should not labor or vibrate abnormally. Provide yourself with a quick maintenance checklist and store it near the laundry room as a reminder.
- Clean the lint trap with every load.
- Visually inspect the exterior termination monthly to ensure the damper moves freely.
- Keep plants and mulch away from wall caps to maintain clear airflow.
- Schedule periodic duct cleaning based on laundry volume, household pets, and observed performance.
When to call a professional
DIY confidence is valuable, but there are times when professional help is the safest, most reliable choice. If your route requires multiple elbows, long runs through tight chases, roof termination on a steep pitch, or coring through brick or stone, experienced installers bring the right tools and methods to protect your home. They can also measure airflow, verify compliance with manufacturer length limits, and spot issues that are easy to miss during a first-time install.
Partnering with a local expert in professional dryer vent installation can turn a complex plan into a clean, efficient system that operates safely for years. Consider a consultation if you are relocating a laundry room, replacing outdated foil ducts, or unsure how to manage an exterior termination on brick or roofing material.
Frequently asked questions
Q: Can I use PVC pipe for a dryer vent? A: No. PVC is not appropriate for dryer exhaust due to heat and static concerns. Use smooth-wall rigid metal designed for venting.
Q: How many elbows are too many? A: Follow the dryer manufacturer’s equivalent length limits, which assign length values to each elbow. In general, fewer elbows are better for airflow.
Q: Should I install a screen on the exterior cap? A: Avoid screens. Use a dryer-specific cap with a backdraft damper that resists pest entry without trapping lint.
Q: How do I prevent the duct from getting crushed when I push the dryer back? A: Use a short, safe transition connector and position the outlet so the dryer aligns naturally without tight bends. Move the appliance gently and verify clearance.
Q: What is the best way to seal joints? A: Use heat-rated foil tape intended for HVAC applications. Do not use duct tape that is not rated for high temperatures.
Q: Do I need to pitch horizontal runs? A: Slightly pitch them toward the exterior to discourage condensation from pooling inside the duct.
Q: How often should I clean the vent after installation? A: Frequency depends on usage and lint load. Many households benefit from annual or biennial checks; watch for longer dry times or visible lint around the termination.
Confident, safe results for your Somerville home
With smart planning, proper materials, and patient workmanship, you can build a vent that keeps laundry days efficient and safe. If your project begins to feel complex, or you simply want the assurance that comes with expert testing and verification, contact a trusted Somerville provider for dryer vent installation services and enjoy reliable performance from the first cycle onward.
