
Choosing the Best Dryer Vent Installation Kit for Somerville, New Jersey Homes
Selecting the best dryer vent installation kit is about more than grabbing the first box on the shelf. In Somerville, New Jersey—where homes range from historic structures to modern townhomes—the right kit depends on building materials, route length, climate considerations, and your appliance’s requirements. This comprehensive guide explains which components matter most, how to evaluate kits intelligently, and when to go beyond a kit with professional-grade materials or expert support. If you are just getting started and want local context, review a trusted overview of dryer vent installation to align your choices with best practices in our area.
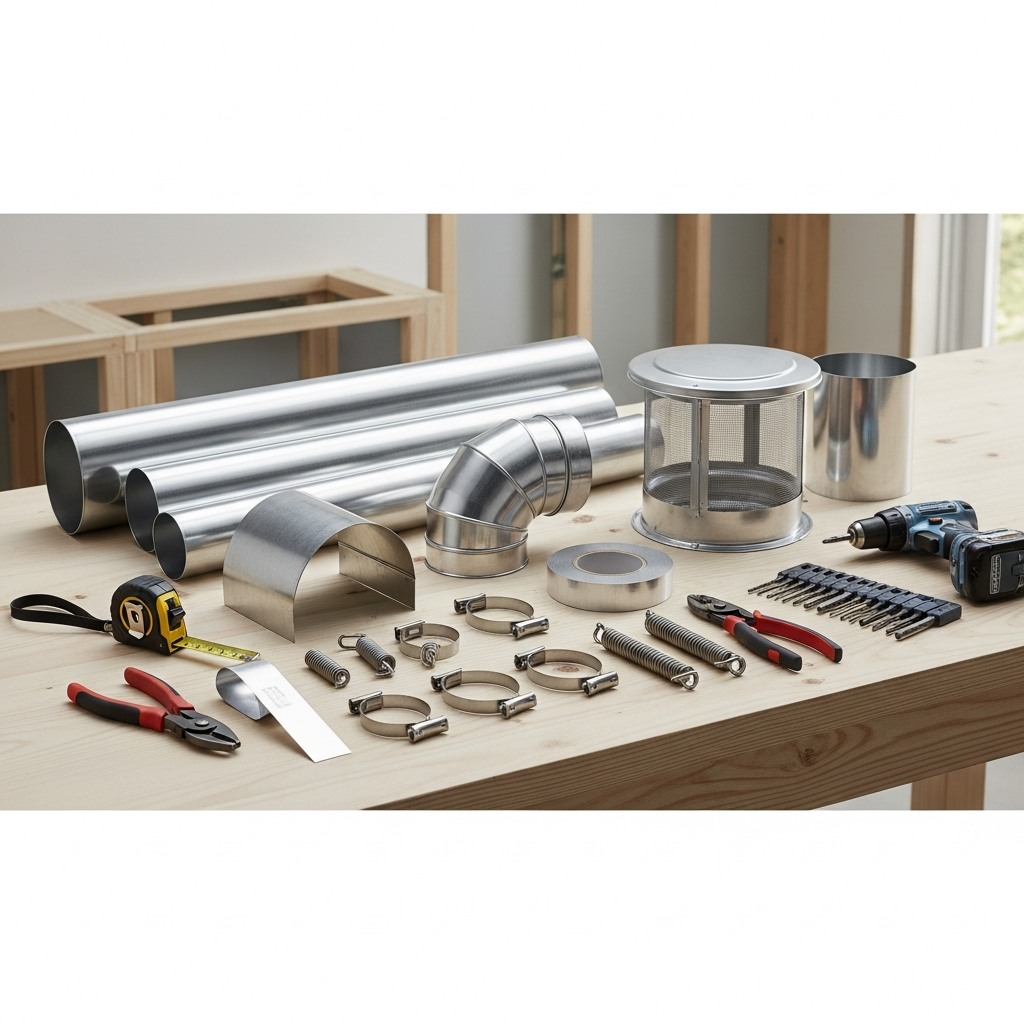
Dryer vent kits vary widely. Some include only a short connector and a basic cap, while others provide rigid duct sections, elbows, clamps, and high-quality terminations. The best choice for you balances durability, airflow, ease of installation, and compatibility with your home’s layout. Keep in mind that a kit is a starting point; you may still need additional rigid duct, specialized elbows, or masonry sleeves to meet code and long-term performance goals.
What a Quality Kit Should Include
A strong kit typically offers smooth, rigid metal duct sections or, at minimum, a reliable semi-rigid connector for the short run between the dryer and the wall. Look for elbows with generous radii to limit turbulence and clamps or bands that secure connections without crushing the duct. A well-designed exterior cap with a low-resistance damper is critical for airflow and pest defense. If your home has masonry walls, consider whether the kit includes or accommodates sleeves and sealants appropriate for a clean, weathertight penetration.
Hardware should be robust and compatible with metal foil tape designed for HVAC applications. Avoid kits that rely on cloth duct tape for sealing—heat and humidity will degrade it. Ensure the cap’s damper moves freely and that the opening is large enough to avoid throttling exhaust flow.
Rigid vs. Semi-Rigid vs. Flexible
Rigid metal duct is the gold standard for primary vent runs because the interior is smooth and resists crushing. Semi-rigid aluminum is sometimes used for short connectors behind the dryer when space is tight. True flexible foil or plastic duct is generally not recommended for the main run; it traps lint and restricts flow. If your kit includes flex for anything more than a very short connector, consider upgrading those components to rigid metal for lasting performance.
In Somerville’s mixed housing stock, rigid duct pays dividends. Older homes often present longer or more complex routes where airflow efficiency matters more. Newer homes benefit as well because good ducting supports manufacturer specifications and helps preserve the appliance warranty.
Exterior Termination Caps
The termination cap is the exhaust system’s exit door. Low-quality caps can become a bottleneck due to small openings or sticky flappers. A premium cap with a broad opening, reliable backdraft damper, and pest screening designed for dryer exhaust will improve performance. Avoid fine mesh screens that trap lint; they can clog quickly and create a fire risk. The best kits bundle caps that strike the right balance between protection and airflow.
Placement is equally important. Sidewall terminations are common and often preferable to roof vents because they are easier to access for inspection and cleaning. In Somerville neighborhoods with close lot lines, choose a termination location that prevents lint from blowing onto walkways or landscaping.
Elbows and Equivalent Length
Each elbow increases equivalent length—an airflow penalty that needs to be accounted for in design. Kits that include long-sweep elbows give you an advantage by making turns more gently. If the route demands multiple changes in direction, consider purchasing additional wide-radius elbows rather than relying on tight bends that sap airflow and accumulate lint more readily.
Equivalent length guidelines vary with dryer models, so consult the appliance documentation when planning the route. A kit is only as effective as the path it supports; keeping turns to a minimum and using efficient components are key.
Sealing, Support, and Clearances
Good sealing makes a big difference. Kits that anticipate proper sealing with metal foil tape and mechanical fasteners create a durable system that resists leaks and vibration. Support brackets or straps help maintain alignment, reduce sagging, and prevent accidental damage during cleaning or moving the appliance.
Clearance behind the dryer is another frequent challenge. Some kits advertise slim-profile elbows that allow the dryer to sit closer to the wall without crushing the connector. These can be helpful in tight laundry closets, but they should not introduce sharp turns or narrow passages that restrict flow.
When a Kit Is Not Enough
Many Somerville homes require more than a standard kit provides. Long runs, masonry penetrations, and concealed routing through finished spaces may call for additional rigid duct, specialized coring, or custom terminations. In these cases, supplement the kit with professional-grade parts. If you are unsure, a brief consultation can prevent missteps like undersized caps, flimsy connectors, or excessive elbows that hurt performance.
Another signal that a kit alone may be insufficient is when the existing vent location is fundamentally flawed—terminating into an attic, soffit, or crawlspace, for instance. Correcting such conditions typically exceeds a kit’s scope and benefits from a more comprehensive plan.
Somerville Climate and Building Considerations
Our winters can be cold enough to influence condensation inside ducts that pass through unconditioned spaces. In those cases, the best kit pairs with smart routing that limits exposure or adds insulation where appropriate. Summers bring humidity that can exacerbate lint accumulation if airflow is already marginal. Choosing components that protect airflow year-round reduces maintenance and improves consistency.
Older masonry exteriors demand clean, properly sealed penetrations. Look for kits that are compatible with sleeves or collars that protect the wall opening and simplify weatherproofing. In wood-framed walls with siding, thoughtful flashing and sealants keep water out and preserve the building envelope.
Installation Tips for DIY Users
If you plan to install a kit yourself, study the route before opening the box. Measure twice, plan elbow orientation for the smoothest path, and avoid screws that penetrate into the duct interior where they can snag lint. Maintain a gentle bend in any semi-rigid connector behind the dryer and leave enough space so the appliance does not crush the duct when pushed back into place.
After assembly, perform a test cycle to observe damper behavior. You should see strong, consistent movement. Inspect all joints for air leakage and reseal as needed with metal foil tape. Finally, label the equivalent length for future reference and maintenance planning.
What to Look For When Comparing Kits
As you compare options, consider duct material and thickness, elbow design, cap quality, included fasteners and tape, and compatibility with your wall construction. Assess how many components you will actually use; sometimes a simpler kit paired with a few targeted upgrades yields the best result. Read appliance documentation to confirm the route stays within equivalent length limits for your specific dryer.
If a kit appears inexpensive because it includes flexible foil for the primary run or a small, restrictive cap, be cautious. Those cost savings can evaporate in longer drying times, more frequent cleanings, or premature repairs.
Maintenance Begins With Smart Choices
Kits that emphasize rigid duct, gentle elbows, and quality terminations pay off with easier maintenance. Straight runs are simpler to clean, and durable materials resist damage from routine service. Establish a cleaning schedule that reflects your household’s usage. Monitor dry times, check the exterior termination seasonally, and watch for lint deposits that indicate emerging restrictions.
Remember that good installation is not just about the day the kit goes in; it is about creating a vent path you can keep clean and efficient for years. Build with maintenance in mind now, and you will save time and effort season after season.
Frequently Asked Questions
Q: Is a universal kit truly universal? A: Universal kits fit many scenarios but not all. Route complexity, wall materials, and code requirements may require additional components or professional assistance. Always confirm compatibility with your dryer and home layout.
Q: Can I use flexible foil duct for the whole run if the kit includes it? A: It is generally discouraged for the main run because it collapses, traps lint, and restricts airflow. Use rigid metal duct wherever possible and reserve semi-rigid only for short connectors when needed.
Q: Are roof terminations a good idea? A: Roof vents are sometimes necessary but can increase equivalent length and maintenance. Sidewall terminations are often preferred for accessibility and performance when feasible.
Q: How do I know if my cap is restricting airflow? A: During a test cycle, the damper should open fully and freely. Weak movement, noise, or visible lint buildup suggests restriction or improper sizing.
Q: What if my existing hole is in the wrong place? A: Patching and creating a new, better-positioned opening is often worthwhile. A correct route with proper termination outperforms a compromised path every time.
Q: Should I insulate the duct? A: If sections pass through cold, unconditioned spaces, insulating can reduce condensation. Consult local practices and ensure insulation does not interfere with access for cleaning.
Smart Next Steps
Pick a kit that supports smooth airflow, sturdy connections, and a quality exterior cap. Confirm your route against your dryer’s equivalent length limits, then supplement the kit with any additional rigid duct, elbows, or sleeves required by your home’s construction. If your project involves longer runs, masonry penetrations, or multifamily constraints, consider expert assistance to fine-tune the plan and verify performance.
For Somerville homeowners who want reliable results, local guidance and professional materials help transform a simple kit into a complete solution. When you are ready to assemble the right components and ensure a safe, efficient installation, connect with a team that can supply, route, and test for lasting performance. For tailored advice and scheduling, reach out for professional dryer vent installation that aligns with Somerville building styles and code expectations.
