
Successful air duct repair is not a one-and-done event. To protect comfort, indoor air quality, and system reliability in Somerville, New Jersey, you need a maintenance process that keeps sealed joints tight, insulation intact, and airflow balanced as seasons change. This guide outlines a practical, year-round maintenance framework—what to inspect, when to test, and how to document—so that your duct system continues to deliver dependable performance long after the first repair is complete.
Somerville’s weather patterns put extra stress on ductwork. Summer humidity encourages condensation on cold supply ducts routed through hot attics and basements. Winter dryness and temperature swings can contract and expand metal joints, weakening old tapes and gaskets. A disciplined maintenance routine helps you catch small issues before they escalate and ensures that any prior repairs remain effective. If you prefer to outsource the routine or need help with hard-to-reach sections, partner with a local provider known for meticulous air duct repair and ongoing system verification.
Rather than waiting for hot and cold complaints, create a schedule. The maintenance process is cyclical: inspect, clean where appropriate, test, tune, document, and repeat. Each pass improves your confidence in the system and reduces surprises during peak heating or cooling loads.
Quarterly Visual Inspection Routine
- Air Handler and Plenum: Check access doors, gaskets, and filter racks for gaps that allow unfiltered bypass. Tighten panels and replace brittle gaskets.
- Main Trunks and Branches: Look for lifting foil tape, cracked mastic, and loose screws. Re-seat joints and reseal as needed.
- Flexible Ducts: Inspect for sagging, kinks, torn jackets, or crushed sections caused by storage or foot traffic in attics.
- Insulation: Verify that foil-faced insulation remains intact and seams are taped. Replace any wet, moldy, or compressed sections.
- Boots and Grilles: Remove registers, check boot-to-drywall gaps, and reseal with mastic or low-expansion foam if dust streaks appear.
- Condensate Management: Ensure drain pans and lines are clear to prevent moisture that can degrade nearby duct materials.
- Pest Watch: Look for droppings or nesting that might indicate entry points. Address these quickly to avoid damage to insulation and liners.
Seasonal Testing and Tuning
At the start of cooling and heating seasons, perform simple tests to validate system readiness. With the system running, use a smoke pencil at seams to spot new leaks. Check static pressure at the blower if you have a manometer, and compare to your baseline. Walk room to room and gauge airflow by feel or with a small anemometer. Minor deviations since the last season can arise from filter changes, damper shifts, or new obstructions in living or working spaces.
Balance dampers gently to correct emerging hot or cold spots. Label each damper with its new position and jot notes about why the change was made. In multi-story homes or small offices, balance adjustments on upper floors might be more pronounced at the start of summer, while lower floors may need a tweak at winter onset.
Maintenance Materials and Spares
- UL 181-rated foil tape and water-based mastic for quick reseals.
- Sheet metal screws, bands for flex duct, and a compact driver.
- Foil-faced insulation patches and tape for jacket repairs.
- Gasket foam for filter racks and plenum penetrations.
- Labels and a permanent marker for documenting damper positions and repair dates.
- Flashlight, utility knife, and snips for access and trimming tasks.
Annual Deep-Dive: Verification and Documentation
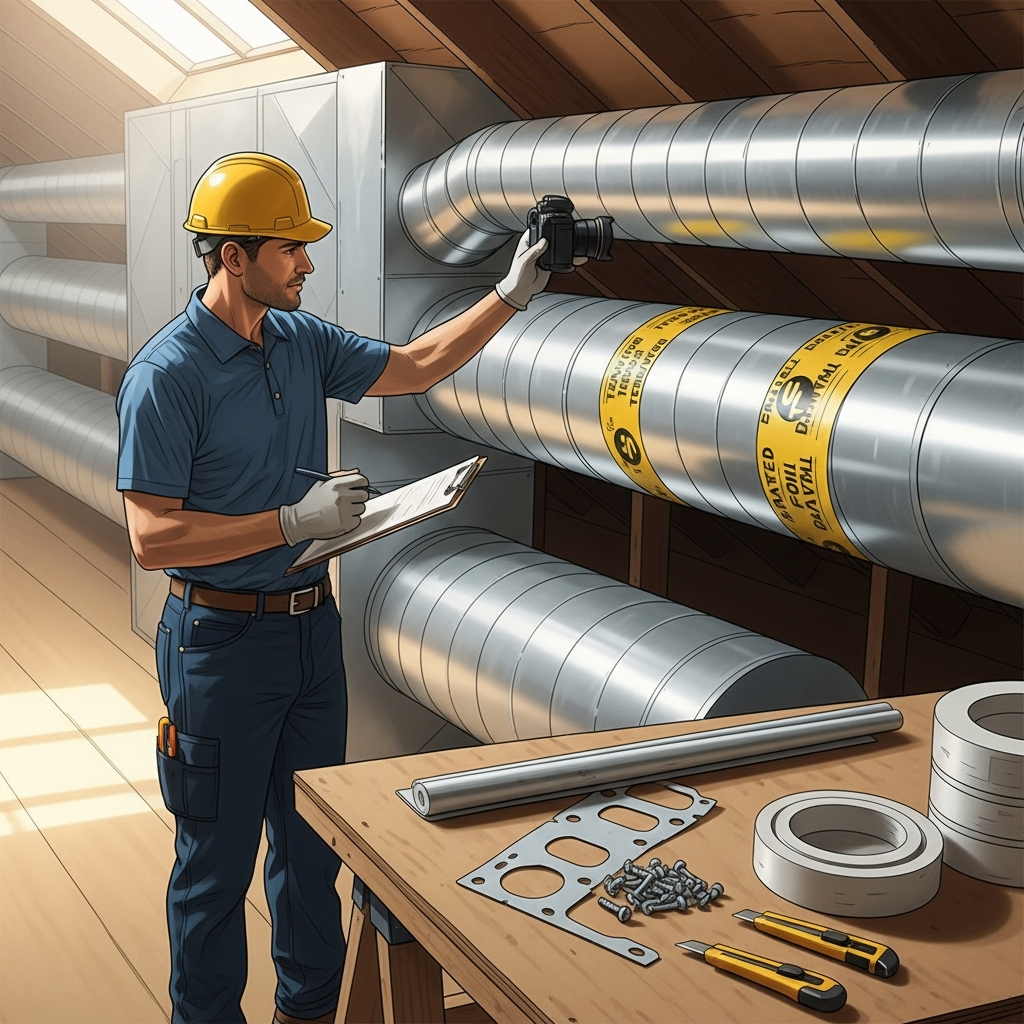
Once per year, conduct a deeper review that includes measurements and photographs. Record static pressure readings, airflow at representative diffusers, and supply air temperatures. Compare results with last year’s data to identify trends. A gradual rise in pressure may indicate filter restriction, coil fouling, or a newly obstructed branch. Diminishing airflow at a particular diffuser might point to a kink or a collar that loosened.
Take photos of critical joints, returns, and any repaired sections. Visual timelines help you spot slow changes in tape adhesion, mastic condition, or insulation wear. Update your duct map to reflect any re-routing or added access doors that facilitate future maintenance.
Addressing Wear and Tear Proactively
Even well-sealed systems experience wear. Temperature cycles can loosen screws; vibration can shift panels; and household or workplace activities can compress insulation. When you detect early signs of degradation, intervene immediately rather than waiting for a comfort complaint.
- Re-tighten and Re-seat: Fasten loose joints with sheet metal screws, re-seat collars, and confirm damper handles are secure.
- Reseal Intelligently: Clean surfaces and apply mastic or UL 181 foil tape as appropriate. Mesh tape under mastic can bridge wider gaps.
- Restore Insulation: Replace wet or deteriorated insulation and re-tape all seams. Avoid compressing insulation during reinstallation.
- Correct Flex Issues: Shorten overly long runs, remove kinks, and support flex every 4–6 feet with wide straps.
- Boot Interfaces: Revisit boot-to-drywall or ceiling tile joints to prevent leakage and dust streaks.
Integrating Duct Maintenance with Whole-System Care
Duct performance interlocks with other HVAC components. A clogged filter or dirty evaporator coil can elevate static pressure and alter airflow at diffusers, masking the benefits of earlier repairs. Coordinate duct maintenance with filter replacement, coil cleaning, and blower wheel inspections to keep the system operating as a whole.
Similarly, building envelope changes—new windows, door weatherstripping, or attic insulation—can shift load profiles and airflow needs. After significant envelope upgrades, repeat balancing to align duct delivery with the new conditions.
Common Pitfalls to Avoid
- Relying on cloth duct tape that degrades in HVAC environments instead of UL 181-listed materials.
- Compressing insulation to fit behind storage or tight framing, which reduces thermal performance.
- Over-tightening flex bands and cutting the inner liner inadvertently.
- Ignoring return side leaks that draw dust and odors from basements or crawlspaces.
- Closing supply registers to “push” air elsewhere, which can increase noise and pressure.
- Skipping documentation; without notes and photos, trends and recurring problems are harder to spot.
Frequently Asked Questions
Q: How often should I check previously repaired joints? A: Inspect them during your quarterly visual review and again during seasonal start-ups. Early resealing prevents small gaps from expanding.
Q: Will resealing ducts every year be necessary? A: With correct materials and technique, seals can last for years. However, spot touch-ups may be needed where vibration, temperature cycles, or incidental contact occur.
Q: Can better filtration replace duct maintenance? A: No. Filtration is important, but it does not fix leaks, crushed runs, or boot gaps. A tight duct system and a good filter work together to protect air quality and comfort.
Q: Do return ducts need insulation? A: Returns in unconditioned spaces can benefit from insulation to avoid condensation and unwanted temperature swings, though supplies usually warrant priority.
Q: How do I know if balancing changed over time? A: Compare room-to-room comfort, airflow readings if you take them, and damper position labels. If a room grows uncomfortable without an obvious cause, re-check for a shifted handle or a new obstruction.
Q: What if I cannot access a leaking section safely? A: Do not risk it. Schedule service with a trained team experienced in air duct repair who can access difficult spaces and verify results with professional instruments.
Creating a Maintenance Calendar
Put recurring tasks in a shared calendar so responsibilities are clear and deadlines do not slip. For homes, align inspections with seasonal chores like changing smoke detector batteries. For small offices or retail spaces, link duct checks with broader facility walkthroughs. Consistency is the backbone of effective maintenance.
Set reminders for filter changes, quarterly visual inspections, seasonal testing, and the annual deep-dive. Keep a binder or digital folder with notes, photos, receipts, and a duct map. This record will make future diagnostics faster and smarter.
Measuring Success Over Time
Success looks like fewer hot/cold complaints, quieter operation, cleaner registers, and stable humidity and temperatures room to room. If you track energy use, you may also notice steadier consumption patterns as the duct system maintains designed airflow with less leakage.
Periodic spot checks with a smoke pencil or anemometer will confirm that seals hold and airflow remains consistent. If you notice trends moving the wrong way—rising static pressure, worsening airflow, or recurring dust streaks—investigate promptly to keep small issues from becoming major repairs.
Keep Your Duct System Reliable, Season After Season
A disciplined maintenance process preserves the benefits of your original repairs and keeps comfort predictable in every Somerville season. By inspecting, testing, tuning, and documenting on a set schedule, you will protect indoor air quality and reduce the likelihood of surprise breakdowns.
If you want professional assistance, verification testing, or help with hard-to-reach sections, connect with a trusted local team specializing in air duct repair. With proactive maintenance and expert support when needed, your duct system will continue to deliver clean, even comfort year-round.
