
Introduction
Replacing or adding a dryer vent is one of the most rewarding home improvements because the benefits show up every laundry day: faster dry times, safer operation, and less humidity indoors. This how-to explains exactly how to plan, install, and test a new vent in a Somerville, New Jersey home, with local climate considerations and code-friendly practices. If you decide that partnering with a specialist is the best route, you can always arrange professional dryer vent installation and use this guide to understand and verify the work.
Project Overview
Your goal is to create the shortest, straightest, sealed path from the dryer’s outlet to an exterior termination with a reliable backdraft damper. That means using smooth metal duct, minimizing elbows, sealing joints without intrusive screws, supporting the run to prevent sagging, and placing the termination where it remains accessible year-round. The process includes measuring equivalent length, marking penetrations, assembling the duct in the correct direction, weatherproofing the termination, and commissioning the finished system with airflow checks and performance tests.
Safety First
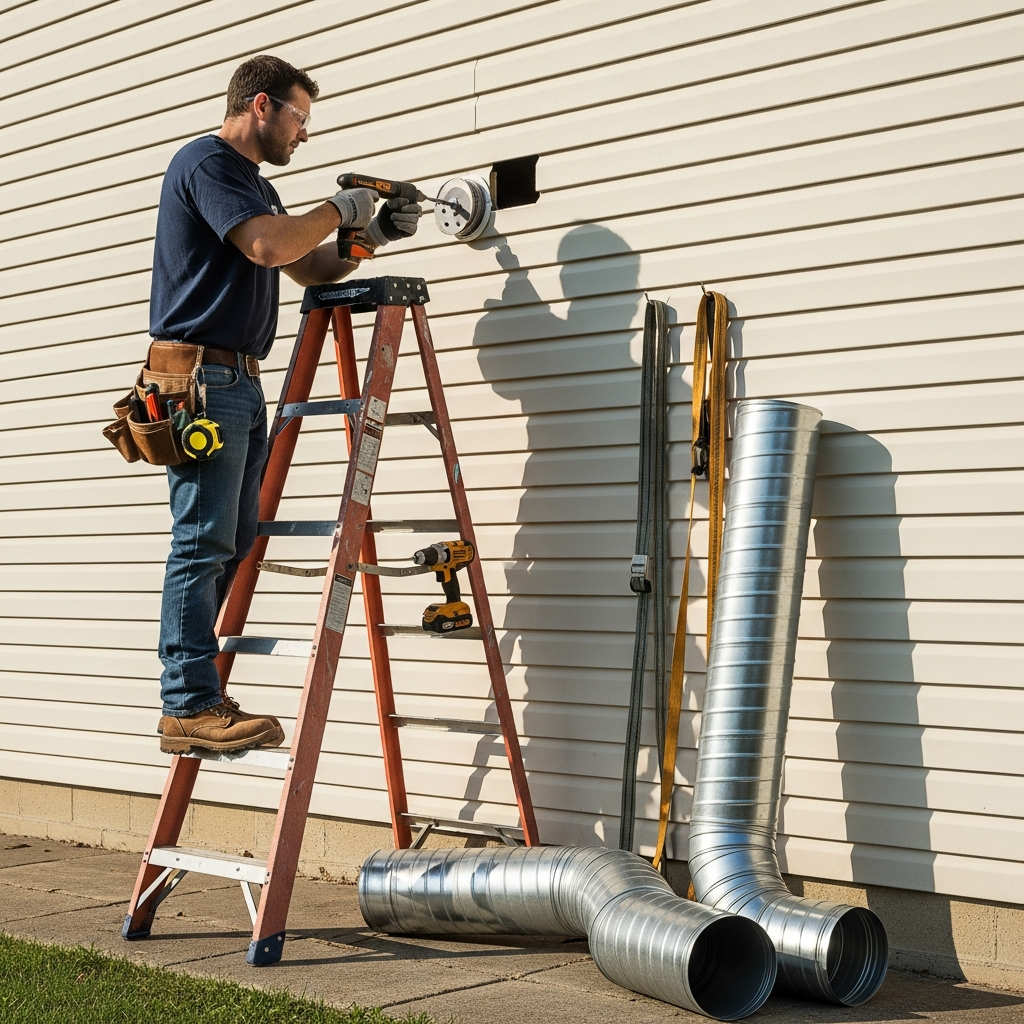
- Unplug electric dryers and shut off gas supply for gas models before starting. Follow the appliance manual for disconnection and reconnection instructions.
- Wear gloves and eye protection when cutting metal and siding materials.
- Use ladders and roof harnesses according to safety guidelines if working at heights.
- Confirm clearances to combustibles and maintain proper room ventilation, especially for gas dryers.
Tools and Materials
- Smooth metal duct sections (4-inch typical), long-sweep elbows, and listed transition duct (UL 2158A).
- Exterior dryer-rated hood with integrated damper and suitable pest guard.
- Foil-backed or mastic-rated HVAC tape and compliant clamps.
- Straps or hangers for support; tin snips; hole saw; drill/driver; caulk or flashing materials.
- Stud finder, measuring tape, marker, and level for layout and alignment.
Planning the Route
Walk the space from dryer location to the nearest workable exterior. Prioritize a wall termination at a convenient height for inspection. If the roof provides a shorter route and you are comfortable with proper flashing, a roof exit can work as long as the termination is listed for dryer use. Count elbows and note any tight spaces behind the dryer that could crush the transition hose. Keep the transition short and accessible, and ensure the duct run maintains a slight pitch toward the outside.
Marking and Cutting Penetrations
Use a stud finder to locate framing members and avoid cutting structural elements. Mark the center point for the duct opening at the wall or roof, check both sides for obstructions, and drill a pilot hole to confirm the location. Enlarge the hole with a properly sized hole saw or reciprocating saw, taking care not to oversize the opening. When exiting through siding, protect surrounding materials and plan for sealing and trim as needed. For roof penetrations, install flashing per the hood manufacturer and roofing best practices to prevent leaks.
Installing the Exterior Termination
Set the termination hood into the opening from the exterior, ensuring a snug fit. Fasten it according to the cladding type—siding screws for lap or panel siding, masonry anchors for brick. Seal around the perimeter with compatible exterior-grade sealant or incorporate flashing for shingles. Manually check that the backdraft damper moves freely; it should open with gentle airflow and close under its own weight or spring when the dryer stops.
Assembling the Duct Run
Inside, dry-fit the duct run section by section. Orient crimped ends in the direction of airflow so lint cannot catch at joints. Use long-sweep elbows to reduce resistance, and keep overall equivalent length within the dryer manufacturer’s limits. Where the route passes through framing cavities, verify clearances, and avoid compressing or deforming the duct. Do not use screws or rivets that protrude into the airstream; instead, seat joints fully and seal the outer seam with listed foil tape or appropriate mastic.
Supporting and Sealing
Install straps or hangers at consistent intervals to prevent sagging and rattling. Keep the duct straight and true, with a slight pitch toward the exterior termination. After verifying alignment, apply listed tape or mastic to all exterior joints. Press firmly and smooth the tape to remove air bubbles so the seal remains durable under temperature swings. Double-check elbows for full insertion depth and even support.
Connecting the Transition Duct
Attach a short, UL 2158A–listed transition between the dryer outlet and the in-wall connector. Use clamps designed for the product and avoid overtightening to the point of deforming the duct. Push the dryer into its final position while watching the transition to prevent kinks or crushing. Leave enough space to clean behind the appliance periodically.
Commissioning and Testing
With the lint screen clean, run the dryer on a warm cycle and step outside to observe the hood. The damper should open fully and remain stable. Feel for strong, warm airflow. Inside, run your hand along joints to detect leaks; reinforce any suspect areas. Time a typical load of towels; if the cycle remains longer than expected, re-check the route for hidden restrictions such as a tight elbow, partial crush, or an obstructed damper.
Cold-Weather and Humidity Considerations in Somerville
In winter, outdoor air is cold and dry, increasing the chance that warm, moist exhaust will condense inside ducts routed through unconditioned spaces. If your path crosses an attic or crawlspace, insulate the duct and maintain positive slope to the exterior. In humid summers, vegetation grows quickly; keep bushes trimmed away from the termination so the damper operates freely. Avoid placing the hood where drifting snow or splashing rain can repeatedly soak siding and encourage staining or mildew.
Common Pitfalls to Avoid
- Overusing elbows; each sharp 90-degree turn can add substantial equivalent length.
- Using plastic or thin foil flex in concealed spaces; it is not permitted and degrades quickly.
- Crushing the transition hose when pushing the dryer back into place.
- Skipping joint sealing; even small leaks reduce airflow and deposit lint in cavities.
- Installing a fine-mesh screen at the termination; it will clog with lint.
When to Reroute Instead of Repair
If an existing vent runs a long, circuitous path or exits in a problematic location, a new, more direct route is often worth the effort. Rerouting can eliminate multiple elbows, reduce condensation risk, and dramatically improve performance. In older Somerville homes, opening a new path may also reveal opportunities to add access panels or recessed dryer boxes that protect the transition hose from crushing.
Maintenance After Installation
Set reminders for monthly termination checks and annual full-duct inspections. Clean the lint screen before every load, and vacuum the area behind the dryer seasonally. If you begin to notice longer dry times, a burnt-lint smell, or visible lint around the hood, schedule a cleaning sooner. Early attention prevents bigger issues and extends appliance life.
Frequently Asked Questions
Q: Can I vent the dryer into the garage or crawlspace temporarily? A: No. Exhaust must terminate outdoors to avoid moisture damage, lint accumulation, and safety hazards.
Q: What diameter duct should I use? A: Follow the dryer’s manual; 4 inches is typical for residential dryers. Do not reduce diameter below the appliance outlet.
Q: Are booster fans a good idea? A: Only use a booster fan listed for dryers and when route length cannot be reduced. It must be accessible for service and installed per instructions.
Q: How tight can I make a 90-degree turn? A: Prefer long-sweep elbows with a larger radius to reduce resistance and lint buildup.
Q: How do I know if the damper is working? A: During operation, the damper should open fully and close smoothly when the dryer stops. Sticking indicates cleaning or replacement is needed.
Q: Do I need a permit in Somerville? A: Many jurisdictions require a permit for new or modified exhaust ducts. Contact local officials to confirm before you start.
Wrapping Up
With careful planning, the right materials, and a methodical approach, most homeowners can complete a safe, efficient vent that meets code and performs well year-round. Keep documentation on the route, elbows, and components for future maintenance. Good ventilation protects your home, saves time, and supports the longevity of your dryer.
Make Your Project Easier
If you prefer a seamless, verified result without the learning curve, arrange professional dryer vent installation. Experienced technicians can design the best route for your Somerville home, handle penetrations and sealing, and confirm airflow so your laundry performs at its best from day one.
