
Installing a dryer vent in a Somerville, New Jersey home is not just a matter of connecting a hose and cutting a hole in the wall. The process involves planning, code awareness, material selection, and meticulous execution to ensure safe, efficient airflow. Whether you are upgrading an older, inefficient run or building out a new laundry space, clear step-by-step guidance helps you make the right choices. From measuring effective length and minimizing elbows to weather-sealing the exterior termination, each task affects performance. By following the detailed steps below—and understanding the “why” behind each one—you will set your dryer up for long-term success. Early in your planning, consider consulting a local professional for dryer vent installation so your route, materials, and terminations align with best practices.
Different Somerville homes present different challenges. Historic houses can have irregular framing and thick masonry walls, while newer townhomes might locate laundry on upper floors that require vertical risers and roof penetrations. Basements with mechanicals and beams may restrict straight runs. The steps that follow are designed to help you adapt to these conditions while keeping the core principles—short, straight, smooth, and sealed—front and center.
Preparation and safety
- Shut off and unplug the dryer. If it is a gas dryer, close the gas valve and follow safety procedures for moving the appliance.
- Clear the laundry area. You will need workspace for measuring, cutting, and assembling duct sections without damaging flooring or walls.
- Review the dryer manufacturer’s installation guide. Note maximum equivalent length and any model-specific requirements for duct size or termination.
- Inspect the existing vent path (if any). Look for kinks, plastic flex, screens on the termination, or long, winding routes that cause restrictions.
- Gather tools and materials: smooth rigid metal duct, UL- or HVAC-rated foil tape, listed semi-rigid transition connector, metal elbows, a proper termination hood with backdraft damper (no screen), hangers or straps, a drill, metal snips, a jigsaw with metal blade, anchors appropriate for your exterior cladding, sealant, and a level.
Planning the route
- Locate the shortest viable path to the exterior. Favor an exterior wall termination if available; consider a roof termination only when necessary and with the proper roof cap.
- Measure the straight sections and count elbows. Refer to the manufacturer’s equivalent length table to ensure your total stays within limits.
- Identify framing and utilities. Use a stud finder and a visual inspection to avoid interfering with wiring, plumbing, and structural members.
- Decide on wall box placement behind the dryer. An inset dryer vent box can help prevent crushing the transition connector and save space.
- Plan for maintenance access. Ensure future cleaning can be done from either the termination or the appliance end without opening walls.
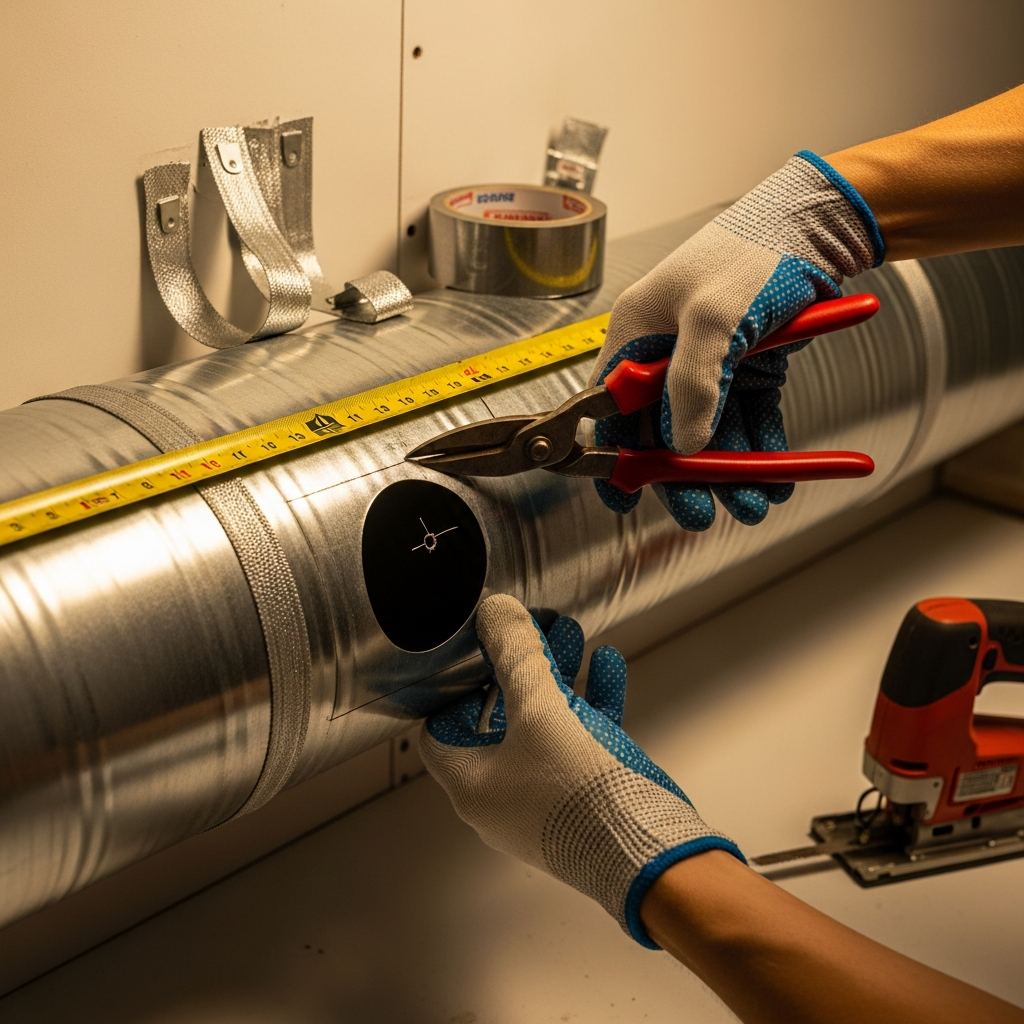
Cutting openings and staging components
- Mark the interior exit point. Confirm that it aligns with your planned exterior or roof termination.
- Drill a pilot hole to the exterior at the center of the planned penetration. From the outside, verify clearances from windows, doors, decks, and mechanical intakes.
- Cut the full-size hole. For masonry, use a core bit sized for the duct plus a sleeve or hood flange; for siding, cut cleanly to fit the termination’s mounting block or flange.
- Dry-fit the termination hood from outside. Confirm the damper opens freely and there is no interference with trim or siding laps.
- Stage duct sections and elbows. Orient crimped ends correctly so airflow moves with the seams, and pre-assemble where practical to minimize awkward work in tight spaces.
Assembling the duct run
- Start at the exterior and work inward or vice versa depending on access. Many installers prefer beginning at the termination to ensure a perfect fit and weatherproof seal.
- Use smooth rigid metal for main runs. Keep sections straight and aligned; avoid over-crimping or deforming round ducts during assembly.
- Seal each joint with UL- or HVAC-rated foil tape. Do not use screws that protrude into the airstream, as they snag lint.
- Support the duct at regular intervals with metal straps or hangers to prevent sagging. Maintain gentle slopes where condensation could occur.
- Limit elbows and aim for broad sweeps rather than tight turns when space allows. Re-measure your total equivalent length as you proceed.
Installing the termination
- Apply a continuous bead of compatible exterior sealant behind the termination hood’s flange. On vinyl siding, use a mounting block; on brick or stucco, use appropriate anchors and backer materials.
- Secure the hood snugly, without distorting the damper. Verify that the damper swings freely in response to airflow.
- From the interior, connect the final duct section to the hood sleeve and seal the joint with foil tape.
- Confirm the termination is clear of obstructions such as mulch, snow accumulation, or overgrown shrubs that could block exhaust.
Connecting the dryer
- Install a listed semi-rigid transition connector between the dryer’s outlet and the wall box or first rigid section. Keep it as short and straight as possible.
- Position the dryer without crushing the connector. If clearance is tight, consider a recessed wall box to recess the connection and maintain airflow.
- Plug in the dryer (and restore gas service if applicable), then check for any vibration or rattling that could indicate a loose joint.
Testing and verification
- Run the dryer on a heated cycle and observe the exterior damper. It should open fully and consistently under airflow.
- Feel for leaks at joints. If available, a smoke pencil or incense can help detect escaping air.
- Monitor drying times over several loads. Shorter cycles usually indicate improved airflow; persistent long cycles may suggest a restriction or excessive equivalent length.
Special considerations for Somerville homes
Basement laundries are common in town, often requiring careful navigation around beams, HVAC trunks, and plumbing. Keep ducts up and out of walkways with well-spaced hangers. Where the duct passes through an unconditioned zone, add insulation to reduce winter condensation. For second-floor laundry closets, maintain fire safety at penetrations, follow manufacturer instructions for roof caps, and ensure future access for cleaning. In rowhouses or twin homes, coordinate with neighbors where property lines and shared walls affect routing.
Exterior details also matter. Somerville weather brings wind-driven rain and occasional snow accumulation, so a properly flashed and sealed termination prevents water entry. Avoid terminating under decks where lint accumulates and airflow is impeded. Keep terminations away from windows, especially bedroom egress windows, to prevent moist air from re-entering the home.
Quality checks in the middle of the job
Halfway through assembly, pause for a quality check. Confirm that elbows are oriented correctly, joints are fully seated, and the run still matches your measured equivalent length. This mid-job pause is when many mistakes are caught cheaply—before walls close or appliances are pushed back. If you are uncertain about the layout, a local pro specializing in dryer vent installation can validate airflow targets and suggest refinements to reduce resistance.
Maintenance planning
Once installed, your vent needs periodic cleaning. Lint naturally accumulates on interior surfaces, especially at elbows and near the termination. Plan on inspecting the exterior hood seasonally to confirm the damper moves freely, and schedule professional cleaning annually or biannually depending on usage. Keep the area behind the dryer accessible so you can check the transition connector for kinks after moving the appliance for cleaning or service.
Common pitfalls to avoid
- Using plastic or unlisted flexible ducting. These materials trap lint and can melt or ignite.
- Adding screws inside the duct. Fasteners that protrude into the airstream catch lint and reduce airflow.
- Installing screens at the termination. Screens clog with lint and create blockages.
- Running the duct too long with multiple sharp elbows. Respect manufacturer limits and design for the fewest turns possible.
- Neglecting to seal exterior penetrations. Water intrusion and air leaks damage finishes and reduce efficiency.
- Crushing the transition connector by pushing the dryer too close to the wall. Provide space or use a recessed vent box.
Frequently asked questions
Q: What size duct should I use? A: Most standard dryers require a 4-inch round duct. Always verify with the appliance documentation.
Q: Can I vent a dryer to the roof? A: Yes, with a roof cap designed for dryers and proper flashing, but wall terminations are often simpler and easier to maintain. Follow the dryer manufacturer’s equivalent length limits.
Q: How many elbows are too many? A: There is no single number for all dryers. Count each elbow’s equivalent length per your model’s table and stay within the total allowed run.
Q: Do I need a permit? A: Requirements vary. Some projects, especially those involving new penetrations or roof work, may require permits. Consult local authorities or a qualified installer.
Q: How often should the vent be cleaned? A: Frequency depends on usage, duct length, and geometry. Annual or biannual cleanings are common for many households.
Q: Why is my laundry room humid after running the dryer? A: This may indicate leaks or a disconnected duct. Inspect joints, the transition connector, and the termination hood.
Take the right next step
With a clear plan, quality materials, and careful workmanship, your Somerville home’s dryer will exhaust efficiently and safely for years. If you want expert guidance or prefer a turnkey solution, book professional dryer vent installation to ensure your route, terminations, and airflow are optimized from day one.
