
A clear, code‑aligned dryer vent installation process is the backbone of reliable laundry performance in Somerville, New Jersey homes. When the vent path is smooth, short, and well sealed, your dryer works efficiently and safely. When the path is long, kinked, or pieced together with the wrong materials, performance drops and maintenance needs rise. Understanding the exact steps a professional follows helps you know what to expect and how to prepare your home. If you are starting from scratch or replacing a problematic route, you will benefit from expert planning and precise execution from a team experienced in dryer vent installation in the Somerville area.
Step 1: assessment and planning
Everything begins with a site assessment. The installer reviews the laundry area, looks for the shortest feasible path to an exterior wall or roof, and notes any obstructions. They consider the dryer’s outlet size, the model’s venting recommendations, and the home’s construction. A ranch home with an exterior laundry wall may allow a direct sidewall exit. A multi‑story townhome may require a vertical run to the roof. These choices affect the number of elbows, the total equivalent length, and the level of support and sealing required.
Planning also involves selecting a termination location that opens freely, resists wind interference, and remains accessible for future maintenance. During this phase the technician will outline where cuts will be made and how the system will be supported to keep alignment true over time.
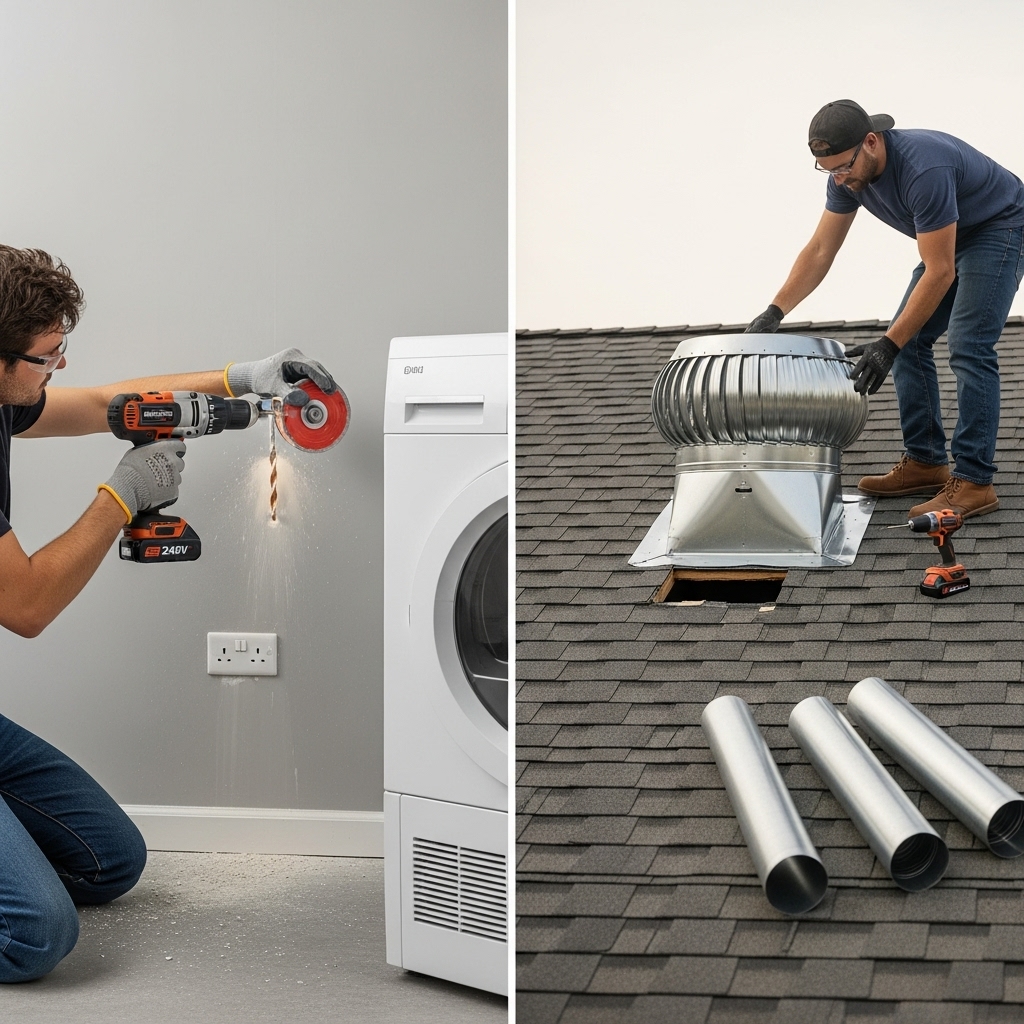
Step 2: preparing the penetration
The technician drills a pilot hole from the inside at the chosen location to confirm there are no wires, pipes, or structural elements in the way. Once verified, they cut the full opening using appropriate tools for wood, siding, masonry, or roofing material. For roof terminations, flashing and sealants designed for the roof type are prepared in advance to ensure a weather‑tight installation.
The termination hood is then secured. For sidewall exits, the hood is fastened and sealed against the exterior, and the damper is checked for smooth movement. For roof exits, the cap integrates with the roofing system to shed water properly while allowing the damper to open freely during dryer operation.
Step 3: assembling the duct run
Inside the home, rigid metal duct sections are measured and cut to fit the planned route. Elbows are adjusted to minimize resistance, keeping bends as gentle as the layout permits. Joints are assembled so that the male end points in the airflow direction, and approved foil tape seals seams without protruding into the airstream. The run is supported at recommended intervals to prevent sagging and vibration. Where the duct passes through conditioned to unconditioned spaces, the installer may recommend insulation to discourage condensation.
The connection behind the dryer uses a UL‑listed transition piece that resists crushing when the appliance is moved back into position. This connector keeps a clear, smooth path from the dryer outlet to the rigid duct without kinks.
Step 4: commissioning and verification
With the physical installation complete, the dryer is run to verify airflow. The installer observes the exterior termination to confirm the damper opens fully. Inside, they check for rattles, air leaks, or warm spots at joints that suggest restriction. Adjustments are made as needed to optimize performance. The final walkthrough includes basic maintenance guidance, such as how to inspect the exterior hood and when to schedule cleaning based on household laundry volume.
Design choices that drive performance
- Shortest feasible route: Keeping the path direct reduces friction and heat buildup.
- Fewest necessary elbows: Gentle bends maintain airflow and simplify maintenance.
- Smooth, rigid duct: Interior smoothness prevents lint snagging and supports steady exhaust.
- Proper support and slope: Supports keep alignment true; a slight slope toward the exterior discourages moisture retention.
- Purpose‑built termination: A hood designed for dryers opens easily and closes when off to block drafts and pests.
Common pitfalls and how pros avoid them
- Hidden flexible duct in walls or ceilings: Professionals replace it with rigid sections and accessible joints.
- Overlong routes with many sharp elbows: Careful planning and rerouting keep equivalent length within guidelines.
- Poorly flashed roof caps: Correct flashing and sealants protect your roof and prevent leaks.
- Crushed connectors behind the appliance: Proper transition pieces resist kinking when the dryer is moved.
- Screws protruding into the airflow: Approved tape and connectors maintain a smooth interior.
Somerville‑specific factors
Local weather and architecture influence the install. Winter winds on open streets can push cold air toward the termination, so hood choice and placement matter. Historic homes with brick or stone demand careful coring and sealing. Newer homes may have tight utility chases that require precise elbow placement to protect the duct from compression. Installers familiar with Somerville’s housing stock make these decisions quickly and accurately.
Preparing your home for a smooth visit
- Clear a walkway to the laundry area and move items stored near the dryer.
- Identify potential exterior exit points and ensure ladders or access will be unobstructed.
- Locate your dryer’s model number so the technician can reference venting guidance.
- Plan to run a short cycle at the end while the installer verifies damper operation outside.
Why replacement can feel like an upgrade
Even if your current vent “works,” a new, properly designed route often delivers visible improvements. Clothes dry more evenly, the laundry area stays cooler, and lint buildup at the exterior hood decreases. With rigid duct and tight joints, vibration drops and the system runs quietly. Many homeowners are surprised by how much better the dryer performs after a thoughtful re‑route and professional sealing.
Mid‑project decision points
If framing or utilities make the original plan impractical, the installer will propose alternatives that preserve airflow. This might mean relocating the termination slightly, choosing a roof exit instead of a wall, or adjusting elbow count while keeping equivalent length within the dryer’s recommendation. Partnering with a team that specializes in dryer vent installation ensures those pivots are handled without sacrificing performance.
Maintenance and care after installation
- Clean the lint screen after every load; occasionally wash it to remove detergent film.
- Inspect the exterior hood monthly to confirm the damper moves freely.
- Schedule periodic duct cleaning based on usage, household size, and presence of pet hair.
- Listen for changes in sound and watch for lengthening dry times—both can signal restriction.
Frequently asked questions
How long does the installation process take? Straightforward sidewall routes typically take a few hours, including cutting, routing, sealing, and testing. Complex routes or roof terminations require more time for safe access and weather‑tight flashing.
Is vertical venting acceptable? Yes. With proper supports, smooth elbows, and attention to equivalent length, a vertical run to a roof cap can perform very well.
What materials are used? Rigid metal duct for the main run, approved elbows and connectors, UL‑listed transitions behind the dryer, and foil tape rated for ductwork to seal joints.
Can the dryer vent share a path with a bathroom fan? No. Each exhaust system requires a dedicated route to the outdoors to prevent cross‑flow and maintain proper performance.
How do I know the system is working correctly? During the final test, the exterior damper should open fully and exhaust should feel strong and steady. Dry times should drop and remain consistent across loads.
What if I have very limited wall space? A professional can evaluate roof termination options or a carefully routed side exit that fits the available space while maintaining airflow.
Confidence from a clear process
Knowing the sequence from assessment to verification helps you plan the day and understand what excellent workmanship looks like. When each step is handled carefully—route design, clean openings, rigid assemblies, precise sealing, and thoughtful testing—you get a system that performs day after day with minimal fuss.
Take the next step
A well‑executed installation pays dividends every time you press start. Expect shorter cycles, a cooler laundry space, and an easy‑to‑maintain system that stays clear. To achieve those results with a smooth, predictable process, schedule expert dryer vent installation and enjoy dependable airflow in your Somerville home.
