
Learning how to use a dryer vent cleaning brush the right way can make a meaningful difference in safety and performance for Somerville, New Jersey households. While a brush is not a full substitute for professional equipment on long or complex runs, it is a practical tool for light maintenance between comprehensive appointments. With a careful approach and attention to materials, you can remove accessible lint, improve airflow, and keep your laundry routine running more smoothly. At the outset of your project, it is wise to consider the overall health of your system and, if needed, schedule professional dryer vent cleaning to establish a strong baseline before you perform periodic touch-ups.
Understand your vent layout
Before you begin, map the path from the dryer to the exterior. Note how many elbows the duct contains, where it changes direction, and where it terminates. Short, straight runs are the best candidates for brush-based maintenance. If your vent travels through a crawl space, attic, or multiple floors, or terminates on a roof, limit DIY work to accessible sections and plan for professional service to address the full run and verify results.
Gather the right tools and materials
- Dryer vent brush with flexible rods compatible with your drill.
- Vacuum with a narrow nozzle and adequate suction.
- Flashlight to inspect behind the dryer and at the exterior hood.
- Non-marring floor protection and a helper to guide the dryer.
- Approved foil tape or clamps for reassembly; avoid screws that penetrate the duct wall.
- Replacement connector if yours is crushed, torn, or too long.
Safety first: power, gas, and space
Unplug the dryer before moving it, and if you have a gas unit, close the shutoff valve carefully. Create a wide, clear path to pull the dryer forward without snagging the connector. Protect the floor with a mat and enlist help so you can manage the appliance smoothly. Avoid sharp bends in the connector and keep it as short and straight as practical during and after reassembly.
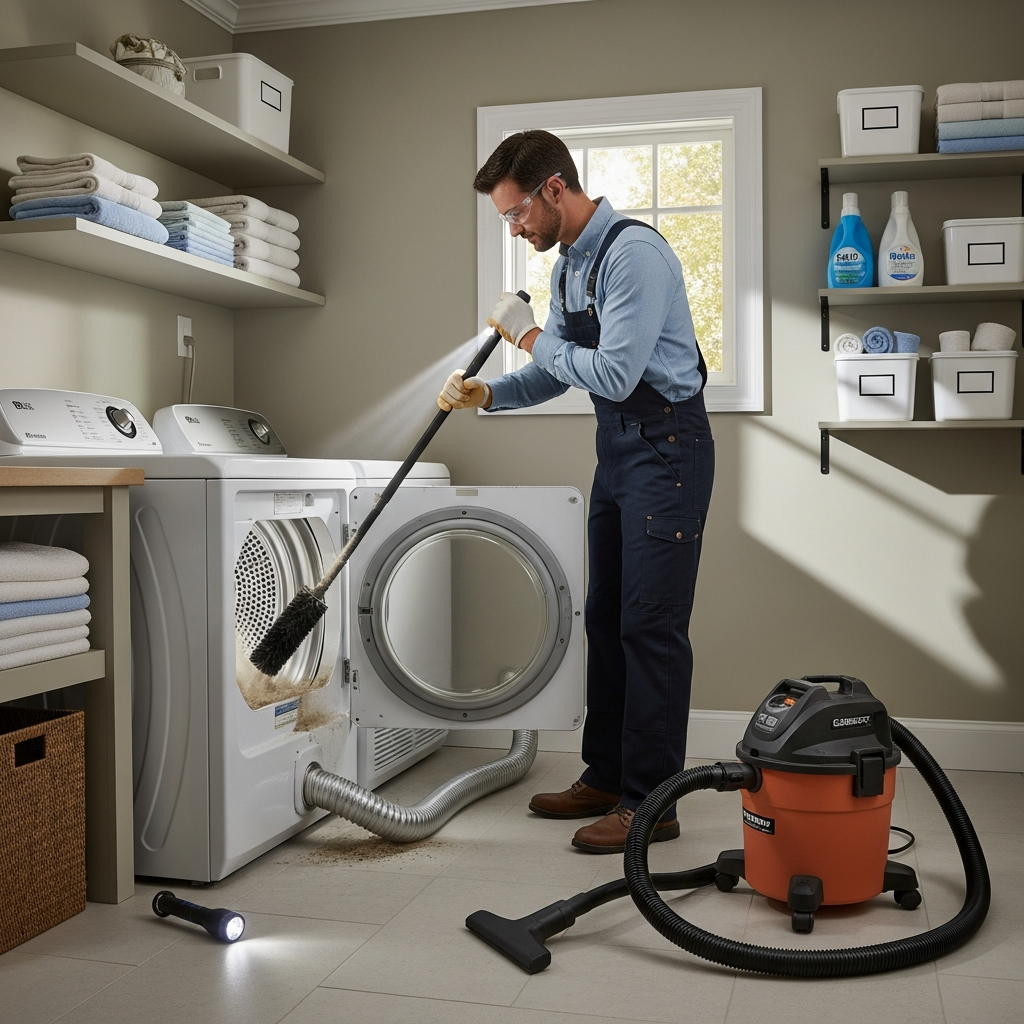
Step-by-step brushing procedure
- Remove the lint screen and vacuum the housing: Lint can collect below the screen; a narrow nozzle helps capture debris that brushes might miss.
- Disconnect the connector: Loosen clamps or remove tape to separate the dryer from the wall duct. Inspect the connector for damage and length.
- Pre-clean with a vacuum: Gently vacuum visible lint at the duct opening and around the dryer port.
- Assemble the brush and rods: Start with a short section, add rods as needed, and set the drill to a moderate speed.
- Feed the brush into the duct: Advance slowly, rotating the brush to loosen lint. Do not force the rods if you meet hard resistance—back out and reassess.
- Work in stages: Withdraw the brush periodically to remove lint, then proceed farther. Listen for changes in sound that suggest elbows or obstructions.
- Service the exterior termination: From outside, confirm the flap opens freely and remove visible lint. Do not install screens that trap debris.
- Reconnect and optimize: Reattach with approved clamps or foil tape, avoiding sharp bends. Position the dryer to prevent crushing the connector.
- Test airflow: Run the dryer on air-only or low heat and check the exterior discharge for strong, steady flow.
Common obstacles and how to handle them
- Multiple elbows: Proceed gently; too much force can separate joints. If progress stalls, stop and plan for professional help.
- Crushed or thin ducting: Replace with smooth interior metal ducting to reduce lint traps and resist damage.
- Bird nests or stuck flaps: Address carefully from the exterior; complex blockages are best handled by a technician.
- Persistent weak airflow: Indicates deeper restrictions or a long run that exceeds DIY reach.
Maintenance rhythm for Somerville homes
Many households benefit from an annual professional cleaning, with light brush touch-ups a few times per year if the run is short and accessible. Clean the lint screen every load, keep the area behind the dryer clear, and check the exterior termination seasonally—especially after storms or high winds that can shift the flap.
When to call a professional
If your vent path is long, includes several bends, or terminates on a roof, if you suspect loose joints or interior screws, or if cycles remain long after brushing, professional tools and experience are the safest path to complete results. A technician can take airflow readings, identify hidden restrictions, and recommend material upgrades that improve performance and durability.
Midpoint guidance for DIY users
Halfway through your maintenance plan, evaluate what the brush method has achieved. Are drying times improving? Is the exterior discharge strong and steady? If not, reassess the length and complexity of your run. You can also arrange local dryer vent cleaning services to obtain a professional assessment and verification that your system is operating as intended.
Frequently Asked Questions
Q: Can a brush damage my duct? A: On smooth metal ducting, gentle brushing at moderate drill speeds is generally safe. Thin foil or plastic ducts are more susceptible to damage and should be upgraded.
Q: How do I know I reached the end of the duct? A: You may feel the brush tap the termination flap or the rods may stop advancing. Without visual access, it is difficult to be certain; airflow testing after reassembly provides better confirmation.
Q: Should I brush from both ends? A: If safe and accessible, light brushing from the interior and exterior can improve coverage. Avoid aggressive force that might separate joints.
Q: Why does lint return so quickly? A: Long runs, multiple elbows, pet hair, and heavy towel loads accelerate buildup. Routine maintenance and good materials help slow accumulation.
Q: What drill speed is best? A: Moderate speeds give control and reduce risk of rod binding or duct abrasion. High RPM is rarely necessary.
Q: Do I need to replace my connector? A: If it is crushed, torn, excessively long, or made of thin foil, upgrading to a crush-resistant connector improves safety and airflow.
Practical tips for smoother results
- Keep loads moderate; overfilling reduces tumble and traps moisture.
- Match heat settings to fabrics to avoid over-drying.
- Vacuum lint around the laundry area regularly.
- Support long horizontal runs to prevent sags that collect debris.
- Confirm the exterior flap opens fully during operation.
Finish strong with a safer, smoother system
Using a dryer vent cleaning brush with patience and the right materials can make laundry day more efficient, but it is only part of a complete maintenance plan. Pair periodic brushing with expert insight when your layout is complex or performance lags. If you are ready to ensure reliable airflow and confident results, schedule professional dryer vent cleaning with a Somerville specialist who can verify performance, recommend smart upgrades, and help your system breathe easier all year.
