
Cleaning your dryer vent is a safety-critical task that many homeowners underestimate. In Somerville, New Jersey, where seasonal humidity, older vent runs, and varied building styles converge, doing the job correctly is essential. This guide walks you through safety-first preparation, step-by-step methods, and practical tips to keep your home and family protected. If you prefer to let a specialist handle the hard-to-reach areas, you can still learn how to prepare your space and what to expect. For homeowners who want a comprehensive approach without the risk, consider booking safe dryer vent cleaning with an experienced local team.
Why focus so much on safety? Because lint is highly flammable, vents can conceal blockages in elbows and long runs, and gas dryers introduce combustion considerations. Proper tools and steps prevent damage, avoid pushing lint deeper, and guard against accidental disconnections that create hidden hazards. Whether you are tackling a simple, short run or planning to clean between professional visits, the following guidance will help you work smart.
Understand your vent layout
Before you touch a tool, map the vent path. Note where the transition duct connects to the dryer, where the vent travels through walls or floors, and where it terminates outside. In Somerville homes, common terminations include sidewall hoods and roof caps. Long horizontal runs and multiple elbows typically trap more lint. Understanding the layout helps you determine access points and whether a DIY attempt is realistic or if professional service is the safer choice.
Safety preparation checklist
Preparation is your first line of defense against accidents and unintended damage. Use this checklist before you begin:
- Unplug the dryer. For gas dryers, turn off the gas supply and avoid disturbing the gas line or connections.
- Clear the area around the dryer to create safe working space and prevent tripping hazards.
- Have a fire extinguisher nearby and know how to use it, especially if you are unfamiliar with your appliance.
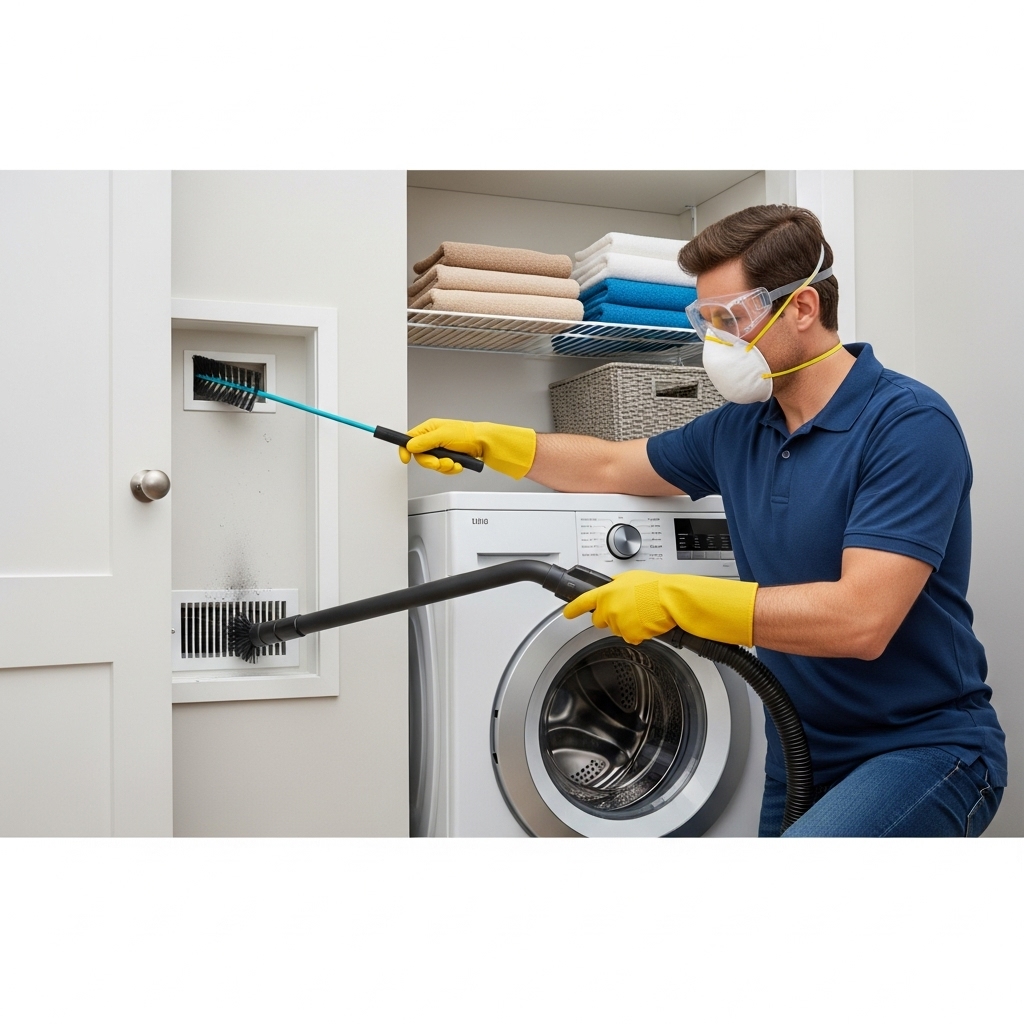
- Wear protective gear: eye protection, a dust mask or respirator, and gloves.
- Gather the right tools: a vent brush kit with rigid rods, a vacuum with narrow attachments, and a flashlight.
- Check the transition duct material and condition. Replace damaged, crushed, or noncompliant materials with a listed transition duct of appropriate length.
- Locate the exterior termination so you can inspect damper movement and clear visible obstructions like nesting materials.
Step-by-step cleaning method
Use a slow, deliberate sequence. Rushing increases the chance of disconnecting joints inside walls or leaving lint behind.
- Remove the lint screen and vacuum the housing. This area captures a surprising amount of debris that can migrate into the vent.
- Pull the dryer forward carefully. Avoid kinking the transition duct. If the duct is foil or plastic and looks damaged, plan to replace it.
- Disconnect the transition duct from the dryer and from the wall or floor connection. Inspect for heavy lint deposits and replace if torn or crushed.
- Vacuum accessible lint from the dryer’s exhaust port and from the connection fitting.
- Insert a brush attached to rigid rods into the vent opening and advance slowly, rotating to dislodge lint. Use gentle pressure—forcing the brush can detach elbows or lodge the head in a turn.
- Withdraw the brush periodically to remove lint and prevent pushing a large mass farther down the run.
- Inspect the exterior termination. Open the damper manually if needed and clear obstructions. Do not install exterior screens that trap lint.
- After cleaning, reconnect the transition duct with secure clamps. Keep the run as short and straight as possible.
- Restore power and, for gas units, gas supply. Run the dryer on air or low heat briefly to confirm strong airflow at the exterior.
Special considerations for gas dryers
Gas dryers require extra caution. Do not disturb the gas line fittings, and never use open flame to test for leaks. If you smell gas, stop immediately, ventilate the area, and contact a qualified professional. During cleaning, maintain clear separation between tools and the gas line, and double-check that the vented exhaust path is unobstructed before restarting the appliance.
When DIY becomes risky
Some vent configurations call for professional intervention. Consider a pro if you encounter the following:
- Roof terminations requiring ladder work or steep roof access.
- Vents longer than 25 feet or with several elbows and hidden transitions.
- Evidence of water intrusion, rust, or animals nesting in the vent.
- Repeated overheating shutoffs, a burning smell, or weak airflow after DIY attempts.
- Shared venting in multi-unit buildings or inaccessible sections behind built-ins.
In these situations, trained technicians can safely navigate complexities, use inspection tools, and restore clear airflow without damaging the system.
Common mistakes to avoid
Even well-intentioned DIYers make errors that create new hazards. Avoid these missteps:
- Pushing lint deeper with an undersized brush or flexible cord rather than rigid rods.
- Leaving the brush head detached inside a turn or elbow.
- Reusing a crushed or overly long transition duct that kinks behind the dryer.
- Installing mesh screens on exterior hoods that quickly clog with lint.
- Skipping the final airflow check at the exterior termination.
Between-cleaning maintenance
Good habits reduce the frequency and intensity of cleanings:
- Empty the lint screen before each load and wash it occasionally if you use dryer sheets.
- Keep loads modest; oversized loads shed more lint and prolong drying.
- Check the exterior damper seasonally to ensure it opens freely.
- Vacuum behind and under the dryer periodically to remove lint dust that can become airborne.
Somerville-specific tips
Local conditions influence how you approach the job. Older homes in Somerville often have longer runs that travel through basements or crawlspaces, while townhomes may terminate on a roof. Winter temperatures make ducts colder, increasing condensation that helps lint stick to the interior walls. Plan more frequent inspections during seasons of heavy laundry use, and always verify the exterior hood operates correctly after snow or storms.
How pros enhance safety and results
Professional technicians bring specialized equipment that outperforms consumer tools. Rotary brush systems, high-powered vacuums with proper filtration, and air-whip tools remove compacted lint without driving it into inaccessible areas. Just as importantly, they check for code compliance—ensuring the vent uses smooth-wall metal where required and that the termination includes a damper, not a lint-trapping screen. When you want maximum safety with minimum hassle, it is worth comparing the time and risk of DIY against the convenience of professional dryer vent cleaning.
Troubleshooting lingering problems
If dry times remain long after cleaning, consider additional factors:
- Clogged lint screen due to fabric softener residue.
- A failing blower wheel in the dryer, which can mimic a blocked vent.
- Crushed or excessively long transition duct behind the dryer.
- A stuck exterior damper or a damaged hood that restricts airflow.
Systematically rule out each issue, and do not hesitate to involve a pro for diagnostic testing.
Frequently Asked Questions
Q: How often should I clean my dryer vent? A: Many homes benefit from annual service, but high-use households or long vent runs may require more frequent attention.
Q: Can I use a leaf blower to clear the vent? A: Forced air can compact lint into dense clogs or blow it into the dryer cabinet. Use proper brushes and vacuums instead.
Q: Are plastic vents safe? A: Plastic ducting is generally not acceptable. Smooth-wall metal is recommended for most vent runs, with a listed transition duct between dryer and wall.
Q: What if my exterior hood is high on a wall or on the roof? A: For elevated or roof terminations, hire a professional with appropriate safety gear and training.
Q: My dryer still overheats—what next? A: Stop using the dryer and call a qualified technician to assess airflow, mechanical components, and safety controls.
Putting safety first pays off
Safe dryer vent cleaning is about more than clearing visible lint; it is about protecting your home, preserving your appliance, and ensuring proper exhaust of heat and moisture. With the right preparation, methodical steps, and a willingness to call in help when needed, you will maintain strong airflow and reduce hazards. If you would rather hand off the risk and reclaim your time, schedule a trusted local appointment and enjoy the confidence that comes with a documented, thorough service.
Book reliable help in Somerville
Protect your home, improve efficiency, and extend the life of your dryer by arranging a detailed inspection and cleaning with a reputable Somerville provider. For a smooth experience from start to finish, schedule a dryer vent cleaning service with professionals who prioritize safety at every step.
