
Dryer Vent Cleaning Checklist for Somerville, New Jersey Homes: Step by Step
A clear dryer vent is essential for safety, efficiency, and a predictable laundry routine. Whether you live in a historic Somerville home with a long basement run or a newer townhouse with a roof termination, a step-by-step approach keeps airflow strong and risk low. This checklist explains how to prepare, what a thorough professional cleaning includes, and how to maintain results over time. If you prefer to hand off the work, schedule local dryer vent cleaning so a trained technician can handle complex runs, verify the termination, and ensure the system performs the way it should.
Before getting into steps, remember the goal: remove accumulated lint from the entire exhaust path and confirm that the outside damper opens freely. Lint is highly combustible and tends to collect at elbows, crushed transition sections, and the termination. Clearing these bottlenecks protects your home and reduces time spent drying towels, bedding, and everyday clothing.
Step 1: Gather System Details
Identify the dryer’s location and the route to the exterior. Note whether the duct travels upward through walls or across a basement ceiling. Count elbows if possible. If the vent exits on the roof, you will need safe access to the termination. Understanding the path helps you plan a complete cleaning and anticipate where lint may be densest.
Check the transition hose behind the dryer. If it is thin plastic or flexible foil that crushes easily, plan to upgrade to a semi-rigid metal transition during or after the cleaning. Maintain a gentle bend that avoids sharp kinks when you push the appliance back into place.
Step 2: Prepare the Area
Clear items off the dryer and provide room to pull the unit forward. Protect floors where the appliance will move. If you live in a multi-unit building, coordinate with management for roof or hallway access. Keep pets comfortably secured in another room to avoid stress during vacuuming and brushing.
Unplug the dryer or switch off the dedicated breaker, and if you have a gas unit, close the gas valve as recommended by a qualified professional before moving the appliance. These precautions help prevent accidental starts and keep the work area safe.
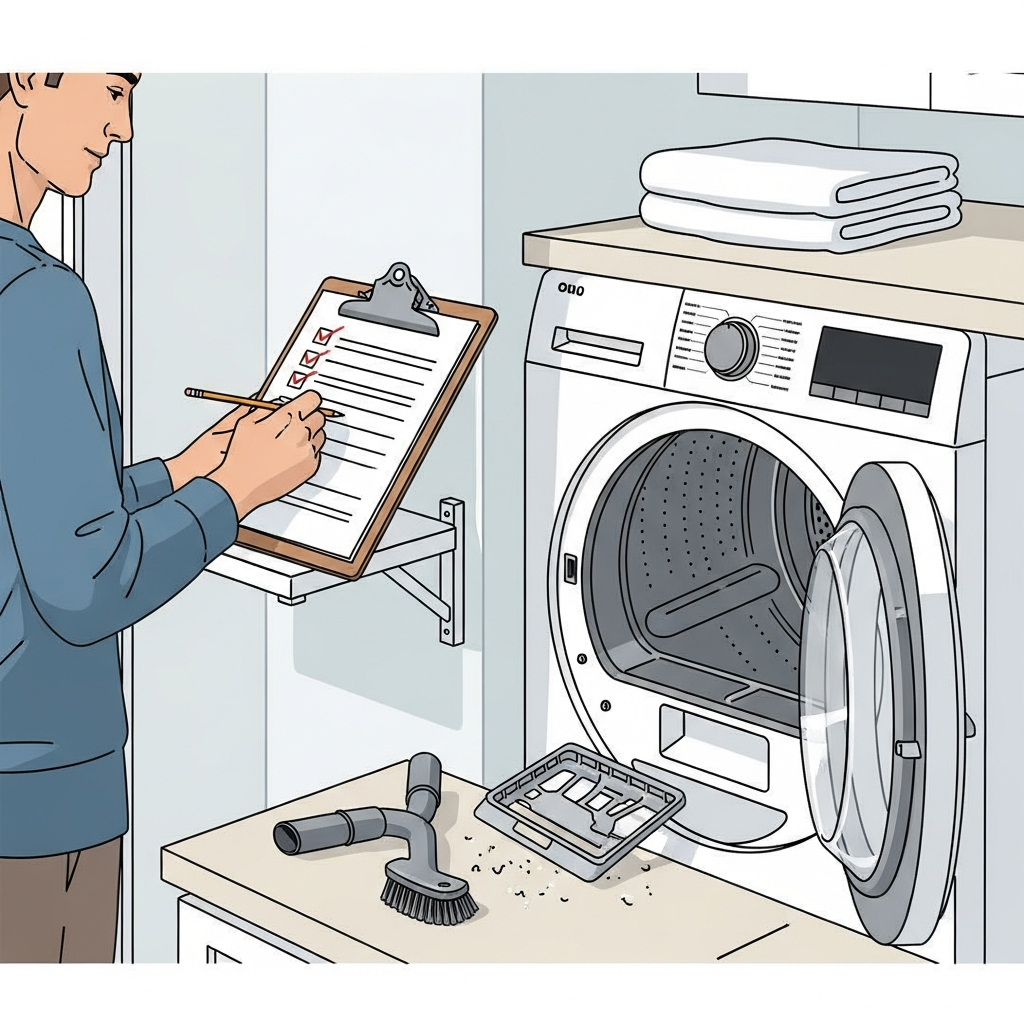
Step 3: Inspect and Document
Look for crushed or overly long transition hoses, screws protruding into duct joints, and evidence of moisture or lint around seams. At the exterior, confirm that the damper moves freely without sticking or rubbing. If the termination is clogged with debris or shows signs of nesting, note that for thorough removal. Photos taken before cleaning can help you confirm improvements afterward and guide future maintenance.
If you notice water staining or rust near duct sections, there may be low spots that collect condensation. Plan to correct slopes so that moisture drains outward, not back toward the dryer. Moisture pockets attract lint, accelerating buildup.
Step 4: Clean from the Dryer End
Disconnect the transition hose and carefully vacuum the lint trap cavity and the exhaust collar on the back of the appliance. Insert appropriate brush tools into the duct and advance methodically. Rotate and withdraw the brush periodically to remove loosened debris with a vacuum. Continue past the first elbow and along the path until you meet the termination.
If you encounter resistance that feels like a sharp bend, avoid forcing the brush. Adjust your approach to prevent detaching a brush head inside the duct. Patience and controlled motion protect the system and improve overall results.
Step 5: Clean from the Exterior Termination
At the outside hood or roof cap, remove visible lint and confirm that the damper hinges and opens freely. Brush inward to dislodge compacted material near the cap, then vacuum or capture debris. Ensure that no fine mesh screen is installed; such screens clog rapidly. Instead, use code-compliant terminations designed to open easily while discouraging pests.
In winter, check for frost or wind-driven snow that may hold the damper shut. In spring, look for nesting activity or yard debris. Seasonal vigilance is essential for Somerville homes since weather and local foliage can change conditions quickly.
Step 6: Verify the Entire Run
Once both ends are clear, test airflow with the dryer running on a warm cycle. The damper should open decisively and remain steady. Inside, listen for smooth airflow without rattling, and feel for strong exhaust at the termination. If airflow is weak, revisit bends and elbows to ensure no compacted lint remains. This verification step distinguishes a thorough cleaning from a partial one.
If airflow remains poor after careful cleaning, evaluate the run for excessive length or an abundance of sharp turns. Consider modest reroutes or replacing tight elbows with longer-radius bends to reduce friction and improve performance.
Step 7: Upgrade Materials as Needed
Replace damaged or noncompliant transitions with semi-rigid metal. Ensure connections are secure with approved clamps rather than screws protruding into the airflow. If sections of the duct are accessible and damaged, replace them with smooth-walled metal duct. Smoother surfaces reduce turbulence and lint accumulation, extending the time between cleanings.
Confirm that horizontal runs gently slope toward the exterior to prevent condensation pockets. Where ducts pass through unconditioned spaces, ensure penetrations are sealed and insulated appropriately to reduce condensation and preserve energy efficiency.
Step 8: Reposition the Dryer Carefully
Push the appliance back into place without crushing the transition hose. Maintain a gentle curve with adequate clearance to the wall. Verify that the dryer is level to minimize vibration and noise during operation.
Reconnect power and, if applicable, gas supply according to manufacturer guidelines and safe practices. Run a short cycle to confirm smooth operation and strong exhaust at the termination.
Step 9: Establish a Maintenance Rhythm
Mark your calendar for routine checks. For many Somerville households, annual professional service is a smart baseline, with earlier follow-up for large families, frequent towel loads, or homes with pets. Observe the exterior hood monthly. If the damper opens weakly or sticks, schedule a recheck before performance declines further.
Keep the area behind the dryer clear of storage that can compress the transition. Clean the lint screen after every load and periodically vacuum around the lint trap opening to capture fine particles that bypass the screen.
Somerville-Specific Tips
Neighborhoods with mature trees may experience leaf and seed buildup near ground-level terminations. Simple seasonal clearing around the hood can prevent obstructions. For roof terminations, confirm that the cap is secured and the flashing intact after storms. In historic homes with longer basement runs, consider adding or improving access points for easier maintenance at mid-run elbows.
If your laundry closet is tight, verify that louvered doors or make-up air provisions allow sufficient airflow into the room. Restricted intake air can degrade dryer performance even when the exhaust duct is clear.
Troubleshooting Persistent Symptoms
If cycles remain long after a thorough cleaning, consider internal dryer issues like worn belts, failing heating elements, or sensors needing attention. A professional can help determine whether the problem lies in the venting, the appliance, or a combination. If lint appears around the dryer or on the floor, check for leaks at joints or a loose transition connection. Rattling noises can indicate a brush head or debris lodged at an elbow, which should be addressed promptly.
Frequently Asked Questions
How often should I clean my dryer vent? Most homes benefit from annual service, but heavy usage, pet hair, or long duct runs may call for more frequent attention. Seasonal checks of the exterior damper help catch issues early.
Is roof access required for a roof termination? Yes. A safe, properly equipped technician should inspect and clean roof caps, verify damper action, and ensure a secure seal after the visit.
Are plastic or foil transitions acceptable? These materials crush easily and can deteriorate under heat. Semi-rigid metal transitions are typically recommended for durability and smoother airflow.
Can I do the job myself? Homeowners can handle basic lint screen cleaning and vacuuming near the lint trap opening. For full duct cleaning—especially with multiple elbows or long vertical sections—professional tools and experience provide more reliable results.
What symptoms suggest a blockage? Long dry times, hot dryer surfaces, musty odors, and weak or fluttering movement at the exterior damper are common signs. Visible lint at the termination is another indicator of accumulated debris.
Why does lint return so quickly in my home? Heavy towel or bedding loads, pet hair, and long or complex duct paths can accelerate buildup. Material upgrades and simplified elbows can help extend the time between services.
Does cleaning help with humidity? Yes. Clear exhaust paths allow moist air to leave the home efficiently, reducing humidity and the chance of lingering odors after cycles.
Finish Strong: Make Your Checklist Actionable
When you are ready to complete your maintenance or if your system needs professional attention, book local dryer vent cleaning to ensure every section—from the lint trap cavity to the exterior damper—performs as designed. A careful, step-by-step service provides safer operation, faster dry times, and a smoother routine for your Somerville home.
