
Comprehensive Air Duct Repair Checklist for Somerville Homes
Checklists turn complex home projects into manageable steps, and air duct repair is no exception. In Somerville, New Jersey, where seasonal temperature and humidity swings put systems to the test, a methodical approach prevents missed details and ensures lasting performance. The following checklist walks you through preparation, inspection, repair, and verification so that your ductwork supports consistent comfort and healthy indoor air. If you prefer a skilled technician to handle the process from start to finish, trusted local providers deliver professional air duct repair that aligns with the needs of Somerville homes.
This checklist is designed for homeowners with basic DIY skills. You do not need specialized instruments for most steps, and each item builds toward a more efficient, reliable system. The sequence matters: start safe, document what you find, fix the worst problems first, and verify improvements before moving on.
Preparation and Safety
Turn off the HVAC system, and if you will be removing panels near wiring, shut power at the breaker as well. Wear gloves, safety glasses, and a dust mask or respirator to protect against debris and fiberglass. Prepare lights for dim basements or crawlspaces, and set out clean pads or boards for access. Keep a trash bag for old tape, damaged insulation, and other debris so the work area remains orderly. In winter, allow extra time for sealants to cure; in humid months, dehumidify the workspace if possible.
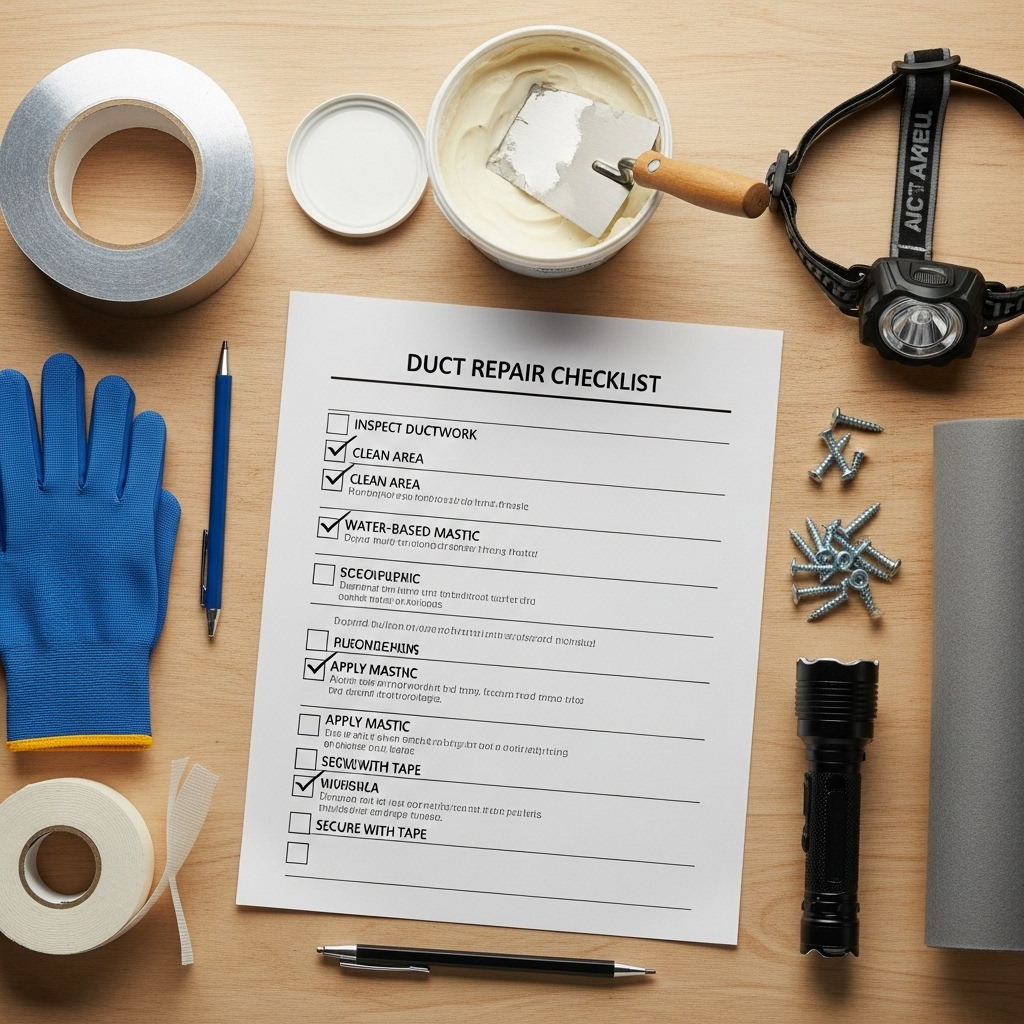
Gather materials: UL 181 foil tape, water-based mastic sealant, mesh for reinforcing larger gaps, sheet metal screws, zip ties or clamps for flexible duct connections, metal strapping or wide hangers, and appropriately rated insulation with a vapor barrier. Having everything ready help you maintain momentum, minimizing partial fixes that can introduce new leaks if left unfinished.
Checklist: System Mapping and Documentation
Identify the air handler, return plenum, supply plenum, main trunk lines, and branches to each register. Note material types—metal, duct board, or flexible duct—and any transitions. Sketch a simple map that lists branch sizes and approximate lengths. Photograph current conditions, especially suspicious joints or torn vapor barriers. Label each issue with tape so you can track progress while moving through tight spaces.
Somerville homes often feature finished basements and retrofitted attic spaces, which can make duct routes less direct. Take time to trace returns carefully; unsealed returns can draw unfiltered air from basements or utility rooms and spread odors or humidity throughout the home.
Checklist: Major Leaks and Disconnections
Start at the air handler. Inspect the seams where the plenum meets the furnace or air handler cabinet. Look for gaps, missing screws, or dried, lifting tape. Seal with mastic, reinforcing with mesh where necessary. Move to the first several feet of supply and return trunks, which tend to vibrate and shift. Re-seat any loose joints and add screws for mechanical stability before sealing. Pay special attention to takeoffs and collars that feed branch lines—if fully seated and sealed, these are less likely to leak later.
Next, check branch connections at boots behind registers. If the boot is loose in the wall or floor opening, conditioned air can spill into cavities. Secure the boot, seal the connection, and ensure the outer vapor barrier of flexible duct is intact and taped. Replace any crushed or torn sections rather than patch extensively, as patches on flex duct rarely restore full performance.
Checklist: Insulation and Condensation Control
Inspect insulation on all duct runs in unconditioned spaces. On supply ducts, continuous insulation with sealed seams prevents condensation when cold air meets warm, humid air in attics, garages, or basements. On returns, tight sealing is paramount to avoid drawing humid air into the system. Repair vapor barriers carefully; even small gaps can become moisture points. Look for signs of past condensation—stains on joists, corrosion on hangers, or damp insulation—and address the root cause.
Somerville’s summers can be sticky, making condensation a real concern on mis-insulated ducts. Verify that insulation thickness matches the location and that joints are taped or sealed with products compatible with the vapor barrier material. Replace degraded insulation, especially where the outer jacket has cracked or peeled.
Checklist: Supports, Alignment, and Airflow
Confirm that ducts are properly supported every few feet and at each turn. Wide hangers prevent cutting into flexible duct, and metal strapping for rigid ductwork should be corrosion-resistant. Straighten sags and remove kinks that increase resistance and noise. Ensure transitions and elbows allow smooth airflow—gentle curves outperform tight angles. If structural obstacles force sharp turns, consider adding space or rerouting with proper fittings.
After alignment, verify that access panels are secured with the original or equivalent fasteners. Loose panels can rattle and leak. Make note of any unusual vibrations at startup or shutdown, which could indicate stress on ducts or dampers that need adjustment.
Mid-Project Review and Troubleshooting
Halfway through your checklist, pause to review progress and eliminate blind spots. Are the plenums sealed? Did you restore insulation to every section you repaired? Are long branches adequately supported? If more issues surface than you initially expected, consider partnering with experienced providers who specialize in comprehensive air duct repair services, including system balancing and performance verification.
While reviewing, look for secondary issues such as poorly sealed penetrations where ducts pass through framing or foundation walls. Air leaks at these points can draw dust and odors from wall cavities or basements. Seal around collars and sleeves with the appropriate materials and maintain clearances as required by code.
Checklist: Final Sealing and Verification
Once major leaks are addressed, perform a second pass. Drag your hand along seams while the system runs to feel for air movement. Use a tissue or light smoke source to identify remaining leaks. Reapply mastic or tape as needed. Check that foil tape is fully burnished for a lasting bond. Confirm that boots are sealed to surrounding surfaces to prevent air loss behind trim or into joist cavities.
Verify temperature and airflow at registers across multiple rooms. Make simple notes: which rooms improved immediately, which still feel weak, and any noise changes. Address remaining weak points by tracing the branch back from the register to the trunk, looking for hidden bends, compressions, or partially closed dampers that your earlier pass may have missed.
Checklist: Long-Term Maintenance
Set up reminders to replace or clean filters on schedule, check visible ducts seasonally, and listen for new noises that might indicate movement or wear. Keep storage items clear of duct runs, and protect ducts in utility areas from accidental bumps. After storms or extreme weather, perform a quick visual check for moisture, especially in basements and attics.
Keep a simple maintenance log with dates, materials used, and photos. This record supports better decision-making if you later upgrade equipment or sell your home, and it helps a professional quickly understand your system’s history.
Frequently Asked Questions
Q: How do I prioritize repairs if I cannot do everything at once? A: Start at the air handler and major trunks, then move outward to branches and boots. Sealing the largest leaks first delivers the greatest performance gains and may resolve several symptoms at once.
Q: What are common mistakes? A: Using cloth tape, over-tightening ties on flexible duct, leaving vapor barriers unsealed, and ignoring supports are classic pitfalls. Another common error is patching crushed flex that should be replaced, which leaves airflow permanently restricted.
Q: Will sealing returns improve air quality? A: Yes. Tightly sealed returns stop the system from pulling unfiltered air from basements, crawlspaces, and wall cavities. Combine this with proper filtration to noticeably reduce dust.
Q: Do I need specialized tools? A: For most tasks, no. A flashlight, basic hand tools, UL 181 tape, and mastic cover the majority of homeowner repairs. Professionals may use manometers and flow hoods for precise diagnostics, which can be valuable on complex systems.
Q: Is there a “right” time of year to repair ducts? A: Any time is fine, but spring and fall can be especially convenient because systems run less and temperatures are moderate, making work in attics and basements more comfortable.
Ready to Use This Checklist in Your Somerville Home?
With a clear plan and steady pace, your duct system can become tighter, quieter, and more efficient in just a weekend or two. If you would rather delegate the task or want expert verification that every detail meets best practices, schedule professional air duct repair and enjoy dependable comfort, cleaner air, and better performance across the seasons in Somerville.
