
Knowing what happens—and when—during a duct installation helps you plan your schedule, coordinate other work, and set realistic expectations. This step-by-step timeline outlines how a professional team in Somerville, New Jersey approaches residential projects from the first walkthrough to final commissioning. Whether you are renovating or replacing aging ductwork, a clear roadmap reduces surprises and keeps your home comfortable during the transition. If you are comparing options, an initial consultation for air duct installation is the quickest way to align scope, design, and scheduling.
Pre-Project Phase: Discovery and Design (Days -14 to -1)
Every successful project begins with data. A technician measures rooms, notes window sizes and orientation, checks insulation levels, and inspects existing equipment. A Manual J load calculation determines room-by-room heating and cooling requirements. These numbers inform a Manual D duct design that sizes trunks and branches, places returns, and selects registers. The team reviews code requirements, including insulation in unconditioned spaces and potential duct leakage testing. If permits are needed, they are applied for during this phase.
Homeowners can accelerate the timeline by gathering floor plans, pointing out comfort trouble spots, and noting renovation plans that might affect routing. Clear goals—such as reducing second-floor overheating, quieting a noisy living room register, or improving filtration—guide design choices and keep the project focused on outcomes.
Day 1: Site Protection and Demolition
On installation day, the crew protects floors with drop cloths, sets up dust control as needed, and reviews the plan. If old ducts are present, they are removed methodically to avoid spreading debris. Crews cap or cover the air handler and returns to keep dust out of the blower and coil. Damaged or obsolete boots are removed, and openings are prepped for new connections. Waste is staged for disposal so the work area remains orderly and safe.
Day 1–2: Trunk and Branch Installation
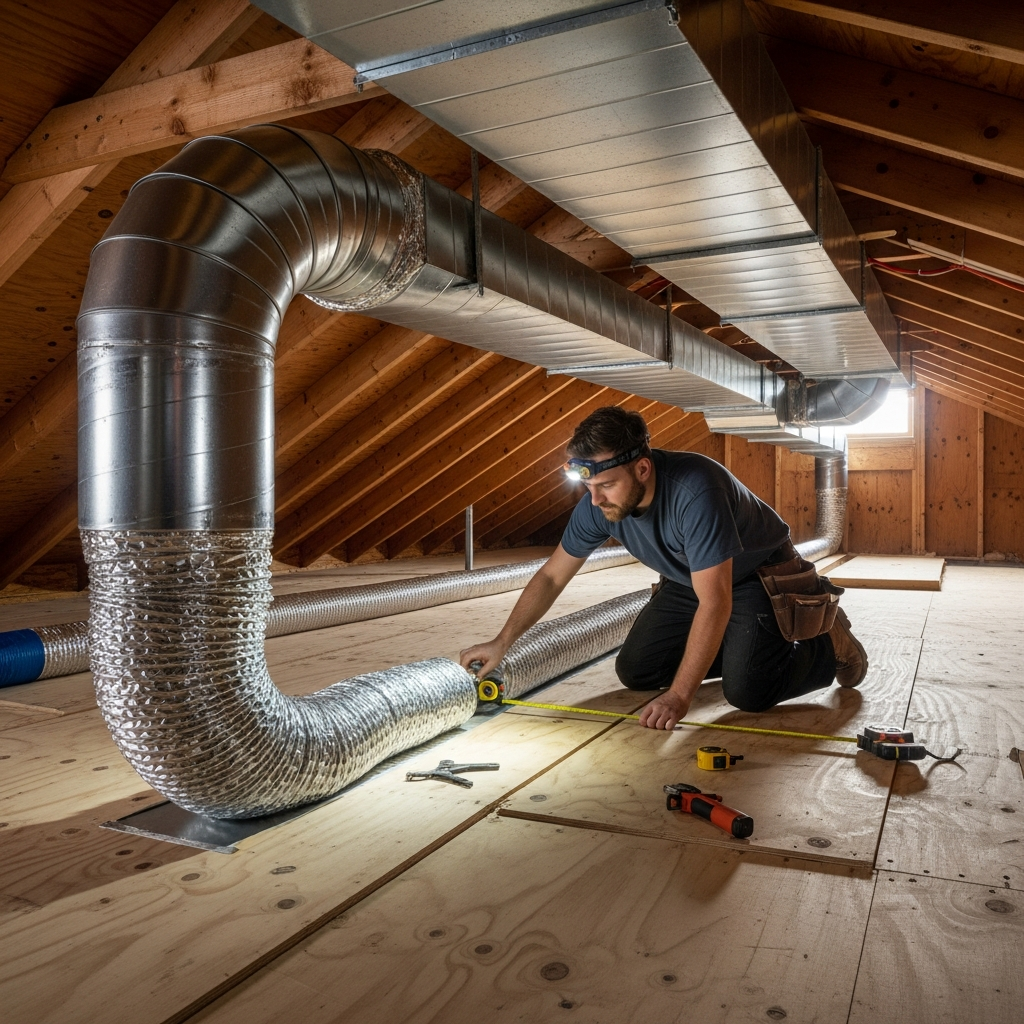
With a clean slate, installers position the main trunk from the plenum to distribution points. Hangers or strapping support the trunk to code. Branch takeoffs are laid out to minimize sharp angles, and transitions are built for smooth airflow. Flexible duct, when specified, is cut to length, pulled taut to reduce friction, and supported at proper intervals. All joints are sealed with mastic or UL-rated foil tape. Supply boots are placed and secured to ceilings or floors, while return drops are framed or aligned for grille installation.
Day 2: Insulation and Sealing
Ducts in attics, crawlspaces, or garages are insulated to meet or exceed code R-values. Mastic sealing continues at every joint, with mesh reinforcement where needed. Penetrations through framing are sealed appropriately. At this stage, a preliminary airflow check may be performed to catch routing issues early.
Day 2–3: Balancing and Controls
Balancing dampers are adjusted to meet target CFM for each room. If zoning is part of the design, motorized dampers and a control panel are wired and tested. Thermostats are installed or configured. The air handler’s blower settings are set to match the duct system’s design static pressure, and technicians verify temperature differences across the coil or heat exchanger.
Optional: Duct Leakage Testing and Documentation
Many projects include a duct leakage test. The system is pressurized with a calibrated fan, and leakage is measured at a specified pressure. Results guide any final sealing. The team documents static pressure, supply temperatures, and damper positions, providing a baseline for future service.
What Can Affect the Timeline?
- Accessibility: Tight attics, finished basements, or limited chases require more time.
- Demolition: Removing old ducts or repairing framing adds steps.
- Zoning: Multi-zone systems involve additional wiring, testing, and programming.
- Weather: Attic work is often scheduled earlier in the day during summer for safety and productivity.
- Permits and inspections: Scheduling with local authorities can introduce waiting periods.
How Homeowners Can Help the Schedule
- Clear pathways to attics, basements, and mechanical rooms.
- Move fragile items from work areas and cover furniture if requested.
- Discuss pet arrangements during door-open periods.
- Confirm register and thermostat locations before installation day.
- Be available for quick decisions when unexpected framing or utility conflicts arise.
Quality Control Milestones
Professional teams build quality checks into the timeline. After trunk installation, they verify hanger spacing and alignment. Once branches are connected, they inspect seams for full mastic coverage. Before insulation, they confirm damper accessibility and label key branches. During balancing, they measure airflow and static pressure against design targets, making iterative adjustments as needed.
Expected Duration for Different Scenarios
- Replacement of simple single-zone ductwork with good access: 1–2 days
- New distribution during a remodel with some framing adjustments: 2–3 days
- Multi-zone system with attic and basement components: 3+ days
- Historic home with creative routing and finish carpentry: schedule varies, often 3+ days
Somerville Considerations
Central Jersey homes often have basements with low beams, finished attics, or masonry walls. Anticipate soffits in finished spaces where chases are limited. Insulation quality in attics significantly affects cooling performance in humid summers; specify robust insulation and sealing to prevent heat gain and condensation. During winter, correctly insulated supply trunks in unconditioned areas help maintain warm supply temperatures and reduce stratification.
Communication During the Project
Daily updates keep everyone aligned. If a branch must be rerouted due to an unforeseen obstacle, the installer explains options and trade-offs before proceeding. Homeowners can request photos of hidden runs and damper locations for future reference. Midway through, it is helpful to revisit your goals and confirm that register placement and balancing strategies still support them. Clear expectations reduce rework and maintain the schedule.
Comfort Payoffs You Can Expect
When the project is complete, you should notice steadier temperatures across rooms, quieter vents, and improved airflow to previously neglected spaces. Returns on each level help the system breathe and reduce the load on your blower. These payoffs are the result of careful design, disciplined sealing, and precise balancing.
Mid-Timeline Recap
At the midpoint—usually after major duct runs are in place and before balancing—the team confirms that the installation matches the design. It’s also a good time to ask how your new air duct installation will address any persistent comfort issues, such as sun-exposed rooms that overheated in summer or basement offices that felt stuffy in winter.
Commissioning and Handover
The final day includes balancing adjustments, thermostat setup, and a walkthrough. Technicians explain filter access, register adjustments, and thermostat scheduling. You receive documentation of damper positions, test results, and recommended maintenance intervals. With these details, you have a performance baseline and a clear understanding of how to keep the system operating at peak efficiency.
Frequently Asked Questions
Q: Can installation be done while we live at home?
A: Yes. Professionals isolate work areas, manage dust, and phase tasks to minimize disruption. Attic work may be scheduled in cooler hours during summer.
Q: What if I want zoning later?
A: Zoning is easiest when planned during design, but some systems can be retrofitted. Ask whether trunks and returns can accommodate future dampers and controls.
Q: How accurate are timeline estimates?
A: With a solid design and accessible routes, estimates are reliable. Unforeseen framing issues or hidden obstructions can extend timelines, but clear communication keeps adjustments smooth.
Q: Will new ductwork reduce noise?
A: Yes, when designed with proper sizing, smooth transitions, and thoughtful register selection. Lined metal or duct board can further quiet sensitive areas.
Q: Do I need a permit?
A: Local requirements vary, but many jurisdictions require permits for significant duct changes. Your contractor will advise and coordinate as needed.
Plan Your Project With Confidence
A timeline built on data, design, and disciplined execution delivers predictable results and lasting comfort. If you’re ready to map out your project, schedule a consultation with a Somerville team that documents design targets, measures results, and communicates each step. From first walkthrough to final test, expert air duct installation keeps your home comfortable and your schedule on track.
Get your schedule on the calendar
Share your goals, choose a convenient installation window, and set expectations for daily milestones. With a clear plan, you can enjoy balanced airflow, quieter rooms, and dependable comfort in every season. Reach out to a local specialist to begin.
