
A structured inspection is the backbone of effective air duct repair. Without it, even skilled technicians can miss the hidden faults that undermine comfort and efficiency. For Somerville, New Jersey homes—where attics, basements, and additions create complex duct layouts—a clear, repeatable checklist ensures no critical step is overlooked. Whether you are preparing to evaluate your own system or to hire a professional, use this guide to understand what a thorough inspection should include from start to finish. Early in the process, you can also book a professional assessment and follow-up air duct repair so that findings translate into durable corrections.
Pre-inspection preparation
- Collect notes on comfort issues: rooms that are too hot, too cold, or persistently dusty.
- Replace or check filters to create consistent baseline conditions for testing.
- Clear access around the air handler, main trunks, and key registers or returns.
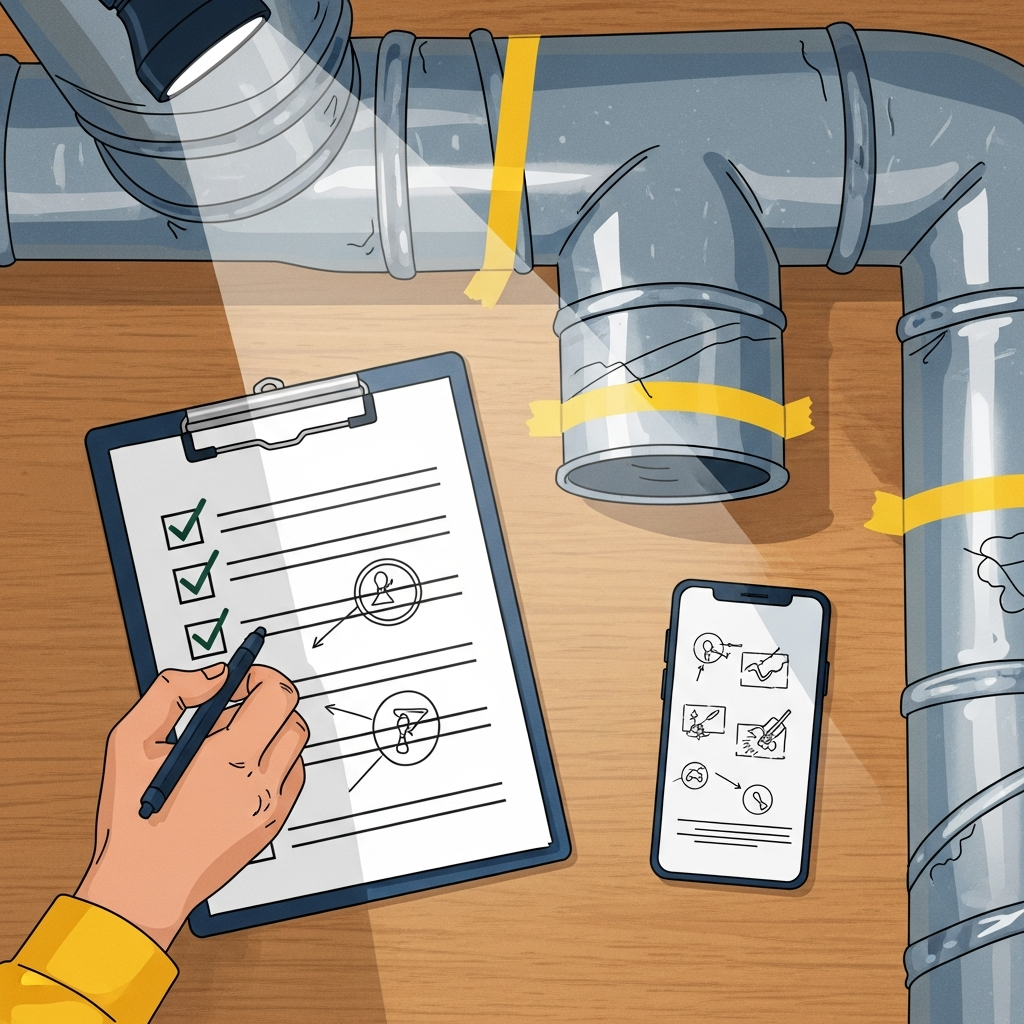
- Gather tools: flashlight or headlamp, tape measure, camera or phone, painter’s tape for marking, and basic hand tools.
System mapping
Trace the path from the air handler to each major supply and return. Sketch a simple diagram that labels trunks, branches, dampers, boots, and registers. Note which areas run through unconditioned spaces such as attics or crawlspaces. This map will guide your inspection and help you communicate clearly with a contractor.
Visual inspection points
- Joints and seams at trunks and branches for visible gaps or failed sealant.
- Collars and takeoffs for loose connections or missing fasteners.
- Boots where ducts meet floors, ceilings, or walls for gaps that leak into cavities.
- Flex ducts for kinks, crushing, tears, or excessive lengths that reduce airflow.
- Supports and straps for proper spacing to prevent sagging and joint stress.
- Insulation integrity and vapor barriers, especially in attics or crawlspaces.
Auditory clues under operation
With the system running, listen for whistling at seams and rattling where supports are loose. Thumping at startup can signal duct movement that needs mechanical reinforcement. Mark suspect spots with tape so you can revisit them during sealing.
Return-side priorities
Return leaks are among the most damaging issues because they pull unconditioned, dusty, or potentially contaminated air into the system. Focus on return trunks, panned returns, and connections near basements or garages. Secure mechanical connections first, then seal with mastic and mesh where needed.
Boot and register interface
Where ducts meet finished surfaces, gaps allow air to escape into wall or floor cavities. Inspect the boot perimeter and secure it tightly to framing or drywall. Sealing the trimmed gap prevents loss and helps keep debris out of the supply air path.
Insulation and condensation risks
Damaged insulation undermines performance and can create moisture issues. In humid months, uninsulated or poorly sealed ducts can sweat, risking staining or mold on surrounding materials. Document areas where insulation needs repair or replacement and ensure vapor barriers are restored after sealing.
Testing and verification considerations
- Airflow spot checks at several vents to confirm relative balance.
- Observation of temperature changes after sealing major leaks.
- Visual confirmation with photos of before-and-after conditions at key joints.
- If available, measurement of static pressure to quantify improvement.
Common defects and corrective actions
- Loose collars: secure mechanically with screws, then seal with mastic.
- Failed tape at seams: remove loose material, clean surfaces, and apply mastic; use mesh for larger gaps.
- Crushed flex: replace affected sections and route with gentle bends to reduce turbulence.
- Unsupported spans: add straps at proper intervals to relieve stress on joints and reduce vibration.
- Boot leaks: fasten boots securely and seal the perimeter to prevent loss into cavities.
- Torn insulation: repair or replace and restore vapor barriers to control condensation.
Mid-inspection checkpoint
Halfway through, review findings against your map. Prioritize return leaks, disconnections, and crushed runs that most severely limit airflow. This is also the moment to decide whether nuanced issues—like balancing multiple problem rooms—require professional tools or experience. If you prefer expert support, schedule targeted air duct repair to address high-impact items efficiently.
Somerville home nuances
Many local homes include additions that tie into older trunks. Transitions between generations of ductwork often leak or create turbulence. Attic runs can be long and exposed to temperature extremes. Basements may introduce dust and odors if returns are not sealed. Finally, seasonal shifts place different stresses on ducts; recheck problem areas after major weather changes to ensure seals hold as intended.
Documentation for lasting value
Photograph each defect before repair and the corrected condition afterward. Label images with location and a brief description. Keep a simple log that pairs photos with your diagram. This record speeds future troubleshooting and gives you confidence that the most important fixes were completed.
Frequently Asked Questions
Q: How detailed should my inspection map be? A: Even a simple sketch with labeled trunks, branches, and problem areas is enough to guide effective repairs and communication.
Q: Do I need specialized tools to verify improvements? A: Basic airflow checks and temperature observations help. Pros may add static pressure measurements for deeper insight.
Q: Why prioritize returns first? A: Return leaks pull in unconditioned and possibly contaminated air, harming comfort and indoor air quality more than many supply-side leaks.
Q: Can I just tape over visible gaps? A: Use appropriate mastic and, where needed, mesh. Generic tape often fails under heat and humidity cycles.
Q: How do I handle hard-to-reach boots? A: Plan safe access, use proper ladders or platforms, and consider professional help where access is risky.
Q: Will sealing ducts make my home quieter? A: Yes, many homeowners notice reduced rattling and whistling after supports are reinforced and leaks are sealed.
Turn your checklist into real improvements
With a clear plan and careful documentation, you can move from inspection to targeted fixes that deliver measurable comfort and efficiency gains. If you want a professional to confirm findings, prioritize high-impact tasks, and verify results, arrange expert air duct repair and enjoy a smoother, more effective path to a better-performing home.
