
Comprehensive Air Duct Repair Checklist for Somerville Homes
Whether you occupy a historic Somerville house with quirky chases or a newer home with long trunk lines, a structured checklist is the fastest path to reliable duct repair. By following a consistent sequence—inspect, diagnose, repair, test, and maintain—you increase the odds of a durable result. Use this guide to perform your own assessment, plan a DIY project, or evaluate the thoroughness of a professional’s scope. If you prefer expert help from the start, consider booking qualified local air duct repair to save time and ensure best practices are followed.
This checklist is organized to walk you from preparation through post-repair maintenance. You can complete it in stages or use it to verify that a contractor addressed key details in your home.
Preparation and Safety
- Shut off the HVAC system at the thermostat; for extra safety, switch off the breaker to the air handler.
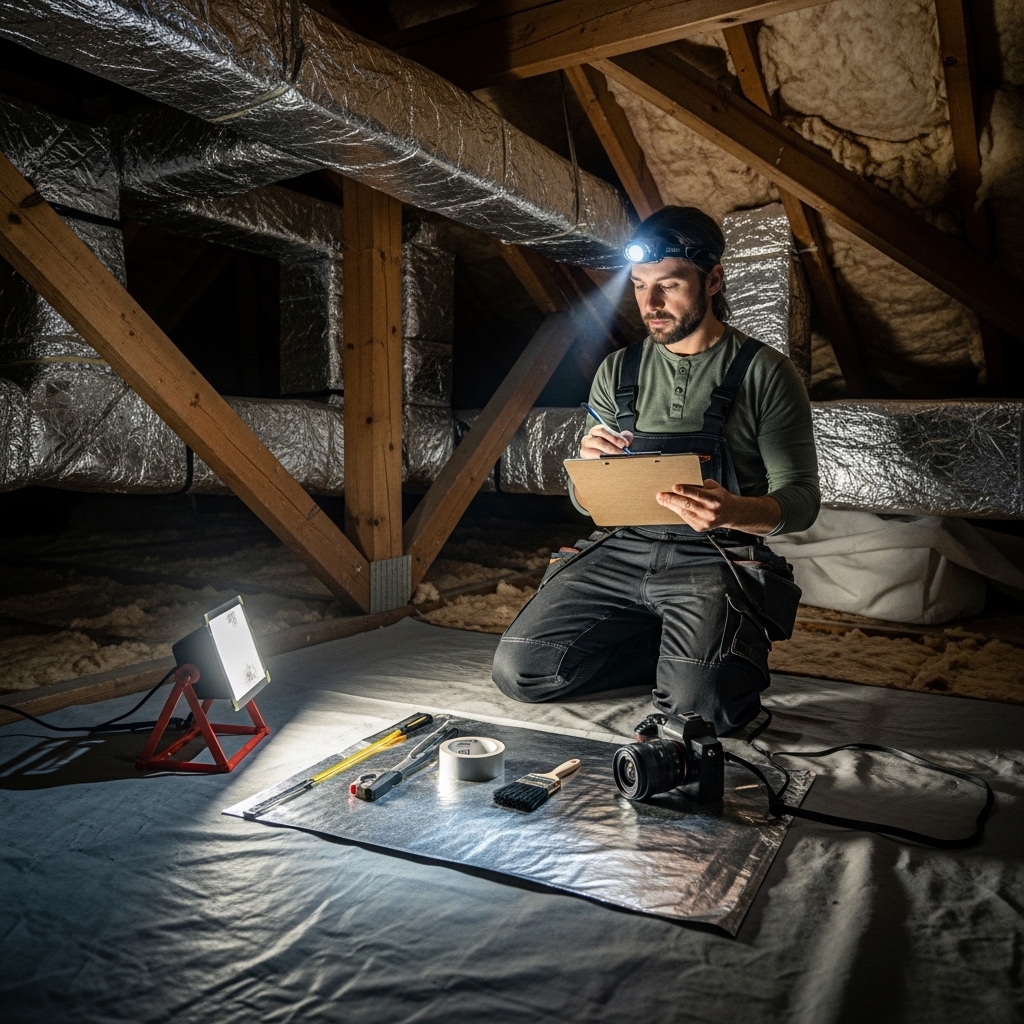
- Gather gloves, eye protection, a headlamp, and a portable work light.
- Clear access to basements, attics, and crawl spaces; lay down drop cloths.
- Verify that you are not disturbing materials that could be hazardous. If you suspect asbestos or find mold, stop and consult a professional.
- Keep pets and children away from the work area until cleanup is complete.
System Overview and Documentation
- Identify the air handler, supply plenum, return plenum, main trunks, and branch runs.
- Sketch a simple map noting problem rooms, suspected leaks, and access points.
- Take “before” photos of joints, takeoffs, flex connections, and insulation gaps.
- Replace or inspect the air filter to eliminate a basic airflow restriction.
- Note any unusual sounds or odors when the system operates.
Detailed Inspection Checklist
- Plenums: Check for gaps at seams and around takeoffs; look for peeling cloth tape.
- Main trunks: Follow lines and mark any dust streaks that indicate leaks.
- Branches: Wiggle takeoffs to detect loose fittings; test flex duct for kinks or crushed areas.
- Returns: Inspect for unsealed wall cavities, loose grille boxes, or gaps at flooring and framing.
- Supports: Confirm that hangers are secure and wide enough to avoid compressing flex duct.
- Insulation: Verify continuous coverage in unconditioned spaces and unbroken vapor barriers.
Materials and Tools for Reliable Repairs
- UL-181-rated foil tape for duct sealing
- Water-based mastic with a disposable brush or gloved hand
- Metal screws for mechanical fastening at sheet metal joints
- Foil-faced insulation or duct wrap for exposed metal sections
- Flex duct couplings, clamps, and draw bands
- Smoke pencil or incense stick for leak testing
- Marker, measuring tape, and camera for documentation
Step-by-Step Repair Sequence
- Secure loose sheet metal joints with screws, then apply mastic to seams and screw heads.
- Reattach flex duct inner cores to collars, clamp securely, seal with foil tape, and cover with insulation and the outer jacket.
- Patch small tears in flex duct jackets with foil tape; replace severely damaged sections using proper couplings.
- Seal takeoffs at the plenum with mastic; embed fiberglass mesh if gaps are larger than about a quarter inch.
- Reinforce or replace sagging supports; maintain gentle bends and adequate spacing.
- Insulate exposed metal ducts in attics and crawl spaces; seal all insulation seams.
- Restore access panels and ensure filter compartments are tight.
Testing and Balancing Checklist
- Power the system and use a smoke pencil around all repaired joints to confirm tight seals.
- Walk room by room to check airflow strength and consistency at registers.
- Listen for whistling or rattling that may indicate leaks or loose panels.
- Adjust balancing dampers gradually to even out room temperatures.
- Reinspect after several hours of operation to verify stability.
Common Pitfalls to Avoid
- Using cloth duct tape for permanent sealing; it will fail over time.
- Skipping mechanical fastening at metal joints and flex collars.
- Overtightening hangers that compress flex duct and restrict airflow.
- Leaving returns unsealed and drawing in dusty attic or basement air.
- Covering balancing dampers or service panels beneath insulation.
Somerville-Specific Considerations
Seasonal swings in Somerville bring hot attics in summer and cold basements in winter. Plan work during safer temperature windows so mastics and tapes adhere properly. Monitor humidity in basements to avoid condensation on metal ducts, and keep insulation vapor barriers intact. In historic homes, anticipate hidden chases and creative routes that require careful sealing at transitions. Newer homes may include advanced HVAC equipment that depends on tight duct systems to meet design airflow, making proper sealing and balancing essential.
Maintenance Checklist After Repair
- Replace filters on a regular schedule and keep spare filters on hand.
- Vacuum registers and returns periodically to keep them clean.
- Reinspect sealed joints seasonally, especially after extreme temperatures.
- Keep storage items clear of ducts to prevent crushing or displacement.
- Document your work with “after” photos and notes for future reference.
FAQ: Your Air Duct Repair Questions Answered
Q: How do I know if my checklist is complete? A: Verify that you have inspected plenums, trunk lines, takeoffs, returns, supports, and insulation, performed smoke testing, and adjusted dampers. Photos before and after help ensure nothing is missed.
Q: What should I do if I find mold or suspect asbestos? A: Pause the project and seek qualified help. These conditions require specialized handling beyond typical DIY duct repair.
Q: Will sealing return leaks improve indoor air quality? A: Yes. Tight returns prevent unfiltered attic or basement air from entering the system and reduce dust concerns throughout the home.
Q: How often should I retest for leaks? A: Test after the repair and again after a season change or any significant renovation. Periodic checks catch small issues before they grow.
Q: Do I need to be home during professional work? A: It is helpful to be present for the initial walkthrough and final review, though you do not need to observe every step. Keep access areas clear and pets secured.
Mid-Project Reassessment
As you work through your checklist, you may uncover new issues such as hidden returns or long, unsupported flex runs. Update your plan, photograph the new findings, and decide whether to expand the scope now or schedule a follow-up. If you prefer not to take on added complexity, consider calling Somerville specialists who provide thorough air duct repair services with documentation and testing to validate results.
Ready to Put the Checklist to Work?
If you want to move quickly from planning to a dependable fix, schedule trusted local air duct repair. A systematic approach—inspection, sealing, reconnection, insulation, and testing—will restore consistent comfort and reliable airflow in your Somerville home.
