
Systematic Troubleshooting for Air Duct Repair in Somerville
When comfort slips and utility bills edge up in Somerville, New Jersey, ductwork often plays a role. Troubleshooting air ducts requires patience, observation, and a clear plan. This guide walks you through a systematic approach to identifying leaks, blockages, vibration issues, and insulation failures so that you can restore steady airflow and healthy indoor air. If you prefer expert diagnostics and repairs, Somerville homeowners can turn to trusted teams that offer reliable air duct repair backed by experience with local homes and weather patterns.
Effective troubleshooting involves looking beyond obvious clues. A weak room may be the symptom, but the cause could be a return leak yards away or an obstruction hidden in a bend. The sequence below helps you move from general inspection toward specific, verifiable fixes.
Establish a Baseline
Begin by documenting current conditions. Note which rooms struggle, when symptoms appear, and whether noise accompanies airflow issues. Run the system long enough for steady operation, then check each register and return. Use your senses: listen for whistles, feel for air movement around seams, and observe vibration. Take photos of questionable joints and any discolored or damp insulation. A baseline gives you a point of comparison as you work through repairs.
Check filter condition and fit. A clogged or poorly fitted filter can skew airflow and dust levels, masking duct issues. Replace or reseat the filter before drawing conclusions. Confirm that supplies and returns are unobstructed by rugs, drapes, or furniture. These initial steps clarify the problem and eliminate easy fixes before you invest time in deeper repairs.
Trace the Airflow Path
Follow the path from the air handler through the supply trunk to each branch. Look for obvious disconnections near takeoffs, then move outward to boots behind registers. Examine flexible duct for kinks, tight bends, or crushing. Note any transitions that force air through sharp angles. On the return side, ensure that the path is continuous and sealed—return leaks can degrade comfort across the whole home by pulling in unconditioned air from basements or crawlspaces.
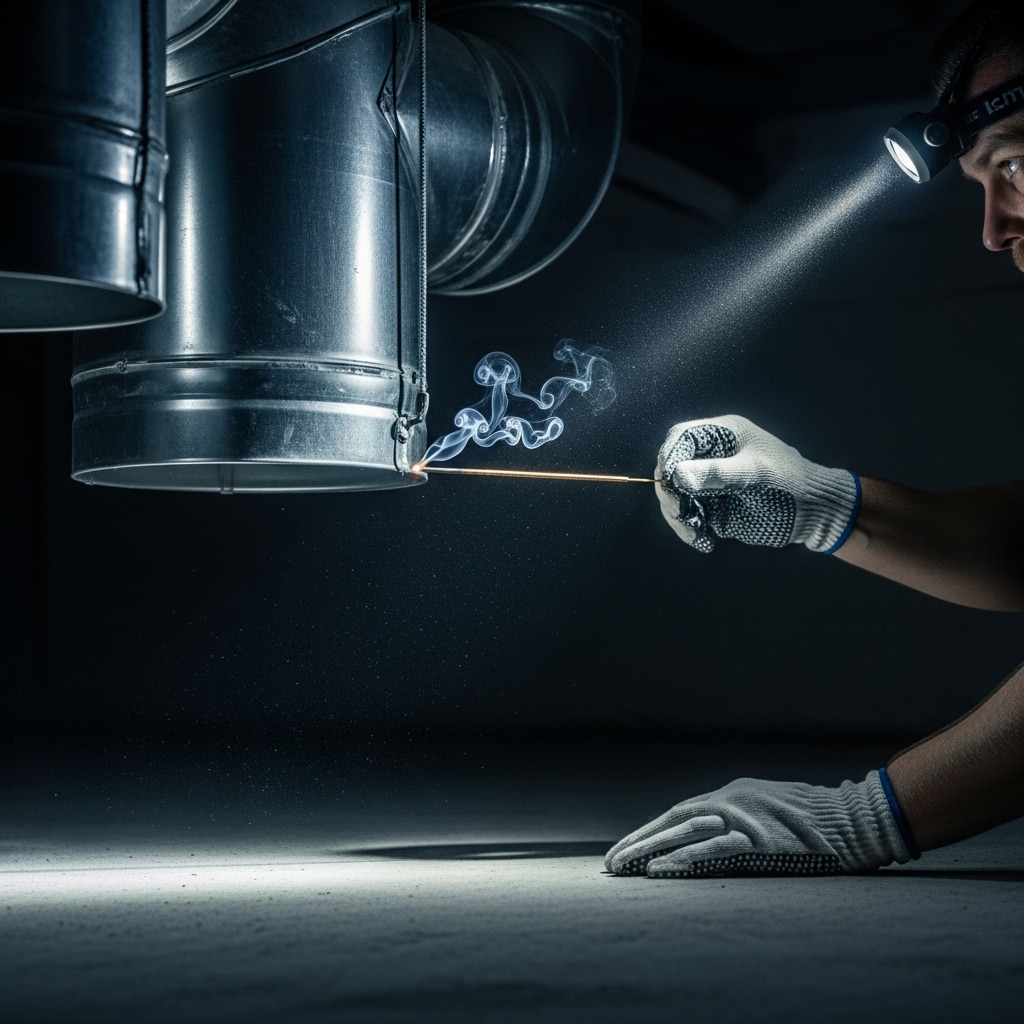
While tracing, watch for dust streaks at seams or around screws, a classic sign of leakage. If you can safely do so, run the system while holding a tissue near joints to detect moving air. Mark every suspect location with tape so you can address them in order. Photograph conditions for later comparison.
Identify Leak Types and Prioritize Repairs
Not all leaks are equal. Large gaps at plenums and trunk joints waste significant air and should be sealed first. Narrow seam leaks create whistling sounds and raise static pressure, contributing to noise and uneven distribution. Boot-to-wall gaps send conditioned air into cavities where it does no good. Prioritize by impact: big leaks near the air handler typically yield the fastest comfort improvements when sealed with mastic and reinforced where necessary.
Once primary leaks are sealed, turn to secondary leaks along branches and at dampers. Tighten mechanical connections with screws or clamps before sealing so your sealant does not carry structural loads. This order prevents the seal from cracking later due to movement or vibration.
Evaluate Insulation and Moisture Risks
Somerville’s humid summers and cool winters can stress insulation. Inspect for missing wraps, torn vapor barriers, or damp spots. Where cold supply ducts pass through warm spaces, condensation can form and drip. Restore continuous insulation and seal vapor barriers carefully to stop moisture migration. Replace degraded insulation and confirm that supports do not compress the duct, which can deform the insulation and reduce its effectiveness.
Moisture can also reveal hidden problems. Rust on hangers, stained joists, or a musty smell near returns suggest that unconditioned air has been entering the system. Sealing returns tightly not only improves air quality but also protects against moisture-related damage.
Diagnose Noise and Vibration
Noise frequently indicates turbulence, loose components, or inadequate supports. Whistling means air is escaping through a narrow gap—reseal with mastic and verify that the seam is mechanically sound. Rattling points to loose panels or straps; tighten fasteners and add padding where ducts touch framing. Low-frequency rumble may arise from high static pressure; after sealing, verify that dampers are positioned for balanced flow and that flexible ducts have smooth, gentle arcs rather than tight bends.
Ensure that boots are firmly attached to framing and that registers fit properly. A loose register can buzz or rattle. If a particular run remains noisy, consider whether the branch diameter is undersized for its length and load; replacement with a better-sized run may be necessary for long-term quiet operation.
Midway Checkpoint for Troubleshooting
After sealing the largest leaks and correcting obvious support issues, pause to reassess. Re-run your baseline checks and compare room comfort, noise levels, and any signs of moisture. If the system still underperforms, you may be dealing with hidden obstructions, legacy design issues, or contaminants. At this point, many homeowners consult professionals who specialize in comprehensive air duct repair services and have tools such as cameras, flow hoods, and manometers to pinpoint issues precisely.
Keep an open mind during this checkpoint. Sometimes what looks like a duct problem stems from the building envelope—leakage at attic hatches, unsealed rim joists, or pressure imbalances caused by exhaust fans. Addressing these factors can dramatically improve comfort even before further duct changes.
Hidden Obstructions and System Design Limits
Objects inside ducts are rare but not unheard of, especially during renovations when debris may fall into open boots. If airflow remains sluggish after sealing and aligning, inspect accessible sections for obstructions. For concealed runs, a professional camera inspection can save hours of guesswork. Likewise, design limits become apparent when the equipment is upgraded; a stronger blower may highlight undersized branches. In such cases, resizing or reconfiguring runs may be the definitive fix.
Another subtle issue is damper position. Some systems have manual dampers located near takeoffs, and their handles can be hard to see. Ensure they are open and aligned properly. A partially closed damper can starve a room of air and create noise upstream.
Verification and Long-Term Monitoring
Once repairs are complete, verify improvements. Walk the home to confirm temperature uniformity, listen during start and stop cycles, and feel for leaks along seams you previously marked. Check that insulation is intact and dry. Over the next week, pay attention to how the system responds to weather changes—a well-sealed and supported system should maintain steadier comfort with fewer fluctuations.
Set reminders for seasonal inspections. Replace filters as recommended, inspect visible runs for new abrasions or tape lifting, and re-tighten hangers annually. Keep ducts clear of stored items and avoid resting materials on flexible runs. A small maintenance habit prevents problems from returning.
Frequently Asked Questions
Q: What’s the fastest way to find major leaks? A: Start at the air handler and plenum seams, then follow trunks to takeoffs. Feel for air movement while the system runs, and look for dust streaks that outline leaks.
Q: My upstairs is always warmer—are ducts the issue? A: Often they contribute. Leaks, long runs, and undersized returns can starve upper floors. Sealing, adding return capacity, or resizing branches may be needed, especially in older Somerville homes.
Q: Which sealant should I use? A: Use water-based mastic rated for ductwork and UL 181 foil tape for vapor barriers and smooth metal joints. Avoid generic cloth tape.
Q: Can sealing increase noise? A: Occasionally, sealing raises static pressure by removing leakage paths. Balance airflow by checking damper positions, smoothing flex runs, and ensuring filters are correctly sized and clean.
Q: When should I call a professional? A: If you encounter extensive damage, suspected contamination, inaccessible leaks, or persistent imbalance after your best efforts, professional diagnostics and repair are the quickest path to resolution.
Put Troubleshooting into Action
With a structured approach, most homeowners can uncover and resolve the common causes of poor airflow, noise, and humidity concerns. When you want certainty, efficiency, and lasting results, schedule professional air duct repair and let Somerville specialists deliver a quieter, tighter, and more comfortable home across every season.
