
Step-by-Step Dryer Vent Cleaning for Somerville, NJ Homes
A clear dryer vent is essential for safe, efficient laundry. In Somerville, New Jersey—where temperature swings and seasonal debris can affect home ventilation—knowing the correct cleaning process helps you protect your dryer and your property. The following walk-through explains the professional method from start to finish so you know what to expect and why each step matters. If you prefer expert help, consider booking professional dryer vent cleaning to ensure every stage is handled with the right tools and techniques.
Step 1: Pre-Inspection and Safety
A thorough job starts with safety. The technician confirms power is disconnected for electric dryers or that the gas line is safely handled for gas units. They clear the area for access, lay down protective coverings if needed, and ask about symptoms like long cycles, odors, or a hot laundry room. This conversation frames the scope of the cleaning and highlights potential problem areas, such as a long vent run, multiple elbows, or a cap that seems to stick in winter.
The pre-inspection also includes identifying the vent path from the dryer to the exterior. In some homes, the vent runs through a basement or crawl space; in others, the run may go up through a wall and out the roof or an eave. Each path has unique considerations that shape the tools and approach used during cleaning.
Step 2: Disconnect and Access
To clean thoroughly, the technician disconnects the dryer from the transition duct and carefully moves the appliance to gain access to the wall or floor connection. They assess the condition of the transition duct, which is a common pinch point for airflow. If the duct is crushed, kinked, or made of unsafe material, they note the need for replacement with a suitable, code-compliant component. The area behind the dryer is vacuumed to remove loose lint and dust that could migrate back into the vent.
With access established, the technician confirms the duct diameter, the type of material (preferably smooth metal), and the number of elbows. This information helps determine the best tool configuration to dislodge lint effectively without damaging the duct.
Step 3: Mechanical Agitation
Professional cleaning relies on specialized tools designed for dryer vents. Rotary brush systems, air whips, and compressed air tools are used to agitate lint and debris from the vent walls. The key is controlled, thorough contact along the entire length of the duct. Rotary brushes spin and scrub, while air whips use pulses to stir up and loosen compacted lint in corners and elbows.
Throughout this step, a high-capacity vacuum captures debris. This prevents lint from entering the living space and ensures the vent interior becomes as clean as possible. In longer runs, the technician may enter from both ends—near the dryer and the exterior hood—to ensure complete agitation and removal.
Step 4: Exterior Termination Cleaning
The exterior vent cap or louver assembly is a critical component. The technician verifies the flap opens freely when air flows and closes when the dryer stops, preventing pests and drafts. Any trapped lint around the cap is cleared, and if a screen is present that tends to clog, the technician may recommend a more suitable hood that resists blockage. In Somerville’s winters, ice can form around the cap; a good cleaning and functional damper reduce this risk.
At this stage, the technician also checks for signs of nesting or insects. If obstructions are discovered, they are removed carefully to restore the full vent diameter. Proper termination ensures the dryer can exhaust warm, moist air effectively, preventing moisture from being forced back into the laundry area.
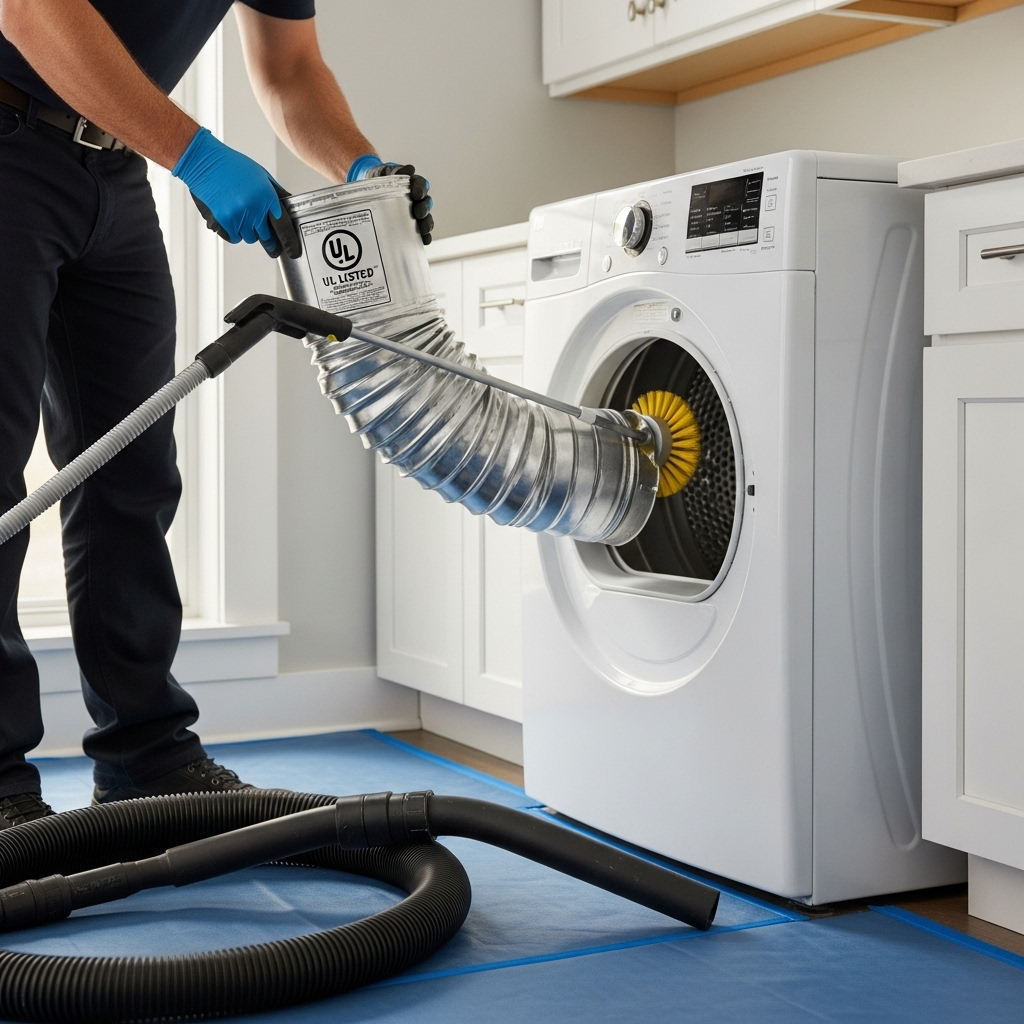
Step 5: Transition Duct and Reconnection
After the main vent path is clean, attention returns to the transition duct. If the current connection is damaged or unsafe, the technician may recommend replacing it with a short, appropriately sized, UL-listed transition duct that resists crushing. Secure clamps are installed to maintain a tight seal. The dryer is moved into position with adequate clearance to prevent compression of the duct when the appliance is pushed back against the wall.
At this point, the area around the dryer is tidied, and any displaced lint or dust is removed. Good housekeeping prevents future issues and keeps the laundry space pleasant and safe.
Step 6: Verification Testing
With the system reassembled, airflow is tested. This may involve measuring backpressure or air velocity at the vent cap. The technician listens for unusual sounds, observes the operation of the exterior flap, and confirms that air is moving steadily. If airflow remains low, they re-check for hidden issues such as a collapsed section behind a wall, an improperly sized duct, or an overlooked obstruction at the cap.
Verification is more than a quick glance. It is the final assurance that the entire cleaning process has restored the vent to efficient operation. The goal is less heat buildup, shorter cycle times, and improved safety for your dryer.
Step 7: Recommendations and Education
Before leaving, the technician reviews findings and offers tailored recommendations. These might include upgrading older foil ducting to smooth metal, shortening an overly long run if feasible, or replacing a cap that tends to collect lint. You will also receive maintenance tips for cleaning the lint screen, maintaining a clear space behind the dryer, and recognizing early warning signs of airflow restriction.
In the middle of planning home maintenance for the year, you might decide that expert support will save time and reduce risk. A reputable appointment for Somerville dryer vent cleaning ensures each step—from inspection to verification—is done thoroughly and safely.
Common Challenges in Somerville Homes
Some homes have unique vent layouts due to renovations or older construction. Long horizontal runs, multiple elbows, or vents that travel through unconditioned spaces can all complicate cleaning. Moisture can condense in cool sections of duct, causing lint to stick more firmly. Professional tools and experience make the difference in addressing these situations without damaging the ductwork.
Another challenge is the exterior termination choice. A cap with a fine mesh screen may catch lint and ice, especially in winter. Choosing a hood designed for dryer exhaust reduces these hazards and improves overall performance.
Maintaining Performance Between Services
Good habits help your vent stay clear longer. Clean the lint screen before each load, and wash it periodically to remove residues. Avoid overloading the dryer; balanced loads tumble better and dry faster. Ensure adequate space behind the appliance so the transition duct maintains a smooth curve. After home projects that generate dust, check the exterior vent to confirm it moves freely and is free of debris.
Frequently Asked Questions
How often should professional cleaning be performed? Many households benefit from annual service. Large families, heavy laundry users, or pet owners may need cleaning every six to nine months to keep airflow optimal.
Can I complete all steps myself? You can perform basic maintenance and short, straight-run cleanings with consumer tools. However, professional equipment provides a deeper clean for long or complex vents and includes verification testing.
Will cleaning reduce drying time? Yes. Restored airflow allows moisture to exit efficiently, shortening cycle times and decreasing heat stress on components and fabrics.
Is smooth metal duct required? Smooth metal is widely recommended for safety and performance. It resists crushing and holds less lint than flexible foil or plastic materials.
What if my vent terminates in an attic or crawl space? That configuration is unsafe and must be corrected so the dryer exhausts outdoors. A professional can advise on proper routing.
Why does my exterior flap stick? Paint, lint, or ice can impede movement. Cleaning the cap and selecting an appropriate termination hood help the flap open and close reliably.
Make Your Next Service Count
Now that you know the steps involved, you can plan service with confidence and maintain better habits between appointments. For a thorough, safe, and efficient result, book your next dryer vent cleaning with a trusted Somerville specialist and enjoy faster cycles, safer operation, and a longer-lasting dryer.
