
A clear dryer vent is essential for safety, efficiency, and appliance longevity. In Somerville, New Jersey, a mix of historic houses, renovated townhomes, and newer builds creates a wide variety of vent layouts—from short, straight runs to complex paths that travel through floors and ceilings before reaching the exterior. This step-by-step guide details how a thorough cleaning should proceed, the tools involved, and the quality checks that confirm real results. If you want a reliable outcome without the heavy lifting, start by learning the process and then consider scheduling a professional dryer vent cleaning process that follows these best practices.
Dryer vent cleaning is more than a quick brush-through. Done correctly, it is a methodical sequence that restores airflow, removes combustible lint, and verifies proper damper operation at the exterior. Whether you are educating yourself before hiring or planning to clean between professional visits, knowing the proper order of operations will help you avoid common mistakes and spot quality work when you see it.
Step 1: Pre-inspection and planning
Every effective cleaning begins with a clear understanding of the vent path. A technician identifies the dryer type (gas or electric), confirms the transition duct material, and locates the exterior termination. They also estimate the total length and number of elbows. In Somerville homes, that path may include horizontal basement runs, vertical risers to roof caps, or concealed sections behind cabinetry. Accurate mapping determines which tools to use and whether access to the exterior requires ladder safety equipment.
Step 2: Safety setup and area protection
Safety and cleanliness go hand in hand. Power is disconnected, and for gas dryers, the gas supply is handled with care according to best practices. Protective coverings, drop cloths, and targeted vacuuming minimize dust spread. With the work area staged, the dryer can be gently pulled forward so the transition duct is visible and accessible.
Step 3: Transition duct assessment
The short connector between the dryer and the wall or floor opening is the transition duct. It must be listed for dryer use and kept as short and straight as possible. Crushed, torn, or overly long transitions reduce airflow and increase fire risk. A thorough process includes evaluating this section for replacement and ensuring the final reinstallation uses secure clamps and gentle bends.
Step 4: Lint screen housing cleaning
Lint screens catch a lot, but not everything. Fine particles pass through and collect in the housing and beyond. Before tackling the main vent, the housing is vacuumed thoroughly, often revealing surprising amounts of debris. If fabric softener sheets are used, the screen may need washing to remove residue that impedes airflow.
Step 5: Interior dryer exhaust check
The dryer’s exhaust port should be inspected and vacuumed to remove loose lint. This quick step prevents dislodged debris from reentering the machine during the main cleaning. It also provides a baseline look at how long the system has gone between thorough services.
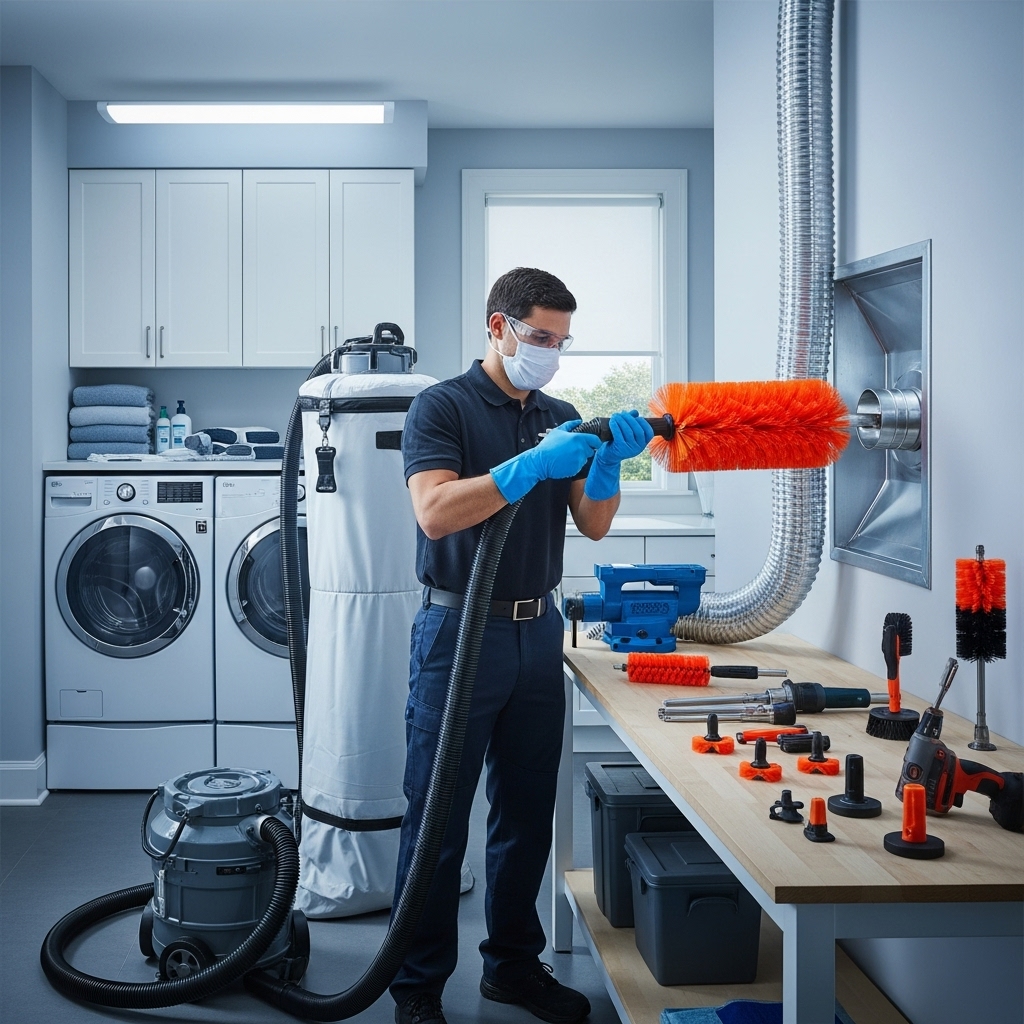
Step 6: Mechanical cleaning of the vent run
With preparation complete, the technician advances a rotary brush head on rigid rods or uses air whip tools sized to the duct’s diameter. Progress is slow and controlled, with periodic withdrawals to remove lint so it is not pushed into tight turns. Elbows and long horizontal sections receive extra attention. Professional equipment excels here because it can navigate elbows while maintaining enough agitation to break up compacted lint without damaging duct walls.
Step 7: Exterior termination service
The exterior hood or roof cap is the gatekeeper for airflow. A thorough cleaning includes removing trapped lint, verifying damper movement, and clearing obstructions like nesting materials. Screens are avoided because they trap lint and cause blockages. In winter, Somerville homeowners should be mindful of ice accumulation that can stiffen dampers; a post-storm check can prevent restricted exhaust.
Step 8: Vacuuming and containment
As the system is agitated, lint is collected using vacuums with appropriate filtration. This keeps the laundry area clean and prevents fine debris from spreading through the home. Containment is a hallmark of professional work—there should be minimal mess during and after the visit.
Step 9: Reassembly and optimization
After the vent run and termination are cleared, the transition duct is reinstalled with secure clamps and the shortest feasible path. Sharp bends are avoided, and the dryer is positioned to prevent crushing the duct when pushed back. A careful technician will also confirm that the dryer sits level and that the cord and gas line are not pinched.
Step 10: Airflow verification and test run
Verification is nonnegotiable. Measuring airflow before and after cleaning—or at least demonstrating strong exhaust at the hood—proves that restrictions were removed. A brief test cycle confirms normal heat and moisture exhaust and provides real-time validation of the work.
Why the order matters
Skipping steps or changing the sequence can leave lint behind or create new problems. For example, cleaning the main vent before checking the transition duct can push debris into a crushed section and clog it. Similarly, neglecting the exterior termination leaves a partial blockage that undermines the whole effort. The step-by-step method ensures nothing is missed.
Common pitfalls to avoid
Even with a good plan, certain missteps are surprisingly common:
- Using flexible corded brushes that detach and get stuck in turns.
- Forcing brush heads through elbows, tearing thin duct walls.
- Relying on blowers that compact lint rather than extract it.
- Reinstalling a long, looping transition duct that kinks when the dryer is moved back.
- Ignoring the damper at the exterior hood, which must open fully for proper exhaust.
Somerville-specific insights
Local housing details matter. Basements with low ceilings can complicate access to long horizontal runs. Townhouse roof caps require ladder safety and careful handling to avoid damaging shingles. Older homes may hide sections of foil or plastic ducting that should be upgraded to smooth-wall metal for safety and performance. A process-minded approach ensures these nuances are addressed rather than overlooked.
Maintenance after a successful cleaning
Once your vent is clear, habits keep it that way. Empty the lint screen before every load, avoid oversize loads that generate excess lint, and periodically inspect the exterior hood to ensure the damper swings freely. Plan your next cleaning interval based on actual use and performance—if dry times increase months before your last interval, shorten the schedule accordingly.
DIY vs. professional execution
Homeowners can handle light maintenance and, with care, some portions of the vent run. However, complex layouts, roof terminations, and heavy buildup call for trained technicians. Pros use tools designed to navigate elbows, capture debris, and verify results without causing damage. If you want the benefits of a thorough job with minimal disruption, consider working with a local team that follows the precise sequence outlined here. Midway through a professional visit, you should see evidence of progress—clearer airflow and improved damper movement. If you prefer a guaranteed outcome, align with a provider known for professional dryer vent cleaning and documented quality checks.
Frequently Asked Questions
Q: How long does the full process take? A: Many homes are completed within about an hour, though complex runs, roof access, or heavy buildup can extend the visit.
Q: Will I need to replace my transition duct? A: If it is crushed, torn, too long, or made from improper material, replacement is recommended for safety and airflow.
Q: Can I clean from the exterior only? A: Exterior-only approaches often miss internal buildup and do not address issues behind the dryer. A combined interior/exterior strategy is best.
Q: Is roof access safe? A: With the right equipment and training, yes. For steep roofs or poor weather, rescheduling or special safety measures may be necessary.
Q: How often should I repeat the process? A: Many households benefit from annual service, adjusting for laundry volume, pets, and vent length.
Confidence through a defined process
A repeatable, step-by-step method produces consistent results, protects your home, and supports efficient dryer performance. By understanding the sequence, you can recognize thorough work and maintain your system more effectively between visits. Proper tools, careful technique, and verification are the pillars of a successful cleaning in any Somerville residence.
Get the job done right in Somerville
Ready to restore airflow, shorten dry times, and reduce fire risk with a methodical, proven approach? Work with a local team that follows each step precisely and documents the results. Book a convenient appointment for book dryer vent cleaning and enjoy the confidence that comes from a clear, safely operating vent system.
