
When your HVAC system does not deliver even, comfortable air throughout your Somerville, New Jersey home, the root of the problem is often hidden in the ductwork. Troubleshooting air duct issues requires a systematic approach that separates symptoms from causes and turns vague complaints—like “the bedroom is always hot” or “dust seems to reappear overnight”—into clear, actionable fixes. This guide equips you with practical steps to diagnose common problems, decide which ones you can safely assess, and understand the professional methods that resolve deeper issues. From quick checks to advanced diagnostics, you will learn how to move from confusion to clarity so your home feels better in every season. As you begin, remember that timely, well-executed air duct repair can restore airflow, improve air quality, and reduce strain on your equipment.
Step 1: Define the Symptoms Clearly
Good troubleshooting starts with precise observations. Walk room to room and note where you feel weak airflow, temperature differences, or unusual noises. Check whether issues are consistent or tied to certain times of day, weather conditions, or thermostat settings. Look for visible dust around supply registers or returns, and pay attention to odors that might suggest moisture or contamination.
Write down when filters were last changed and whether recent renovations or roof work occurred. These details help you connect patterns—for example, attic work sometimes leads to compressed or disconnected ducts, and renovations can alter return pathways.
Step 2: Verify the Basics
Before investigating ducts, confirm that your system’s fundamentals are in good order. Ensure the thermostat is set correctly and that the filter is clean and properly seated. Clear obstructions around returns and supply registers; furniture and rugs commonly block airflow. If you have a multi-story home, note whether upstairs and downstairs respond differently—this can hint at balance issues or duct restrictions.
Turn the system on and listen near the air handler. Unusual sounds at start-up can indicate blower issues, while persistent whistling at specific registers suggests leaks or restrictions in those branches.
Step 3: Perform Safe, Non-Invasive Airflow Checks
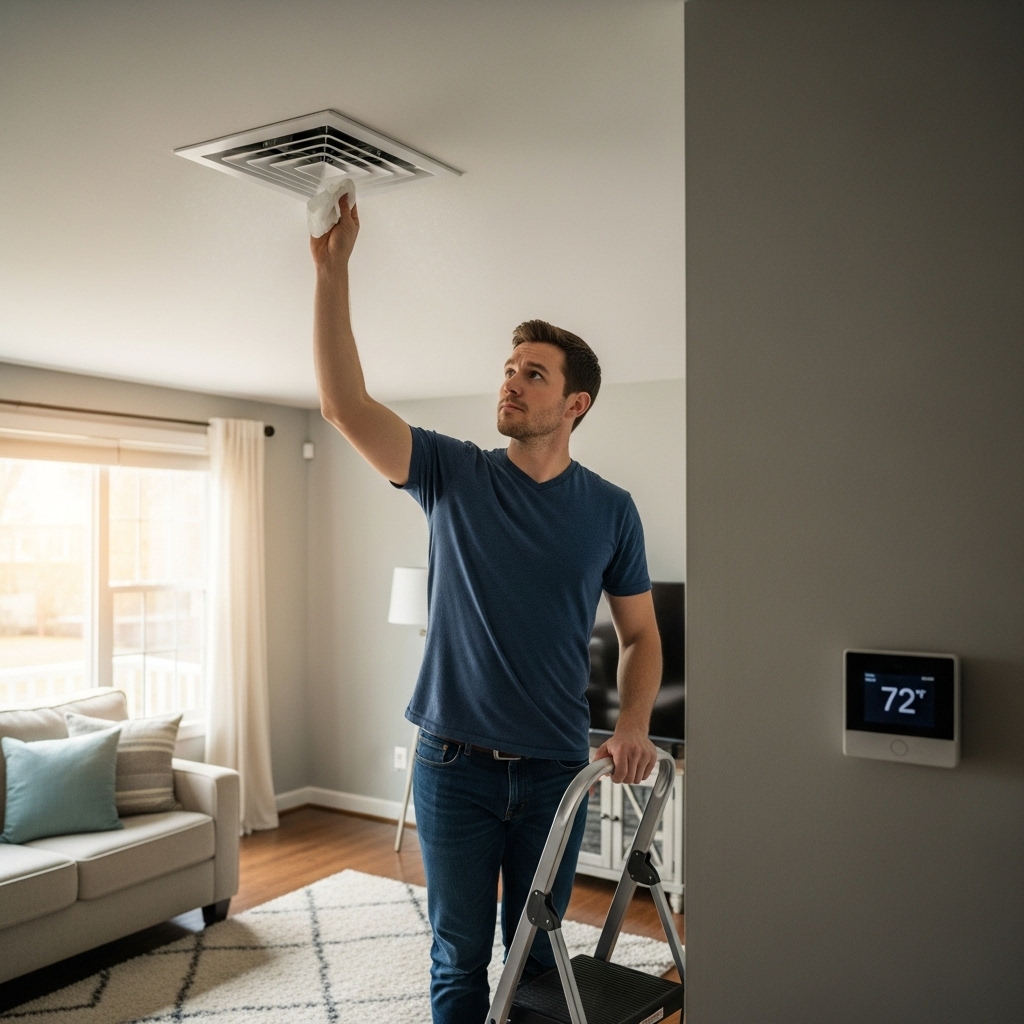
Using a simple tissue or light ribbon, hold it near visible duct seams and connections while the system runs. Fluttering indicates leakage. Compare airflow at registers using your hand or a small anemometer if you have one. Weak or inconsistent flow indicates potential blockages, kinks, or disconnections.
In attics or basements, look for crushed flex duct, sharp bends, or lines resting on beams without proper supports. On metal trunks, inspect seams for gaps or old, brittle mastic. Discoloration on insulation can signal past condensation and potential mold risk if moisture persists.
Step 4: Consider the Role of Returns
Many comfort complaints trace back to inadequate or leaky returns. A room with a strong supply but poor return pathway may pressurize and push conditioned air out under doors and through cracks rather than circulating it back to the system. Check that returns are unobstructed and that door undercuts or transfer grilles allow air movement when doors are closed.
If a return draws unusually dusty air or if filters load rapidly, you may have return leaks pulling from wall cavities, attics, or basements. Sealing these leaks is critical for indoor air quality and efficiency.
Step 5: Identify Problems Most Likely in Somerville Homes
Local homes often feature a mix of older retrofits and newer flex installations. In older properties, narrow chases and long runs increase static pressure and create opportunities for leaks at every joint. In newer homes, flex duct that lacks wide supports can sag and choke airflow. Attic ducts are especially vulnerable to foot traffic during roof, electrical, or insulation projects, leading to disconnected boots or crushed branches.
Humidity swings matter too. Summer moisture can condense on cold supply lines in unconditioned spaces, degrading insulation and inviting odors if not corrected. Winter lows can contract metal and slowly loosen joints, turning small leaks into larger ones over time.
Step 6: Decide What to Tackle Yourself and What to Leave to Pros
Homeowners can safely clear obstructions, replace filters, document airflow differences, and note visible gaps at accessible seams. Temporary use of HVAC-rated foil tape can hold a joint until a professional applies mastic. However, invasive work inside walls or ceilings, extensive flex replacement, and system balancing with measurement tools are best handled by trained technicians who can test, seal, and verify results.
When comfort problems persist despite basic steps, a professional assessment provides the data needed to pinpoint causes without guesswork. Pros measure static pressure, airflow, and temperatures to map performance across the system.
Step 7: Understand Professional Diagnostic Methods
Technicians use manometers to read static pressure, revealing restrictions or undersized returns. Anemometers measure airflow at registers, and temperature probes compare supply and return conditions. Smoke pencils or harmless fog can visualize leaks at seams and boots. If contamination or blockage is suspected, a small camera may be used to inspect inside long or hidden runs.
Findings are compared to manufacturer specifications and to expected performance for your home’s size and layout. The result is a targeted repair plan that prioritizes the fixes likely to deliver the biggest improvements first.
Step 8: Map Symptoms to Likely Causes
- Hot or cold rooms: Possible crushed flex, disconnected branches, or imbalance due to closed doors without return pathways.
- Whistling at registers: Likely air leaks at boots or high static pressure from undersized returns.
- Rapid filter loading: Return leaks pulling from dusty spaces or unusual construction dust from recent projects.
- Musty odors: Moisture in insulation around ducts or leaks drawing air from damp basements or crawl spaces.
- Rattling in the attic: Loose supports, metal vibration at transitions, or branches rubbing against framing.
Step 9: Implement High-Impact Fixes
Effective repairs typically include sealing seams with mastic, adding screws at metal connections, replacing kinked or torn flex sections, and securing wide supports to prevent sagging. Boots should be sealed to ceilings or floors to stop air from disappearing into cavities. If static pressure is high, adding or resizing returns can dramatically improve performance.
Insulating ducts in unconditioned spaces prevents heat loss or gain and reduces condensation risk. Routing adjustments that reduce sharp turns and unnecessary length help deliver more air with less noise and strain on the blower.
Step 10: Verify Results and Plan Maintenance
After repairs, technicians repeat key measurements to confirm success. You should see lower static pressure, improved airflow at registers, and more even temperatures across rooms. Keep a record of readings and photos of repaired sections. Schedule seasonal checkups, especially after any renovation or roof work that might disturb ducts.
Maintain a filter schedule and keep registers clear. In attics, designate safe walkways and storage areas that do not compress lines. In basements, control humidity with ventilation or dehumidification as needed.
Frequently Asked Questions
Why do some rooms stay uncomfortable even after a new HVAC unit? Duct design and leakage can limit performance regardless of equipment age. Repairs that address airflow and sealing often resolve lingering issues.
Is foil tape enough for sealing? Foil tape can be helpful for temporary stabilization or as part of a reinforced seal, but long-lasting results come from applying mastic over clean, dry joints.
How can I tell if a duct is disconnected behind a ceiling? Sudden loss of airflow at one or more registers, combined with unusual noise or dust around an opening, is a clue. Professionals can confirm with measurements and small, strategic access points.
What if my attic ducts sweat in summer? Improve insulation at cold supply trunks, seal air leaks, and manage humidity. Addressing airflow restrictions can also reduce surface temperature differences that drive condensation.
Will balancing fix everything? Balancing improves distribution but cannot overcome major leaks, crushed sections, or undersized returns. It is most effective after structural issues are corrected.
How often should I schedule a professional check? Every two to three years, or sooner if performance changes, renovations occur, or you notice signs of pests or moisture.
Put Troubleshooting Into Action
With a methodical approach, you can quickly narrow down the causes of uneven temperatures, dust, and noise, then address them in a way that lasts. Start with clear observations, verify the basics, and conduct safe checks in accessible areas. When the problem persists or the fix requires specialized tools, bring in a professional to test, seal, and balance the system. If you are ready to turn your notes into measurable improvements, schedule trusted air duct repair so your Somerville home feels comfortable and efficient in every season.
