
Scheduling an air duct repair inspection near Somerville, New Jersey is a smart step when you notice uneven temperatures, dust buildup, or suspicious noises from your HVAC system. Understanding what happens during an inspection helps you prepare your home, ask informed questions, and interpret the results with confidence. This guide walks you through pre-visit preparations, diagnostic methods, common findings, and the path from inspection to successful repair. It also shares local considerations that matter in Somerset County’s climate and housing stock. As you read, keep in mind that the goal is clarity—knowing exactly what your ducts need and why—so you can plan effective solutions. For many homeowners, the first action after an assessment is to schedule targeted air duct repair that addresses the most urgent issues without unnecessary disruption.
Before the Technician Arrives
A smooth inspection begins with preparation. Clear access to mechanical rooms, basements, and attic hatches so the technician can reach trunks, returns, and key junctions. Move storage away from visible duct runs, and make sure registers are accessible. Pets should be secured for their safety and the tech’s. If you have service records or photos of previous duct work, keep them handy—documentation accelerates troubleshooting and helps identify recurring problem areas.
Write down your observations: which rooms feel uncomfortable, when the issues are worst, any unusual odors you have noticed, and whether the thermostat settings have changed recently. Note renovations, pest incidents, or roof and insulation work that may have affected ducts. These details guide the inspection toward likely trouble spots.
What Tools and Tests to Expect
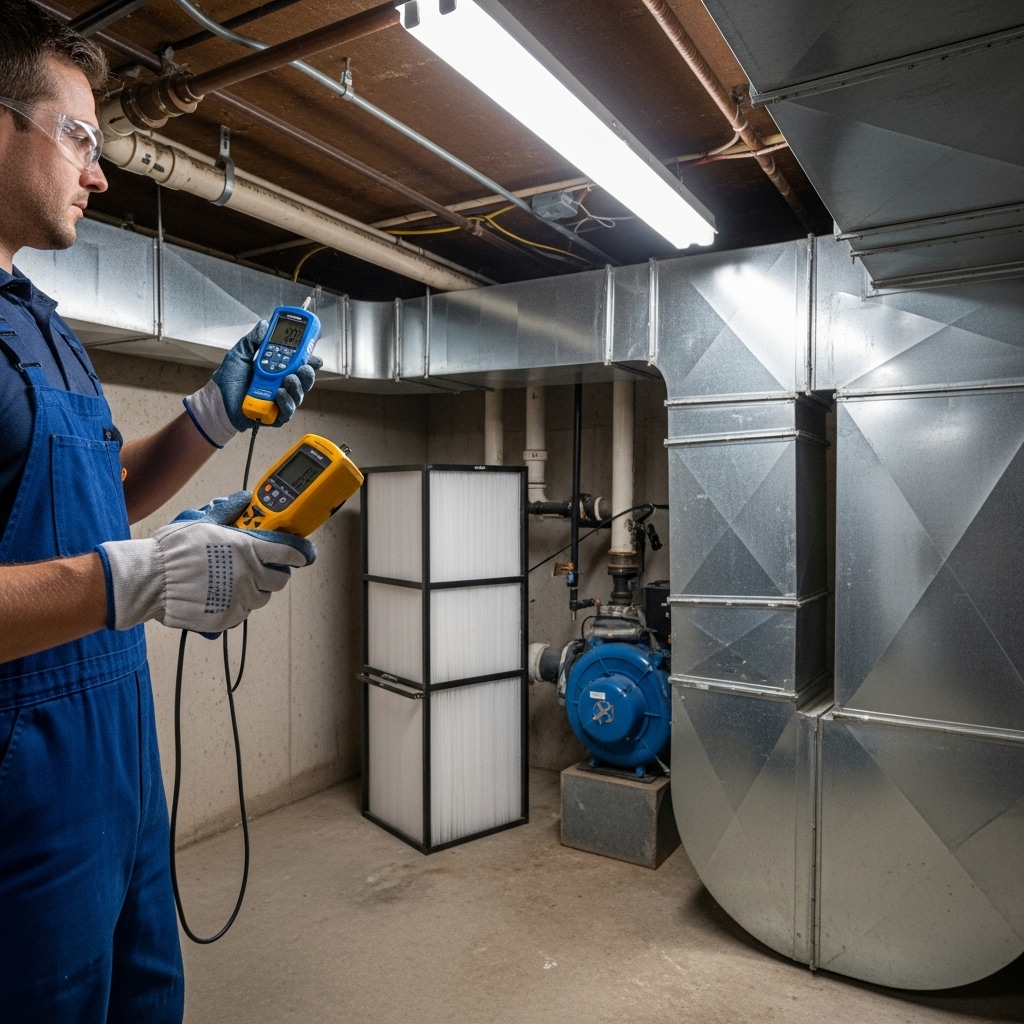
Professional inspections combine visual checks with measurements. A technician may use a manometer to measure static pressure at the air handler and at select points in the duct system. These readings reveal whether your blower is working harder than it should and if there are restrictions or leaks. Anemometers can measure air velocity at registers, helping to identify weak branches. Temperature probes allow the tech to compare supply and return temperatures for evidence of airflow problems.
Visual tools also play a role. Flashlights, mirrors, and in some cases small cameras help inspect tight spaces. Smoke pencils or harmless theatrical fog can make escaping air visible at seams and boots. Where contamination or blockages are suspected, cameras may be used to inspect inside ducts, especially if the line is too long or hidden to access otherwise.
Inspection Sequence and Areas of Focus
- System overview: The technician reviews the air handler, filter location, and overall layout to understand how air is supposed to move through your home.
- Return pathways: Returns are evaluated for size, leakage, and cleanliness. Return leaks can pull dust and attic air into the system, degrading indoor air quality.
- Supply trunks and branches: Joints, take-offs, and transitions are checked for gaps, loose connections, and insufficient supports.
- Registers and boots: Boots must be sealed to the drywall or floor to prevent air loss into cavities. Registers are checked for obstructions and proper damper operation.
- Insulation condition: Ducts in unconditioned spaces are examined for insulation gaps, compression, or moisture staining.
- Balancing components: Manual dampers, if present, are noted for their position and condition, as balance affects comfort and efficiency.
Common Findings During Inspections
Technicians frequently find leaky seams along sheet metal trunks, especially at transitions and near equipment where vibration is strongest. Flex ducts may be crimped by tight bends, compressed by storage or foot traffic in attics, or loosely attached at collars. Boots sometimes pull away from ceiling or floor openings, allowing conditioned air to disappear into cavities. In older homes, improvised returns routed through wall cavities can draw air from dusty spaces if not properly sealed.
Another frequent discovery is inadequate return capacity. Even with perfect sealing, a system that cannot draw enough air back to the air handler will struggle, creating noise, hot and cold spots, and in some cases icing of the AC coil during summer.
How Inspectors Differentiate Symptoms from Causes
Hot rooms, cold rooms, and excessive dust are symptoms. The causes might include undersized returns, duct leakage, or poor layout with too many elbows and long runs. Inspectors look for root causes by comparing measurements. For example, high static pressure plus low airflow at a distant register may point to a crushed branch. If static pressure is high even with a clean filter, returns might be undersized or blocked. The goal is to identify the minimal set of corrections that will deliver the most improvement.
Inspectors also consider the home as a system. They check for closed doors without adequate return pathways, which can depressurize rooms and alter airflow. They look at thermostat placement and ventilation habits that could skew comfort.
What a Clear Inspection Report Should Include
- Summary of symptoms you reported and what measurements revealed
- Photos or descriptions of problem spots such as gaps, loose boots, or crushed flex
- Recommended repairs prioritized by impact and urgency
- Materials and methods to be used, such as mastic sealing and insulation upgrades
- Expected outcomes, like reduced static pressure, improved airflow, and balanced temperatures
- Steps for verification and maintenance after the repair
From Inspection to Repair: Typical Next Steps
Once issues are identified, the technician will propose a scope of work. Common tasks include sealing seams with mastic, replacing damaged flex duct, reconnecting loose boots, and adding or resizing returns. If insulation is missing or inadequate in attics or crawl spaces, upgrading it becomes part of the plan to minimize heat loss or gain.
You will also discuss access and logistics. In some homes, accessing a key section may require temporarily moving storage or carefully opening a chase. Clear communication prevents surprises and helps the work proceed efficiently. For many homeowners, the next appointment focuses on implementing the highest-impact fixes first, followed by a review of performance.
How Long an Inspection Takes and What It Costs You in Time
Time varies by home size and complexity, but many inspections can be completed within a couple of hours. Homes with extensive attic or crawl-space ductwork might require longer due to access challenges. Plan for some system downtime while tests are performed and registers are measured. If the technician discovers a disconnected run that is accessible, they may propose addressing it immediately; otherwise, they will schedule a dedicated repair visit.
Local Considerations Near Somerville
Somerville’s seasonal humidity and temperature swings put special emphasis on proper insulation and sealing in attics and basements. Older homes may have retrofit ductwork with tight bends and long runs; newer homes often use flex duct that needs wide supports and gentle curves to maintain airflow. Wildlife activity in nearby green spaces can lead to damaged lines in attics, so inspectors keep an eye out for signs of intrusion. Pollen surges in spring can quickly load filters, a factor that inspectors consider when evaluating airflow and return cleanliness.
Verification: Proving the Repair Worked
After repairs are completed, reliable providers verify improvements. They recheck static pressure, compare airflow at registers, and may take before-and-after temperature readings to prove that air is moving as intended. You should receive an explanation of the results in understandable terms and advice for keeping the system performing well, including filter schedules and periodic visual checks.
Preparing Questions to Ask Your Inspector
- Which issues are driving the biggest losses or comfort problems?
- What measurements support the recommended repairs?
- How will you seal and secure connections to prevent future leaks?
- Do you recommend any return additions or layout changes?
- How will you verify results after the work?
- What seasonal maintenance should I plan to protect the repairs?
Frequently Asked Questions
Do I need an inspection if I just replaced my HVAC unit? Yes. New equipment cannot overcome undersized or leaky ducts. An inspection confirms the duct system supports your unit’s performance.
What if I only notice issues in one or two rooms? Localized problems can still indicate broader duct limitations. Inspections help determine whether the fix is a simple reconnection or a layout adjustment.
Can I stay home during the inspection? Absolutely. Technicians often ask questions during the process and may need your help accessing certain areas.
Will the inspection itself fix anything? An inspection is diagnostic. Minor adjustments may be made on the spot, but substantive repairs typically require a scheduled visit with materials and access planning.
How soon should repairs follow the inspection? The sooner the better, especially before extreme weather seasons. Prompt action prevents additional strain on your system.
What if my ducts are hidden behind finished walls? Inspectors work with the access available and propose minimally invasive solutions. Sometimes small openings are needed; clear communication keeps surprises to a minimum.
Take Action With Clarity and Confidence
When you understand how inspections work and what the results mean, you are well positioned to make smart decisions that improve comfort, air quality, and efficiency. Prepare your home, ask focused questions, and review the findings carefully. Then schedule the highest-impact fixes first so you notice improvements right away. If you are ready to move from diagnosis to solutions, book targeted air duct repair with a trusted local provider and enjoy the difference in every room.
