
Keeping your Somerville, New Jersey home comfortable year-round depends on more than a reliable furnace or air conditioner. Your ductwork is the circulatory system of the house, and when it is compromised, energy is wasted, air turns stuffy, and rooms become unevenly conditioned. This in-depth guide focuses on practical, homeowner-friendly tips that help you spot problems early, understand what a durable repair looks like, and prepare for professional service when needed. Consider these insights a playbook for proactive care so your system runs smoothly through hot summers and chilly winters. If you are new to this topic, remember that timely air duct repair can restore airflow, improve indoor air quality, and extend the life of your HVAC equipment.
Tip 1: Start With a Safety-Conscious Visual Check
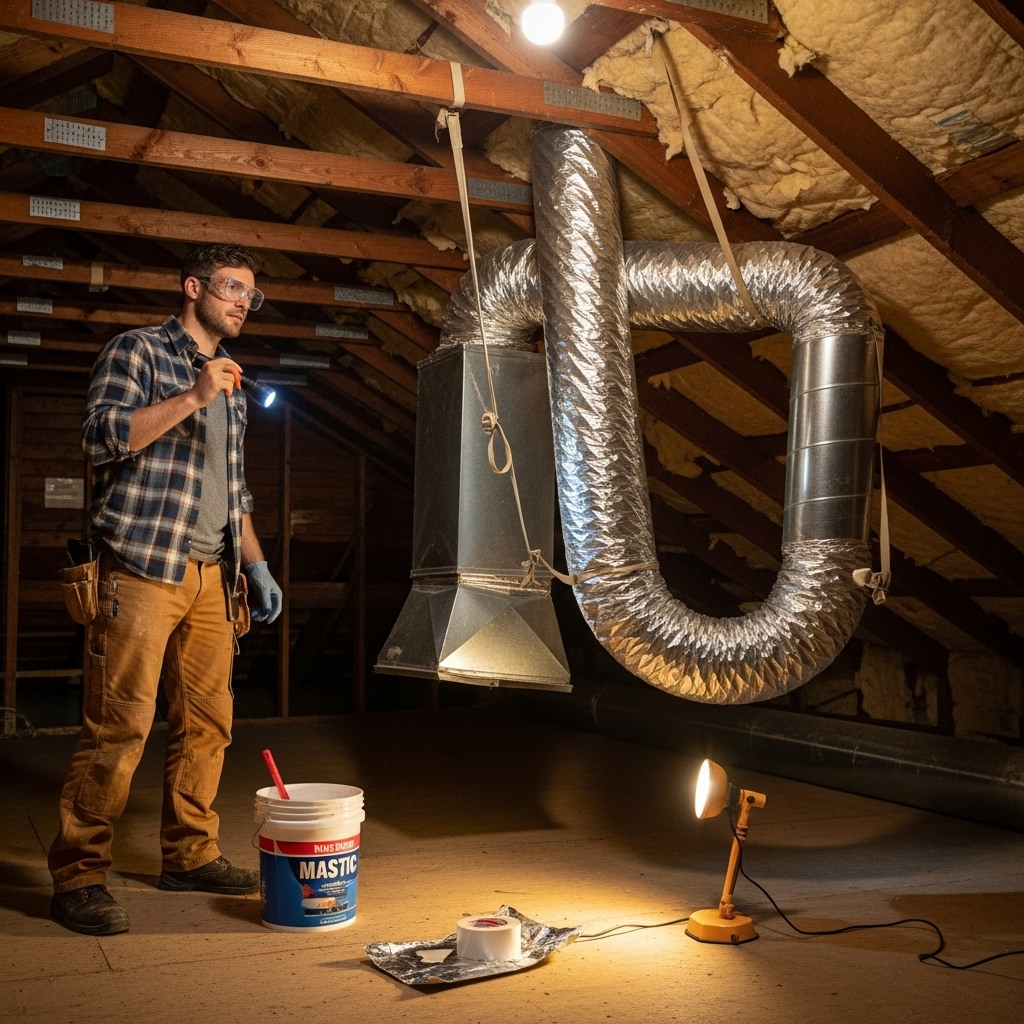
Before doing anything else, perform a careful walkthrough of accessible areas such as basements, utility rooms, and attics. Look for separated joints, missing mastic, sagging or crushed flex duct, and insulation that appears wet or damaged. Use good lighting and avoid stepping on joists or duct runs. Do not open sealed chases or cut into walls—leave invasive work to professionals.
Smells and sounds are also clues. Musty odors can indicate moisture intrusion, while whistling or rattling at boots and registers may suggest air escaping or loose connections. If you spot discolored insulation around cold metal ducts in summer, condensation may be occurring, which calls for insulation improvements or airflow corrections.
Tip 2: Check Airflow Room by Room
With the system operating, tour the house and feel the airflow at each supply register. Note weak or unusually strong vents and any rooms that lag behind in temperature. These observations help you or a technician target specific branches of the duct system. If both supply and return vents are blocked by furniture or rugs, airflow imbalances will worsen. Keep at least several inches of clearance around each vent to allow air to move freely.
If you have a simple thermometer, compare temperatures in multiple rooms. Significant differences can reveal duct issues or indicate that dampers need balancing. Document your findings to share with a professional if service becomes necessary.
Tip 3: Replace Filters on Schedule and Track the Results
Filters protect both your equipment and your ducts. A clogged filter forces the blower to work harder and can reduce airflow so much that some rooms barely receive conditioned air. Follow the recommended change intervals, but also be responsive to actual conditions—if you have pets, construction dust, or seasonal pollen, you may need to change filters more often.
Pay attention to how quickly the filter loads after you swap it. Rapid loading can indicate return leaks that pull dust from attics, basements, or wall cavities. Addressing those leaks will extend filter life and improve indoor air quality.
Tip 4: Understand What a Good Repair Looks Like
Durable duct sealing typically involves water-based mastic applied to clean, dry metal seams and connections. Where appropriate, HVAC-rated foil tape may reinforce seams, but common cloth-backed “duct tape” is not suitable and will degrade. Flex duct repairs should include proper collars, screws or clamps, mastic sealing at joints, and wide supports to maintain the duct’s shape without cutting into the material.
When a section is too damaged—kinked, torn, or contaminated—replacement is often the smarter choice. New sections should be installed to minimize sharp bends, reduce excess length, and ensure a gentle radius at turns. Good layout practices reduce static pressure and deliver more air to rooms without requiring the equipment to work harder.
Tip 5: Mind Attic Storage and Access
Attics are common locations for duct problems because they are hot in summer, cold in winter, and often used for storage. Never place boxes or boards on top of duct runs. Add designated walkways or supports so anyone accessing the attic avoids compressing lines. If contractors are working on your roof, electrical, or insulation, request that they protect and avoid the ductwork.
Insulation integrity matters. If attic ducts are poorly insulated, they can sweat during humid weather and lose or gain heat year-round. Upgrading insulation and sealing air leaks around boots and chases reduces these losses and helps prevent moisture issues.
Tip 6: Balance the System After Repairs
Even well-executed repairs can change airflow patterns. After sealing leaks or replacing sections, test airflow at each register again. If certain rooms now receive too much air while others lag, you may need to adjust dampers (where present) or partially close supply registers to fine-tune balance. Document any changes so you can revisit settings seasonally if needed.
Balancing is especially important in multi-story homes in Somerville, where temperature differences can stack between floors. Pair balancing with sensible thermostat programming and adequate return pathways for consistent results.
Tip 7: Keep Moisture Under Control
Moisture is the enemy of duct longevity. Basements and crawl spaces with high humidity can corrode metal or degrade insulation. Maintain dry conditions with proper drainage, vapor barriers, and dehumidification where appropriate. In summer, watch for condensation on cold supply trunks in unconditioned spaces and address insulation gaps promptly.
Where bathroom or kitchen exhausts pass nearby, ensure those systems vent outdoors, not into attics or near ductwork. Proper venting prevents excess humidity from accumulating around ducts and structural members.
Tip 8: Know When to Call a Professional
If you notice recurring hot or cold spots, unusually high energy bills, or visible gaps and disconnections you cannot safely reach, it is time to bring in a qualified technician. Pros use diagnostic tools to measure static pressure, leakage, and airflow, ensuring repairs solve the underlying problems rather than masking symptoms. Ask for documentation of before-and-after readings so you can verify results.
For clarity on repair options and to prioritize the most impactful fixes, many homeowners schedule a focused visit dedicated to air duct repair as a standalone service. This approach yields a clear roadmap and avoids guesswork.
Tip 9: Prepare Your Home Before a Service Visit
Clear access to mechanical rooms, basements, and attic hatches. Move stored items away from visible ducts and registers, and secure pets. List your observations—rooms with issues, times of day when comfort problems are worst, and any noises you notice. Having filters, service history, and photos of prior work at hand helps technicians work efficiently.
During the visit, ask questions about materials used, how long mastic takes to cure, and whether insulation improvements are recommended. Clear communication reduces the likelihood of surprise follow-ups.
Tip 10: Make Duct Care Part of Your Seasonal Routine
In spring and fall, perform a quick check of accessible ducts. Look for fresh dust trails at seams (often a sign of leakage), sagging supports, or signs of pests. Pair this with a test of your heating or cooling system before extreme weather sets in, so there is time to complete repairs before demand peaks.
Mark filter changes on your calendar, and keep a small kit with flashlights, a notepad, and HVAC-rated foil tape for minor, temporary fixes that a professional can later evaluate and make permanent.
Local Considerations for Somerville Homes
Somerville’s climate features humid summers and cold winters, making duct insulation and sealing essential in attics and basements. The area’s mix of older homes and newer builds means duct designs vary widely. Older houses may have retrofitted systems threaded through tight cavities, while newer homes often rely on flex duct that demands careful support. In neighborhoods with mature trees, seasonal pollen can load filters faster; keep an eye on performance and adjust maintenance accordingly.
Local wildlife sometimes nests in attics, potentially disturbing duct lines. If you hear scurrying or see droppings, address the intrusion before focusing on duct repairs, as animals can quickly undo fresh work.
Frequently Asked Questions
How do I know if my ducts are leaking? Dust trails at seams, whistling sounds, and warm or cool spots in rooms are common clues. Professional pressure testing provides definitive confirmation.
Is it worth sealing ducts in a conditioned basement? Yes. Even in conditioned spaces, sealing improves airflow delivery to the rooms that need it and can reduce unwanted mixing between zones.
Can I use standard duct tape for repairs? No. Cloth-backed tape degrades. Use HVAC-rated foil tape and mastic, and consider professional help for lasting results.
Will duct sealing fix every comfort problem? It solves leakage, but some issues stem from design flaws such as undersized returns or excessive bends. A thorough assessment determines the right combination of fixes.
How often should I have my system checked? Every two to three years, or any time you notice performance changes, renovations, or pest activity.
Should I replace old fiberglass-lined ducts? If the lining is deteriorated or contaminated, replacement is often the safest, most effective option.
Take the Next Step Toward Even, Efficient Comfort
If your Somerville home struggles with uneven temperatures, excessive dust, or nagging airflow issues, do not wait for peak season. A focused inspection and targeted repairs can deliver immediate improvements you can feel. Clear your access areas, jot down your observations, and reach out to schedule help from an experienced local team. When you are ready to move forward, start with trusted air duct repair so your HVAC can perform at its best in every season.
