
Introduction
Somerville, New Jersey homeowners know that a well-maintained dryer vent keeps laundry day simple, efficient, and safe. Even if you empty the lint screen after every load, lint gradually accumulates inside the vent system where you cannot see it. That buildup restricts airflow, drives up dry times, and can overheat the appliance. This article shares top tips that help you clean more thoroughly, maintain better airflow year-round, and identify early warning signs before they turn into bigger issues. Prefer to leave it to specialists? Consider booking professional dryer vent cleaning to establish a reliable baseline and a smooth routine going forward.
Because Somerville includes a mix of single-family homes, condos, and townhouses, vent lengths and configurations vary widely. The strategies below are designed to apply regardless of layout, whether your vent exits a basement wall or terminates at a roof hood above a second floor. By combining smart tools, good habits, and a seasonal inspection mindset, you can keep airflow strong and your dryer working as intended.
Tip 1: Map the Entire Vent Path
Before touching a brush, locate the lint screen, transition duct, wall or floor collar, and exterior hood. Count elbows and estimate length. A vent with multiple sharp turns needs more careful brushing and more frequent maintenance. Note whether the termination is at ground level, on a side wall, or on the roof. Photos taken before disassembly make reassembly easier and help you remember the exact routing of the transition duct.
Understanding the path also helps you plan the best cleaning direction. Many homeowners brush from inside to outside and then from the exterior back to the interior to ensure all deposits are loosened and removed.
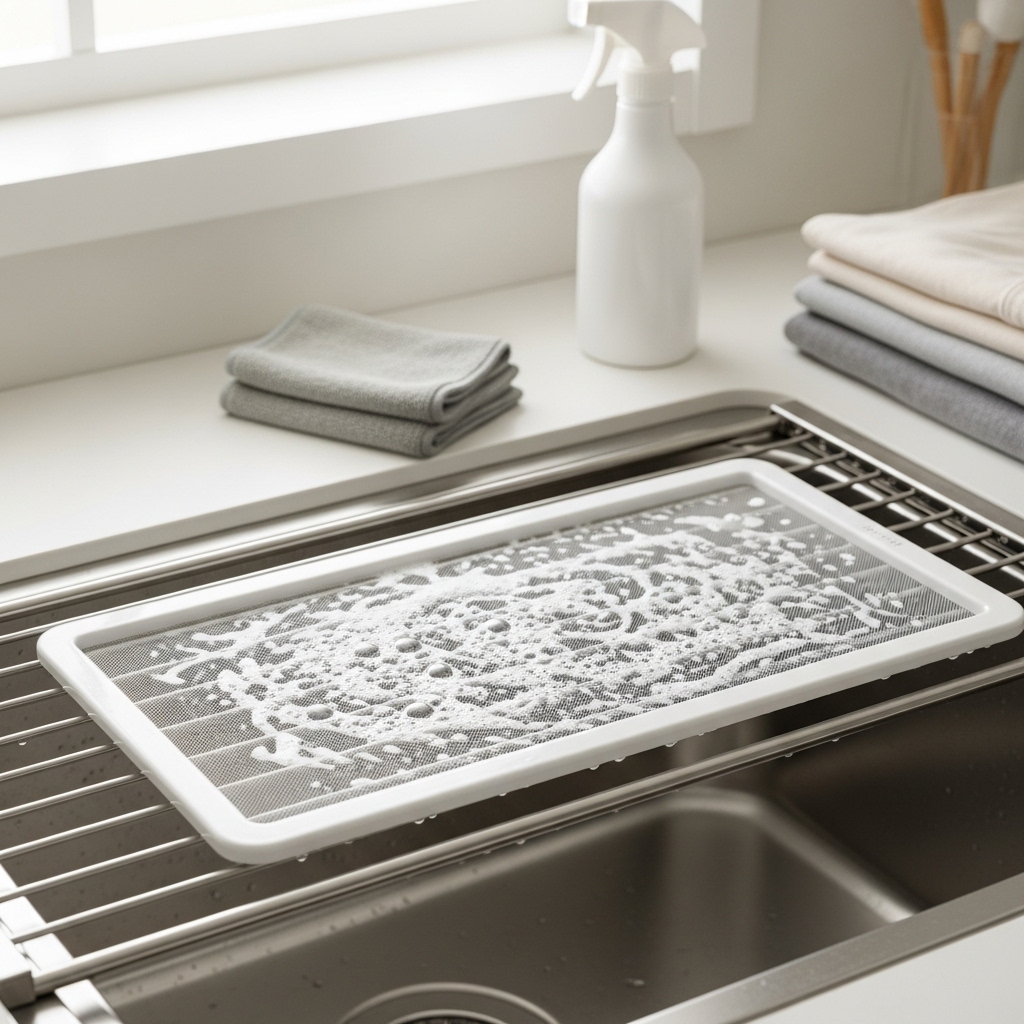
Tip 2: Start with the Lint Screen and Housing
Wash the lint screen periodically to dissolve fabric softener film that clogs the mesh. Vacuum the housing below the lint screen with a narrow attachment to capture compacted lint near the blower inlet. This first step can dramatically improve airflow even before you address the main duct, and it reduces the chance of dislodged lint falling back toward the dryer during cleaning.
If your dryer has an interior lint screen at the door opening, the housing is usually easy to reach with a crevice tool. For top-mounted screens, work patiently to avoid dropping tools down the chute.
Tip 3: Use the Right Duct Materials
Rigid metal duct is best for the main vent run. It presents a smooth interior surface that resists lint adhesion and withstands heat. The short transition from the dryer to the wall can be semi-rigid metal for flexibility. Avoid long spans of thin foil or plastic, which easily crush and trap lint in accordion ridges. If your current vent contains these materials, plan an upgrade during or after cleaning for a safer, more durable system.
Good materials paired with proper connections—secured with foil HVAC tape on the outside of joints—create a smoother airflow path that stays clean longer, extending the time between deep cleanings.
Tip 4: Brush Methodically in Sections
Assemble the brush rods to match the length of your vent. Rotate the brush as you advance, then retract periodically to vacuum loosened lint. Continue in stages until you reach the exterior hood. If you feel resistance, you have likely reached an elbow; rotate and ease through rather than forcing the rod. For long or vertical runs, cleaning from both ends often produces the best results.
Keep a trash bag handy, as significant amounts of lint can accumulate even in vents that seem to perform reasonably well. Capturing debris as you go minimizes cleanup and prevents lint from spreading into the laundry area.
Tip 5: Inspect and Maintain the Exterior Hood
The exterior termination should open easily and close when the dryer is off. Replace deteriorated dampers or louvered covers that stick, as they can choke airflow even after a thorough interior cleaning. Look for signs of moisture on the siding near the hood; it may indicate a sticking damper or partial blockage. Clean the hood cavity and ensure any screen you use is removable and cleaned frequently so it does not become a lint trap.
Position matters in Somerville’s winters: the hood should be high enough above grade to avoid snow blockage and positioned away from shrubbery that can obstruct damper movement.
Tip 6: Keep the Transition Duct Short and Smooth
Once you reconnect the transition duct, slide the dryer back carefully so the duct forms a gentle curve rather than a sharp bend. If space is tight, a recessed dryer box can help. Trim any excess length to prevent the duct from looping behind the appliance and collapsing under its own weight.
After reassembly, run the dryer briefly on a no-heat or low-heat setting to check for strong exhaust at the exterior hood and to listen for rattles. Correct any loose clamps or misaligned sections immediately.
Tip 7: Watch for Warning Signs
Increasing dry times, a hotter-than-usual dryer cabinet, or a laundry room that feels humid during operation signals poor airflow. A faint burning odor is a red flag; stop the dryer and investigate right away. Some modern dryers display maintenance alerts or vent codes—take them seriously and perform a full inspection rather than clearing the notification and continuing use.
Regular checks are especially important after home renovations or drywall work, as dust can mix with lint to form stubborn deposits that require extra brushing to remove.
Tip 8: Establish a Seasonal Routine
In many Somerville households, the best cadence is a full vent cleaning annually, with a midyear check for heavy-use homes. Empty the lint screen before every load, and wash it periodically. Keep storage items away from the back of the dryer so the area remains ventilated and the transition duct is not crushed.
Complement your routine with exterior checks: make sure the damper opens fully in summer and is not blocked by snow or ice in winter. These quick visual inspections take moments and prevent small obstructions from building into bigger problems.
Tip 9: Consider Airflow Improvements
If your vent has multiple sharp elbows, ask whether a long-turn elbow or rerouting could shorten the run. Where screws penetrate the duct, replace them with smooth, taped joints to prevent lint from snagging. Incremental improvements to the routing can produce outsized gains in performance and safety.
Upgrading the exterior hood to a more efficient model that opens with minimal resistance can also reduce backpressure, especially valuable for long vent runs common in multi-story homes.
Tip 10: Know When Professional Help Makes Sense
Complex vent paths, roof terminations, or repeated dryer shutdowns due to overheating are signs that the job may exceed typical DIY tools. Professionals use high-powered vacuums, rotary brush systems, and diagnostics to find and remove stubborn blockages without damaging the duct. If your home presents these challenges, scheduling expert dryer vent cleaning can save time and ensure the system is fully restored.
Even if you prefer DIY, an initial professional cleaning can set a clean baseline. Afterward, your annual maintenance will be easier, faster, and more effective.
Troubleshooting Tips
If dry times remain long, verify the lint screen is completely dry after washing and properly seated. Check the transition duct for kinks formed when the dryer was pushed back. Inspect the exterior hood: a damper that opens only partially will still restrict airflow. Replace any worn components right away.
Persistent odors warrant attention. A hot smell indicates lint remains near the heater area or first elbow; unplug the dryer and recheck. A musty smell can mean moisture is trapped in the duct; ensure the vent path is unobstructed and that the damper closes when not in use to prevent humid air from drifting back inside.
FAQ
How often should I clean a dryer vent in Somerville? For typical households, once per year is a solid baseline. Larger families, frequent laundry routines, or pet-heavy homes benefit from twice-yearly cleanings.
What’s the best type of duct? Rigid metal for the main run and semi-rigid metal for the short transition. Avoid long stretches of thin foil or plastic, which crush easily and hold lint.
Can I use a blower to clear the duct? It can move lint but may compact debris at elbows or the hood. Brushing and vacuuming are more controlled and thorough.
Is roof access required for cleaning a vertical vent? Not always, but cleaning from both ends is usually most effective. If roof access is unsafe or impractical, call a professional with the right equipment.
Why is my dryer still hot after cleaning? Check for a crushed transition duct, a sticking exterior damper, or a lint screen coated with fabric softener film. Make sure all elbows were fully brushed.
Do I need to replace the exterior hood? If it sticks, is cracked, or does not open fully, replacement is wise. A smooth-opening damper is key to maintaining airflow.
What are quick signs that cleaning worked? Strong airflow at the exterior hood, shorter dry times, and a dryer cabinet that feels comfortably warm—not too hot—during operation.
Make Laundry Day Easier in Somerville
If you want guaranteed results and a safer, more efficient laundry setup without the hassle, schedule professional dryer vent cleaning and enjoy dependable performance in every season.
