
Starting a kitchen exhaust hood cleaning routine can feel intimidating for first-time managers or owners in Somerville, New Jersey, but with the right guidance and a practical plan, your team can build a safe, repeatable process. This beginner-focused guide explains each step in plain language, from preparation and safety to cleaning, rinsing, and verification. If you ever want to compare your in-house routine with what dedicated technicians deliver, review local options for kitchen exhaust hood cleaning so you can benchmark your approach against industry best practices.
Think of exhaust hood cleaning as a series of manageable tasks. You will learn how to protect your equipment, choose compatible chemicals, remove and restore filters, open access panels, and verify everything with simple checks. With repetition, you will gain speed and confidence while keeping your kitchen safer and more comfortable.
Step 1: Safety and Setup
Begin by turning off and locking out the exhaust fan. Place a tag or note so no one restarts it during cleaning. Turn off nearby burners and protect pilot lights if applicable. Lay down non-slip mats and set wet-floor signs. Wear chemical-resistant gloves and eye protection. Keep a first-aid kit accessible and ensure at least two people are on-site when working on ladders or rooftops.
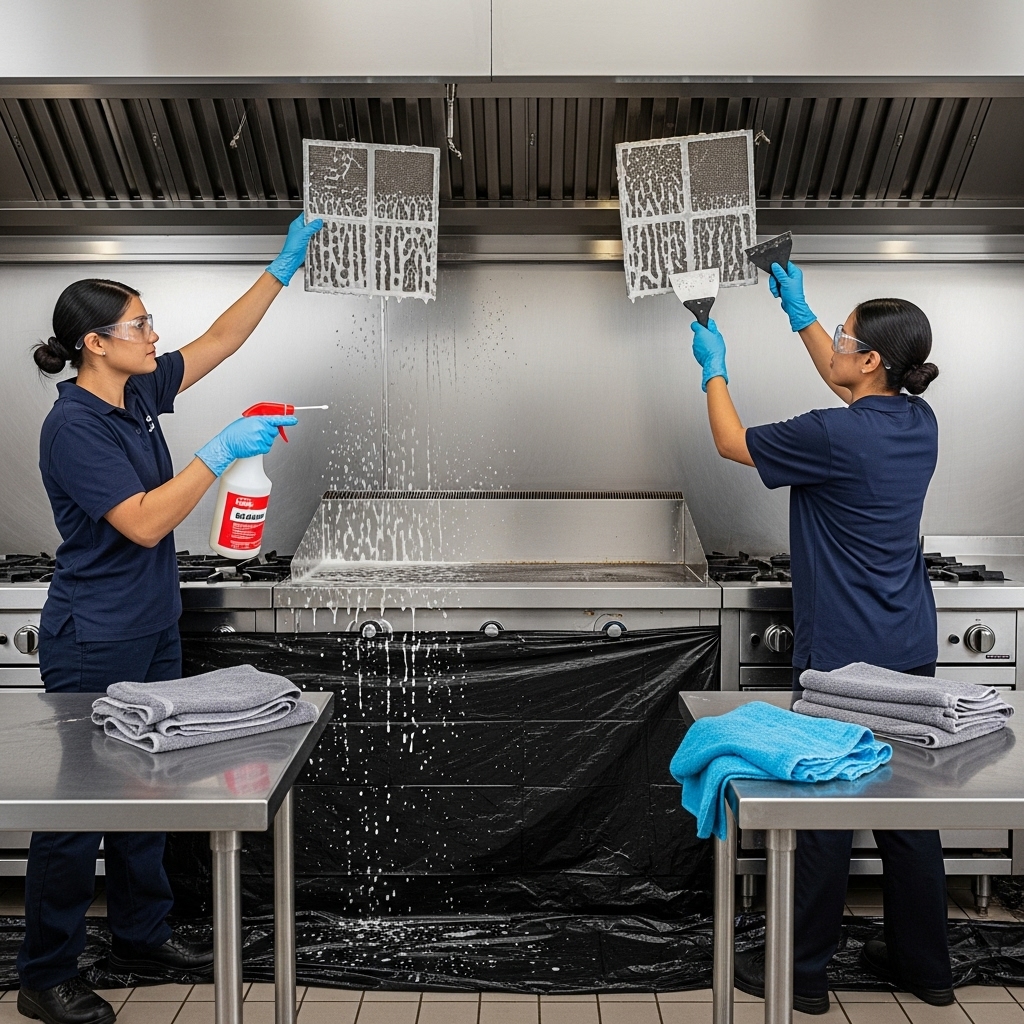
Step 2: Protect Your Work Area
Cover appliances, prep tables, and the floor near the hood with plastic sheeting. Tape edges so runoff drains into a collection bin. Remove baffle filters and set them in a soak bin with a commercial degreaser mixed to the label’s instructions. Photograph the hood and filter arrangement so reassembly is easy later.
Step 3: Clean the Hood Interior
Apply degreaser to the canopy and plenum. Use a foamer or sprayer to create even coverage and better dwell time. Agitate with non-abrasive pads and small brushes for seams and corners. Rinse with warm water into your containment and wipe dry with microfiber towels. If residue remains tacky on a white towel, repeat the process with longer dwell and more agitation.
Step 4: Restore Baffle Filters
After soaking, scrub each baffle thoroughly on both sides with a stiff nylon brush and rinse with hot water. Inspect for bent blades or broken welds. Dry completely and reinstall with the airflow direction correct. Clogged or damaged baffles reduce capture and make the kitchen smoky, so do not reinstall compromised filters.
Step 5: Access Panels and Duct Sections
Open access panels and inspect the duct interior. Apply degreaser and agitate grease buildup, especially around elbows and low points. Rinse carefully to avoid overspray and capture runoff. If sections are inaccessible, note their locations so you can plan to add panels in the future. Proper access is critical for complete cleaning.
Step 6: Rooftop Fan and Grease Containment
On the roof, verify a hinge kit allows the fan to tilt safely. With power locked out, tip the fan and inspect the bowl and wheel. Remove grease deposits, apply degreaser with dwell time, agitate, and rinse while protecting the motor from water. Check belt tension and wear, then replace or adjust as needed. Replace saturated absorbent pads in the grease containment and clean any roof staining promptly.
Step 7: Reassembly and Test
Reinstall access panels with intact gaskets and tighten fasteners. Seat baffles properly in the hood. Remove protective plastic, restore power, and start the fan. Listen for unusual noise and verify strong airflow by observing smoke or steam capture during a brief test. Place a dated service label near the hood and file your photos and notes.
Beginner-Friendly Tips for Better Results
- Work from top to bottom to prevent re-soiling clean surfaces
- Use the correct chemical dilution to avoid residue or finish damage
- Allow sufficient dwell time for degreaser to break down grease
- Use non-abrasive pads on stainless steel to preserve the finish
- Rinse thoroughly and dry to prevent spotting and dripping
Setting a Practical Schedule
Start with a weekly filter soak and a monthly check of access panels and the rooftop fan. Plan deep service—plenum, ducts, fan wheel, and roof area—quarterly or semiannually, then adjust based on what your photos and towel tests show. In Somerville, align deeper cleanings with seasons to account for weather and business volume.
Building Your Cleaning Kit
- Commercial kitchen degreaser compatible with stainless and galvanized metal
- Foaming sprayer or pump-up sprayer with adjustable nozzles
- Stiff nylon brushes, scrapers, and non-abrasive pads
- Microfiber towels and absorbent mats
- Plastic sheeting and tape for protection and containment
- Access panel tools and a bright LED light
- Rooftop safety gear, hinge kit, and spare belts
How to Handle Waste and Spills
Collect rinse water and grease in containers and dispose of them according to municipal rules. Do not allow wastewater to enter storm drains. Bag used absorbent pads and store them for pick-up by your waste provider. Keep a spill kit nearby and teach your team how to use it quickly and safely.
What Good Results Look Like
After cleaning, the hood interior should be free of visible film, the plenum should not feel tacky to a white towel, and the baffles should pass light clearly when held up. Duct interiors visible through access panels should show clean metal. The fan wheel should spin smoothly with no wobble and belts should be at proper tension. The roof area should be clean and dry with fresh absorbent media in place.
When to Ask for Help
Hard-to-reach duct sections, persistent odors, smoke that escapes the hood, or a fan that vibrates or squeals are signs that expert assistance would speed resolution. Teams with specialized equipment can clean long duct runs, balance fans, and document results with photos that make inspections easier. If you want an extra layer of certainty mid-season, align your schedule with specialists who provide professional kitchen exhaust hood cleaning so you can get back to daily operations with confidence.
FAQ
How often should beginners clean their hoods? Start with weekly filter soaks and quarterly or semiannual full-system cleaning. Adjust based on the grease you observe and your cooking volume.
What chemicals are safe? Use a degreaser labeled for commercial kitchens and compatible with stainless and galvanized metals. Follow dilution instructions and never mix chemicals.
Do we need to clean the roof every time? Inspect the rooftop fan and containment regularly. Replace saturated absorbents and clean any spills promptly to protect the roof membrane.
What if we cannot reach part of the duct? Plan to add code-compliant access panels. Without access, grease remains and risks grow.
Why does smoke still linger? Check baffle orientation, belt tension, and fan performance. Look for blockages in ducts and confirm the fan wheel is clean and balanced.
Is photography necessary? Photos help you verify results, train staff, and show inspectors your maintenance diligence. They also help compare conditions over time.
Somerville-Specific Reminders
Weather and seasonal business in Somerville influence scheduling and safety. Allow extra time for rooftop work during winter, and protect against heat exposure in summer. Align deep cleaning with slower periods to minimize downtime, and keep spare baffles ready so filter rotation is easy even on your busiest days.
Keep Going: Make It Routine
Consistency makes the biggest difference. Build a small checklist, assign roles, and set reminders. Keep supplies stocked, and log every cleaning with dates and notes. Over time, your team will get faster, your hood will stay cleaner, and inspections will go smoothly. When you want professional support for difficult tasks or seasonal deep service, schedule help from trusted kitchen exhaust hood cleaning services and keep your Somerville kitchen safe, efficient, and comfortable for every shift.
